Ansible is an open-source software provisioning, configuration management, and application-deployment tool. It runs on many Unix-like systems and can configure both Unix-like systems as well as Microsoft Windows. It includes its own declarative language to describe system configuration. Ansible is a simple and easy to use IT automation tool. One can use Ansible to deploy applications and systems/VM/containers. Ansible configuration is written in python and works on the remote/local server using SSH. No agents needed on the remote server.
Ansible Tower (formerly ‘AWX’) is a web-based solution that makes Ansible even more easy to use for IT teams of all kinds. It’s designed to be the hub for all your automation tasks. Tower allows you to control access to who can access what, even allowing sharing of SSH credentials without someone being able to transfer those credentials. Inventory can be graphically managed or synced with a wide variety of cloud sources. It logs all your jobs, integrates well with LDAP, and has an amazing browsable REST API. Command line tools are available for easy integration with Jenkins as well. Provisioning callbacks provide great support for autoscaling topologies. In this blog, we will install Ansible 2.8 and Ansible Tower 3.5 on a CentOS 7 server and learn some basics of how to use the software.
Install & Configure Ansible Tower
To begin exploring Ansible as a means of managing our various servers, we need to install the Ansible software on at least one machine. To get Ansible for CentOS 7, first ensure that the CentOS 7 EPEL repository is installed.
#sudo yum install epel-release

Once the repository is installed, install Ansible with yum
#sudo yum install ansible

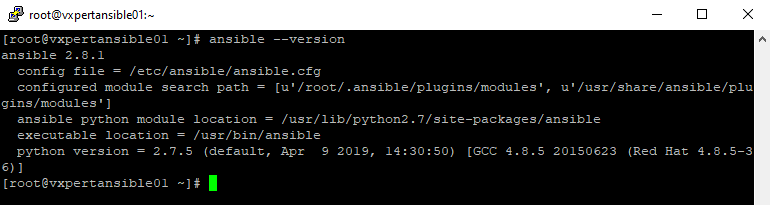
After successfully installation please check ansible version using command like below
#ansible –version
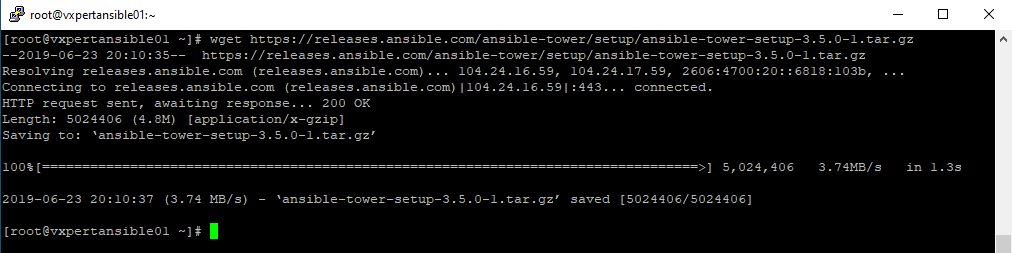
Download the Ansible Tower from below site using following command
#wget https://releases.ansible.com/ansible-tower/setup/ansible-tower-setup-3.5.0-1.tar.gz
Uncompressed the Ansible Tower setup and change the directory to that folder
#tar -xzf ansible-tower-setup-3.5.0-1.tar.gz
#cd ansible-tower-setup-3.5.0-1/

Tower can be installed in various ways by choosing the best mode for your environment and making any necessary modifications to the inventory file
Tower can be installed using one of the following scenarios, in this blog we are using single machine method.
- Single Machine
- As an integrated installation
- With an external database
- High Availability Multi-Machine Cluster
Use below command to edit the inventory file
#vi inventory

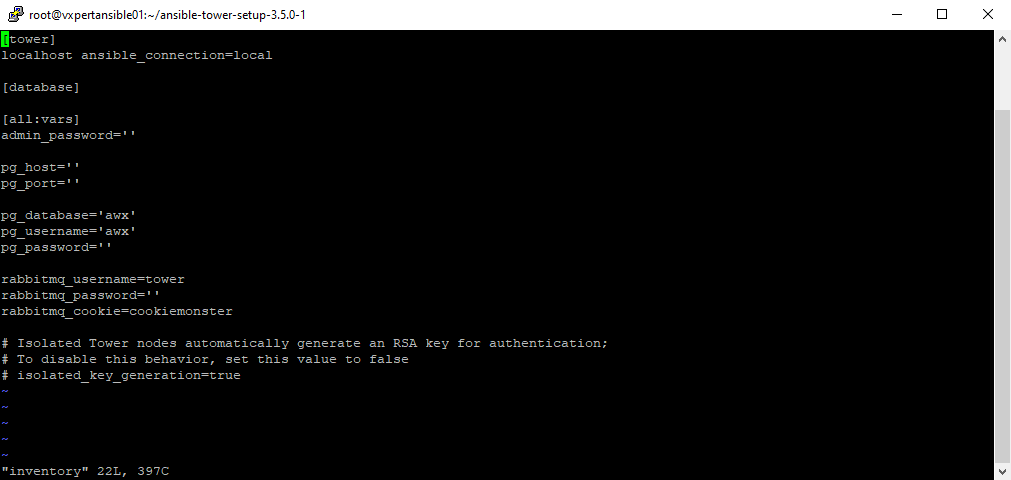
Edit the file as below to proceed with Single Node installation model.
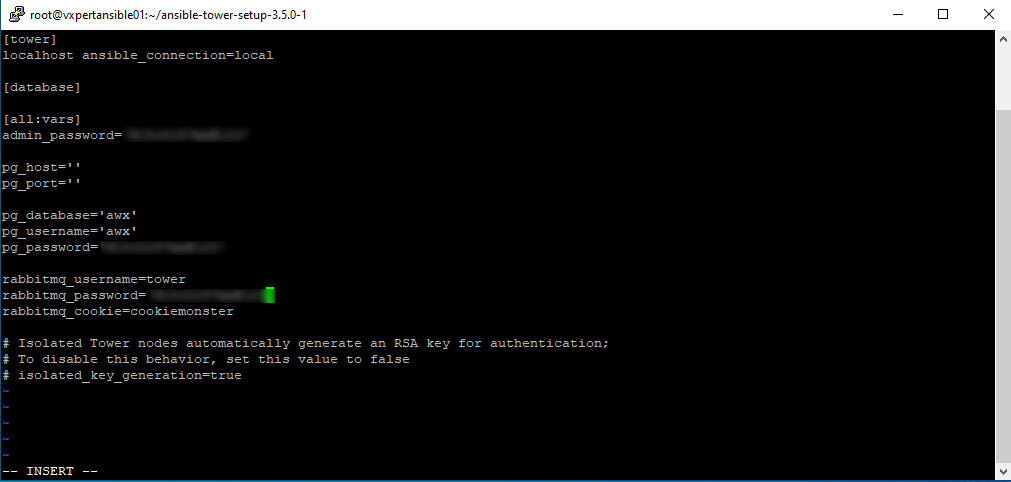
Once any necessary changes have been made, you are ready to run ./setup.sh
#./setup.sh

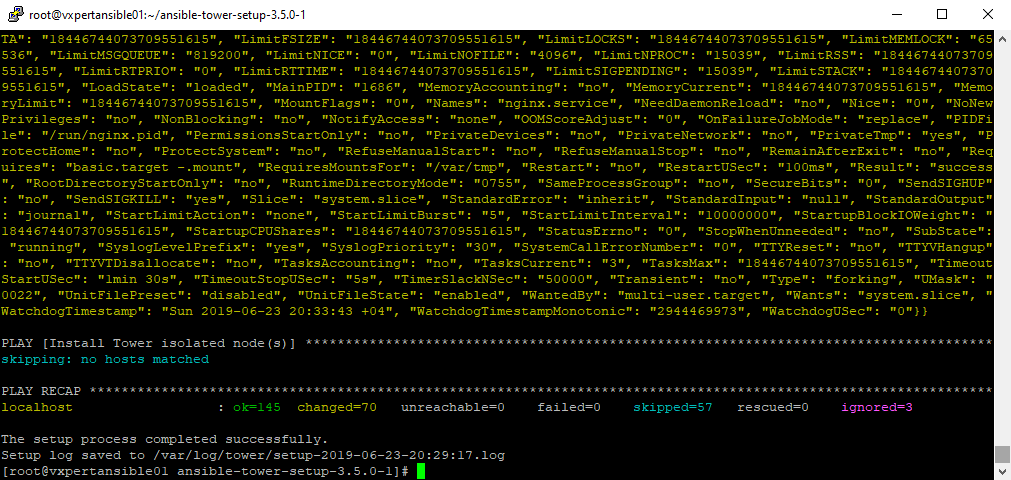
Once the setup is completed you can see the below screen
Once setup is complete, use your web browser to access the Tower server and view the Tower login screen. Your Tower server is accessible from port 80 (http://IP Address or FQDN/) but will redirect to port 443 so 443 needs to be available also.
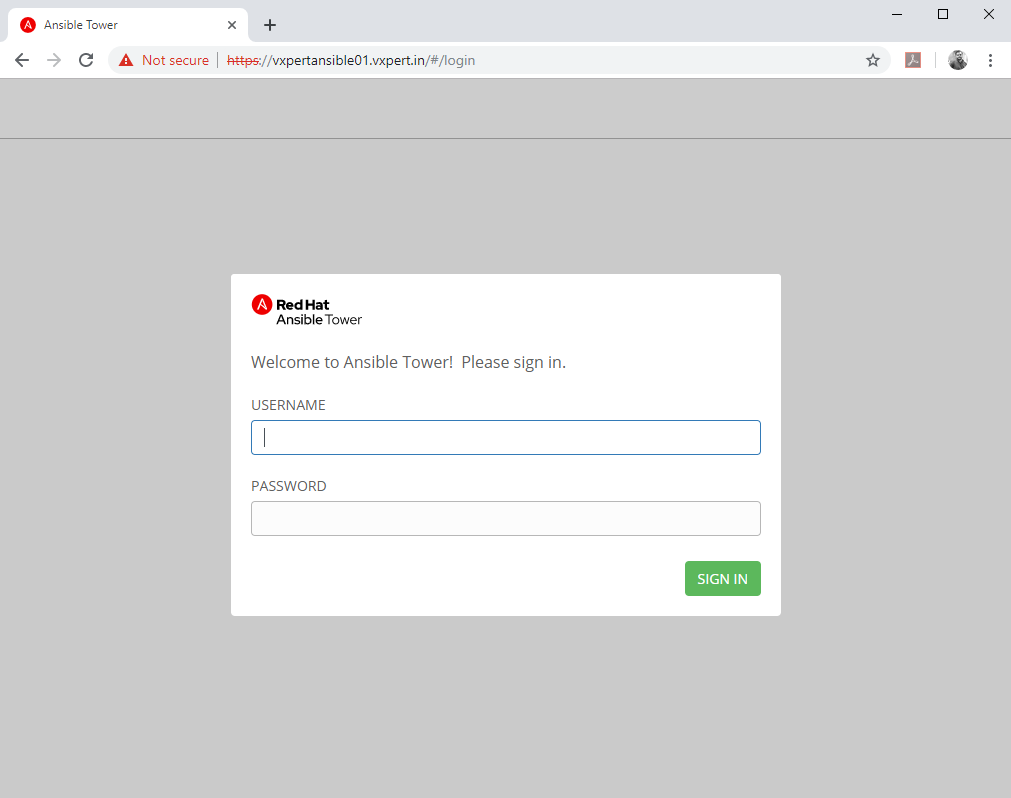
Use Username as admin and Password you configured on inventory file to access the Web console.
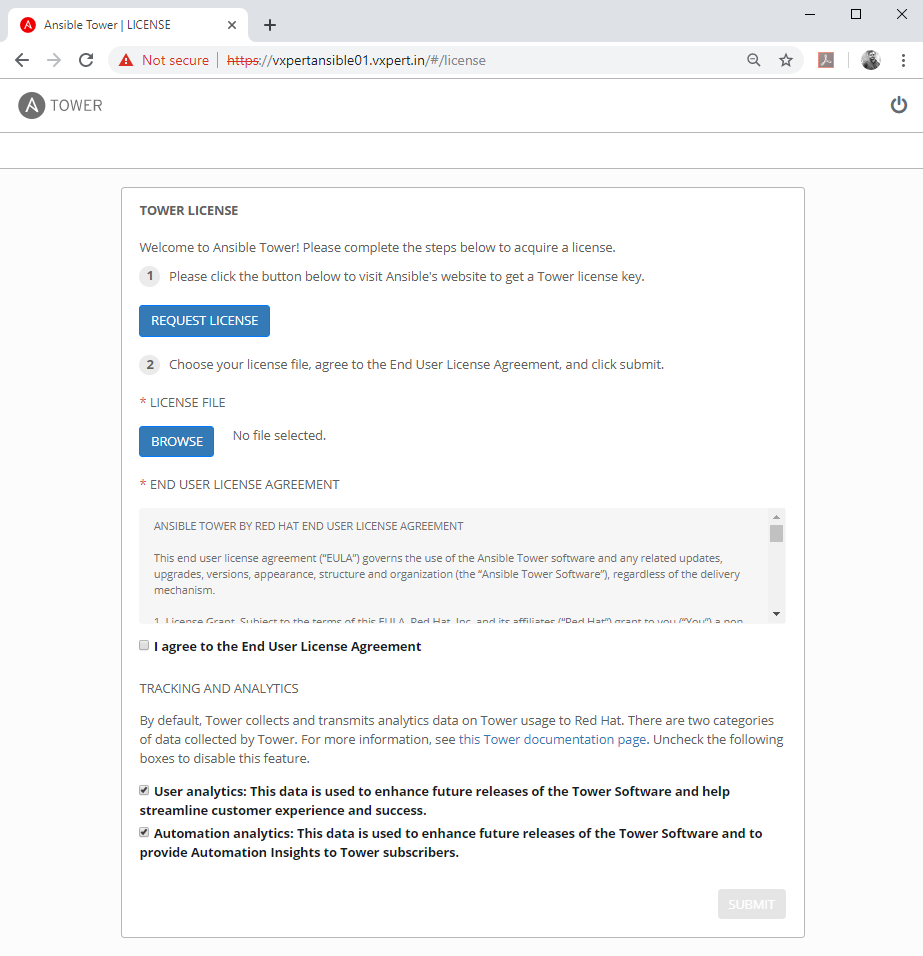
Once login you can see the below screen to Request of Browse for the license. Upload the license and Accept the EULA and Click Submit
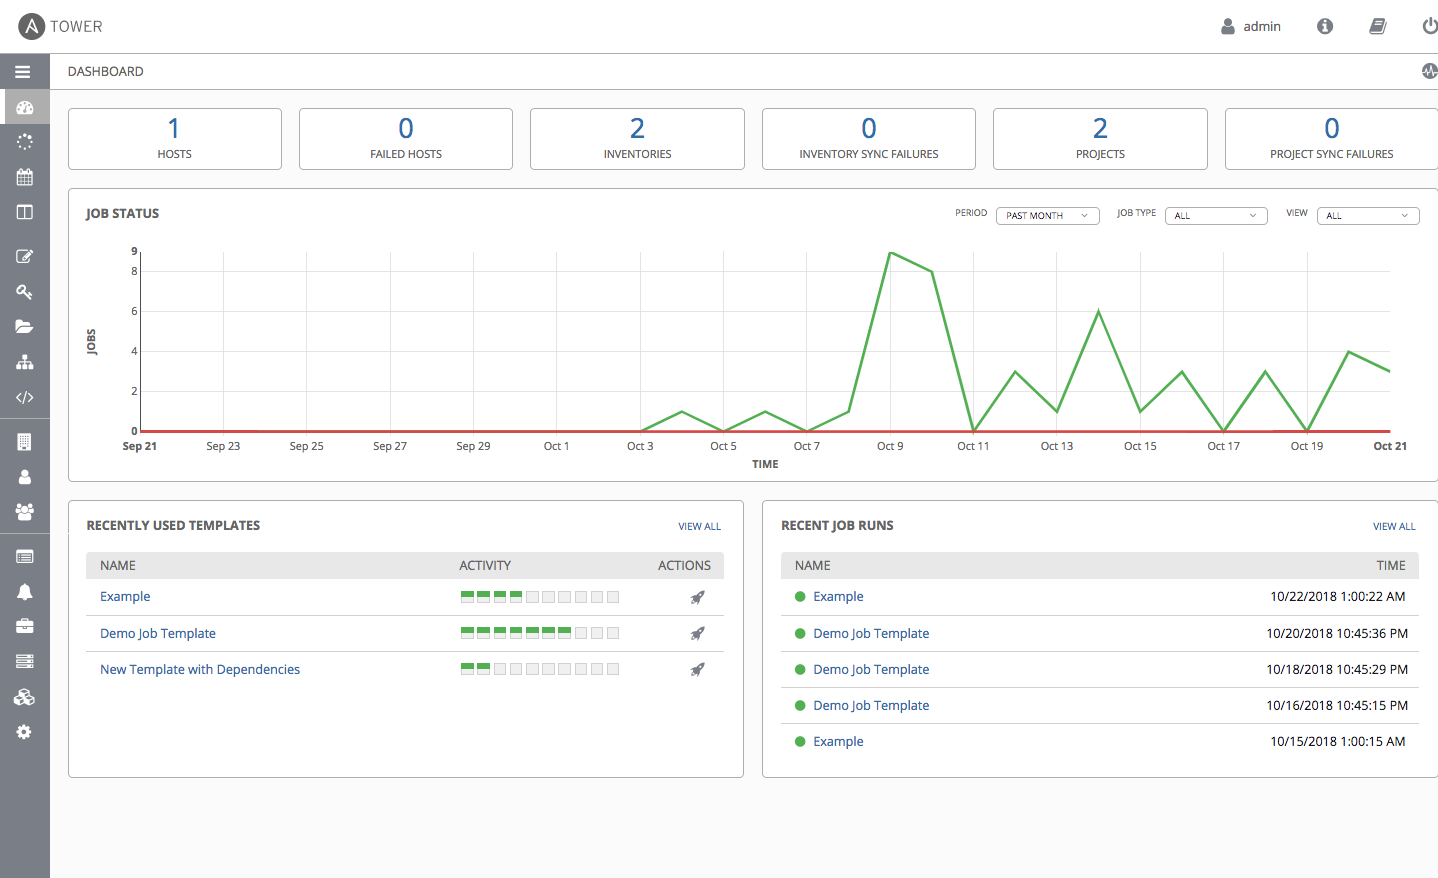
Once your license has been accepted, Tower briefly displays the license screen and navigates you to the Dashboard of the Ansible Tower interface
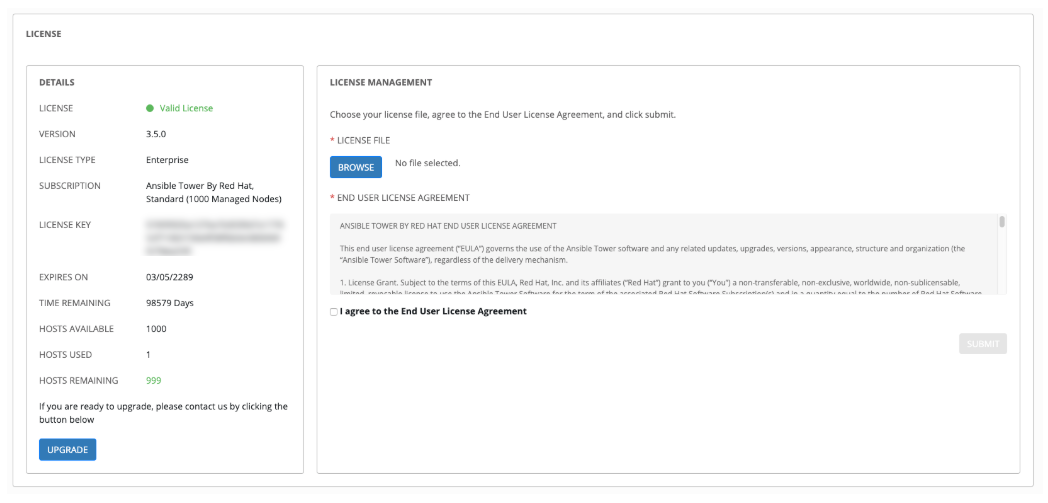
Click Upgrade and it will take you to main console as below.
Thanks,
If you have any comments, please drop me a line.
I hope this article was informative, and don’t forget to buy me a coffee if you found this worth reading.


Leave a Reply