Dell EMC UnityVSA is a unified Software Defined Storage (SDS) solution that runs atop the VMware ESXi platform. Dell EMC UnityVSA provides a flexible storage option for environments that do not require dedicated storage systems such as test/development or remote office/branch office (ROBO) environments. Users can quickly provision a Dell EMC UnityVSA on general purpose server hardware, which can result in reduced infrastructure costs and a quicker rate of deployment. Dell EMC UnityVSA can be leveraged in conjunction with vSAN to provide file services over SMB, NFS, FTP, and SFTP.
The Dell EMC UnityVSA solution is a VM that is deployed using an OVA in vSphere. Once the VM is deployed and fully booted, VMDKs can be added to the Dell EMC UnityVSA VM to provide storage. These VMDKs can come from any supported datastores, such as vSAN. The Dell EMC UnityVSA VM consumes these VMDKs and provisions NAS Servers and file systems to provide file services. Other supported features include snapshots, replication, quotas, shrink/extend, multi protocol, storage tiering, cloud tiering, migration, and more.
Dell EMC UnityVSA lets you deploy Dell EMC Unity unified storage as a virtual storage appliance. Dell EMC UnityVSA is software-defined storage that runs on industry-standard hardware and VMware ESXi, which you supply. Deploy this virtual storage appliance when you’re looking for low acquisition cost and ultimate flexibility in unified storage. In this blog I am explaining how to install and configure Dell EMC UnityVSA appliance.
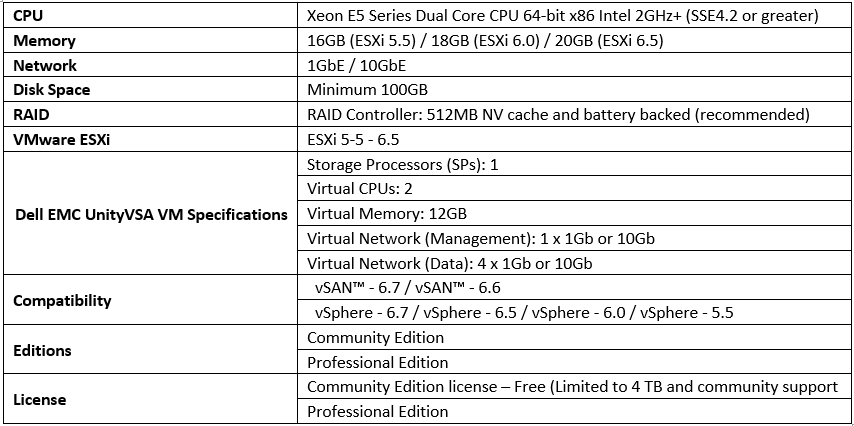
System Requirements
Below are the system requirements for the appliance and the VMware vSphere infrastructure compatibility. You can download the required editions here according to your requirements
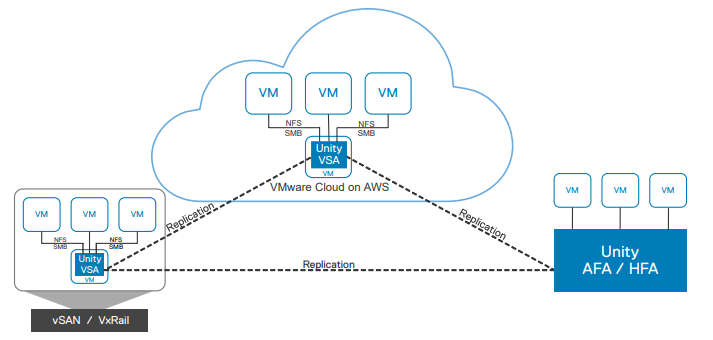
Dell EMC UnityVSA Deployment Methods
There are four types of deployment methods and respective products.
- Dell EMC Unity Cloud Edition – Deploying Unity Cloud Edition with VMware Cloud on AWS (VMC) provides benefits to both cloud and on-premises storage resources. Unity Cloud Edition enables your cloud resources to use UnityVSA features and file management in the cloud storage environment. Data mobility between Unity Cloud Edition and on-premises Unity and UnityVSA appliances is the same as data mobility between on-premises appliances. As a result, Unity Cloud Edition enables cloud-based data protection for block and file resources hosted on-premises.
- Dell EMC Unity Cloud Edition HA (Dual Node) – Apart from the on-prem and cloud VSA there will be thirst appliance which will be deployed, and data can be replicated from on-prem and Cloud appliance to this third appliance.
- Dell EMC UnityVSA – UnityVSA (Virtual Storage Appliance) is a software-defined storage platform that provides users with agility and flexibility. UnityVSA is deployed on a VMware ESXi host and is available in two editions – Professional Edition (PE) and Community Edition (CE). Professional Edition is a licensed product available at capacity levels of 10 TB, 25 TB, and 50 TB. Community Edition is a free downloadable 4 TB solution that is recommended for non production use.
- Dell EMC UnityVSA HA (Dual Node) – UnityVSA HA is an enhanced version of single-SP UnityVSA. By adding dual-SP functionality, UnityVSA HA can recover from one SP failure, which significantly increases the applicable use case scenarios of the system. Unlike the single-SP UnityVSA, UnityVSA HA version is only available in Professional Edition (PE). It offers three capacity choices: 10 TB, 25 TB, and 50 TB.
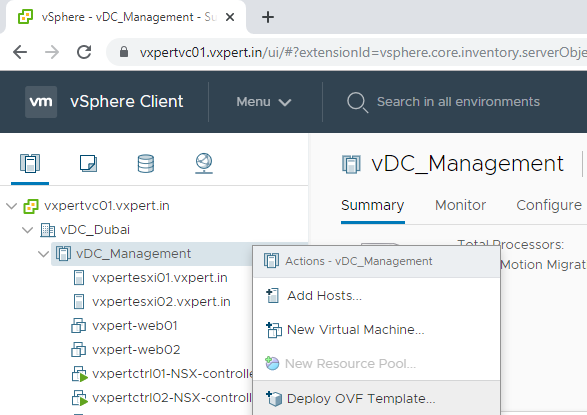
Deploy & Configure Dell EMC UnityVSA
Login to vSphere Web client and right click on the cluster where you want to deploy the appliance
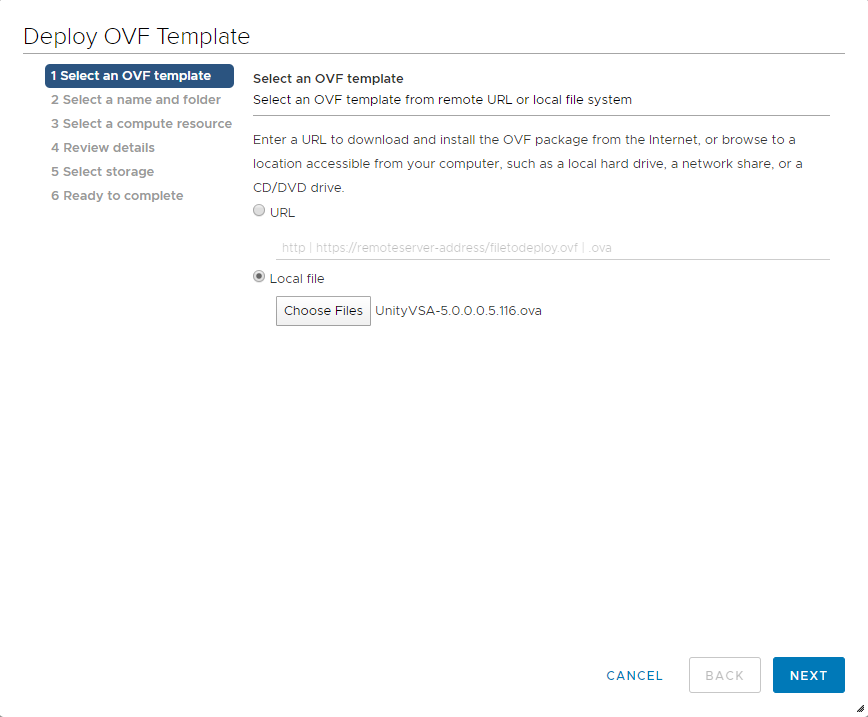
Here you can either provide the download URL or you can provide the location of OVA local file which is already downloaded and click Next.
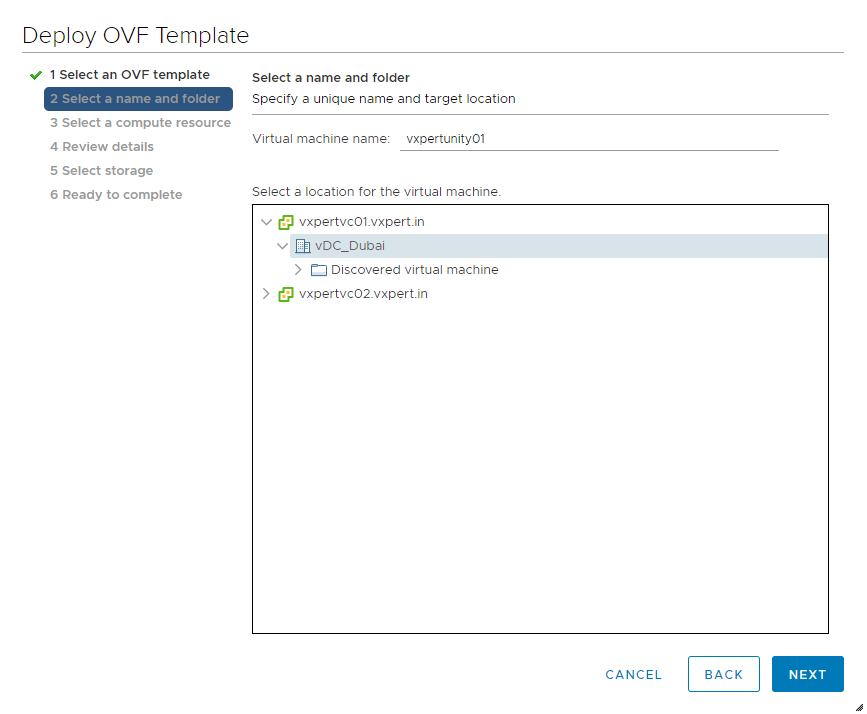
Select the Virtual Machine Name and Folder and click Next
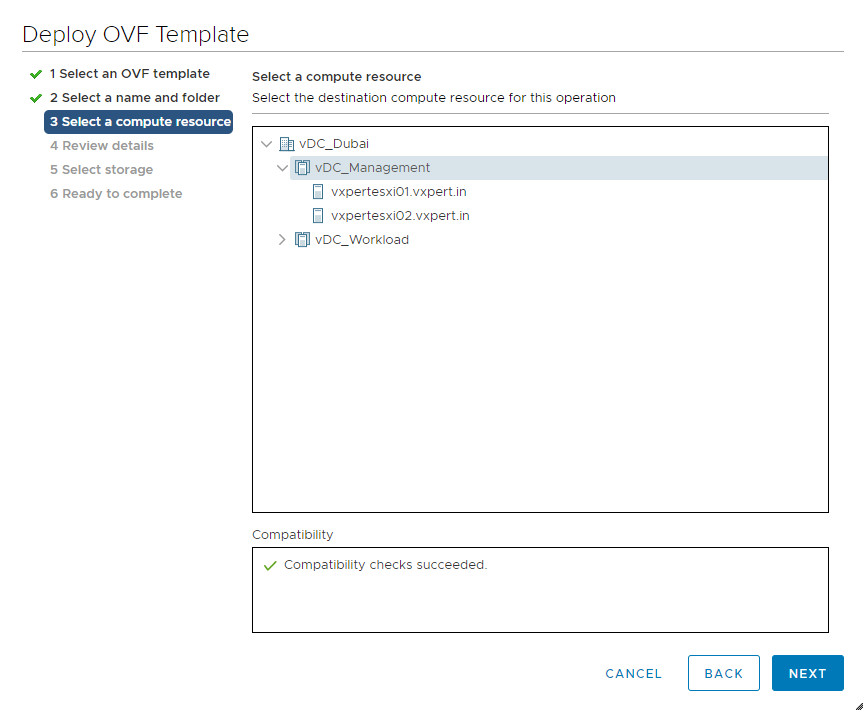
Select the Compute Resource and Click Next
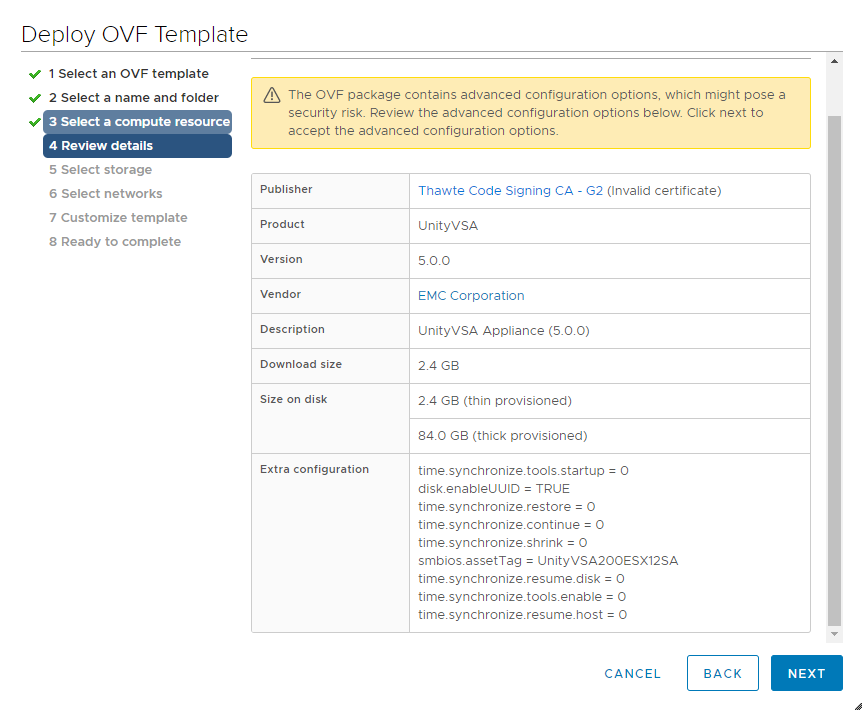
Review the details of Dell EMC UnityVSA appliance and click Next
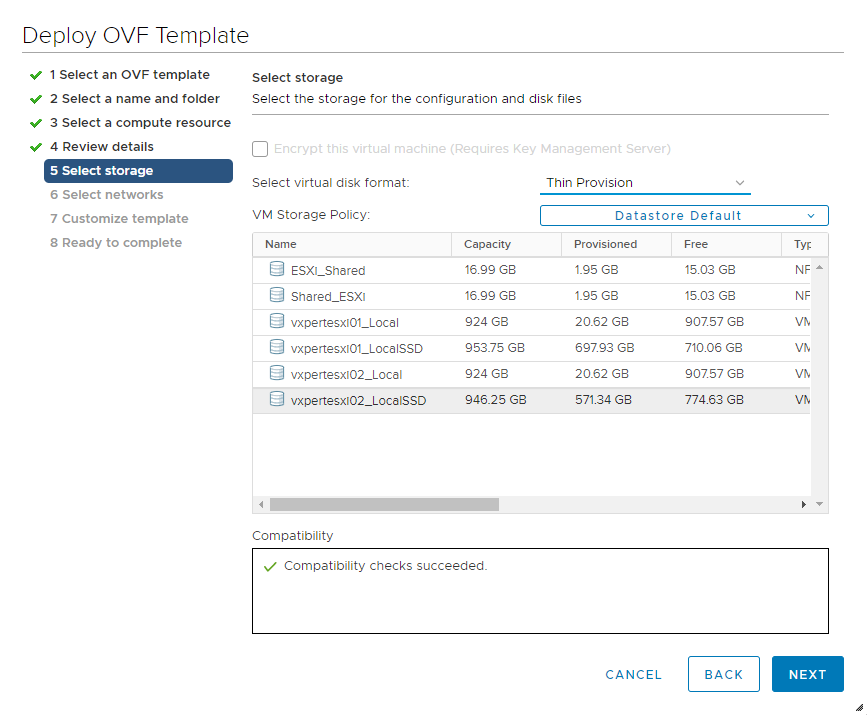
Select Datastore and virtual disk mode and click Next
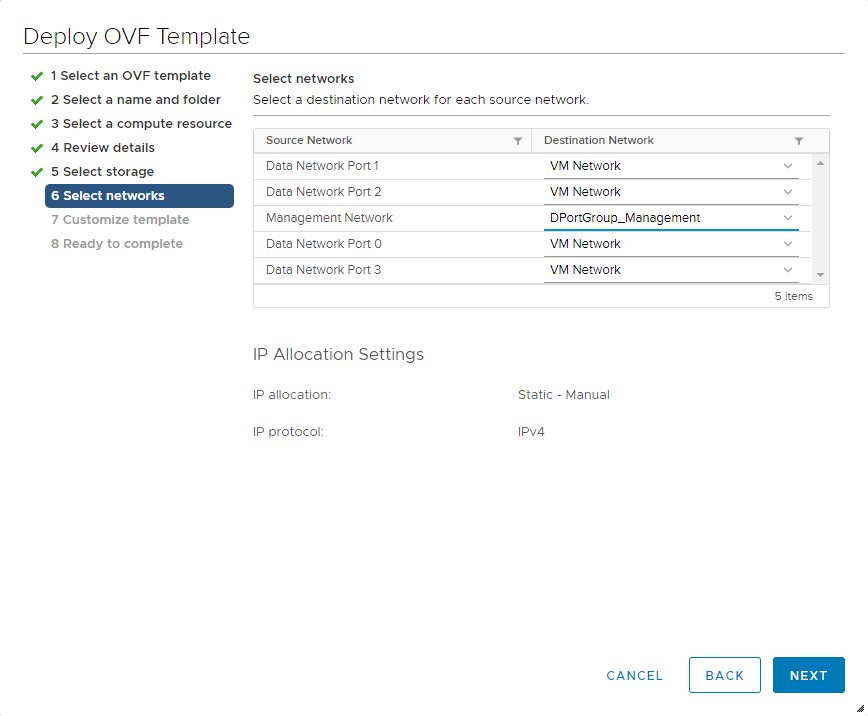
Select destination network for each network adapter, one for management and others for data and click Next
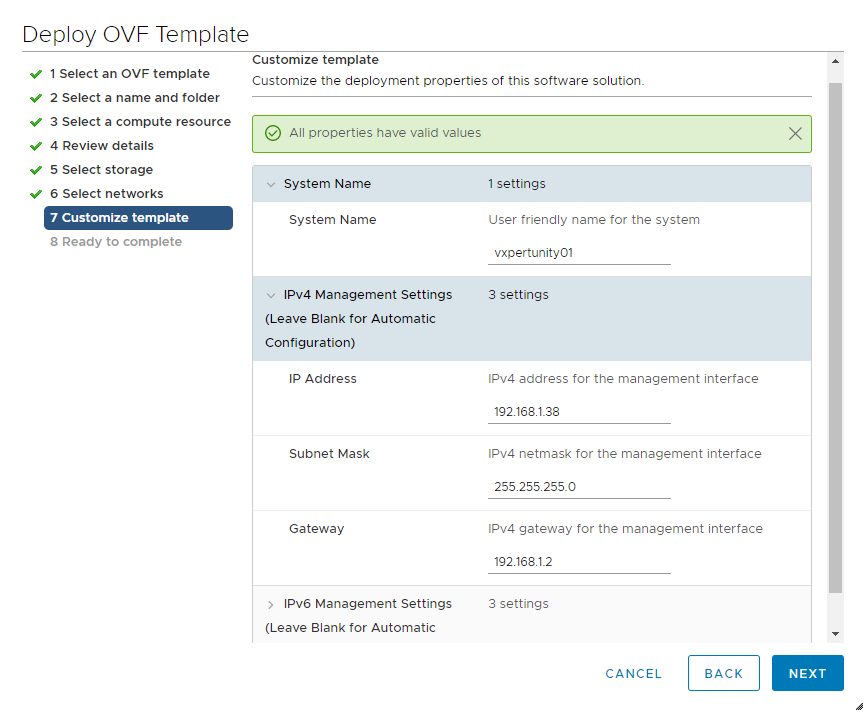
Provide the System Name, IPv4 address, Subnet Mask and Gateway and click Next
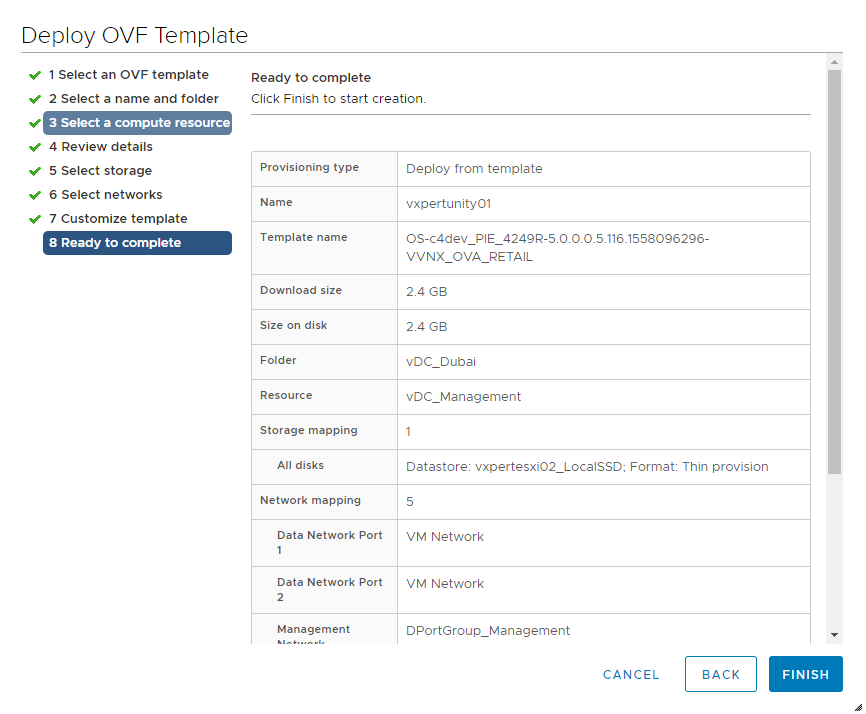
Review the configuration and click Finish to initiate the deployment.
You can review the deployment status in Recent Task windows of vCenter

Once the deployment is completed Power On the appliance and wait to completely initialize the Dell EMC UnityVSA, this may take approximately 10 – 15 minutes to initialize completely. Also, you can see the service startup update on console like below
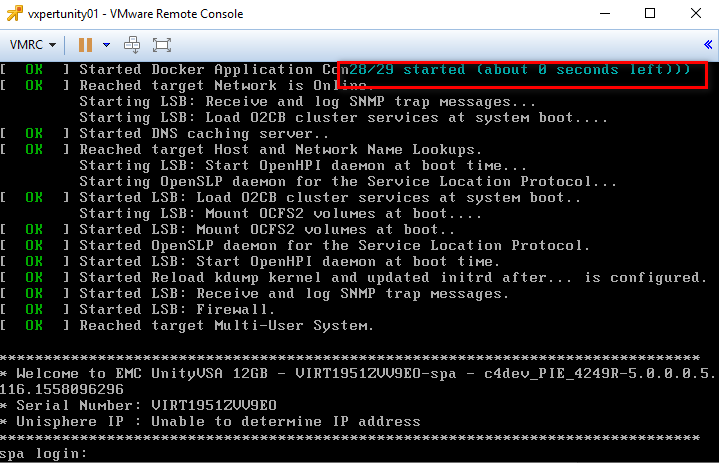
Once you get the above screen the appliance is successfully initialized, and you can access or Unisphere Web GUI by https://IP Address.
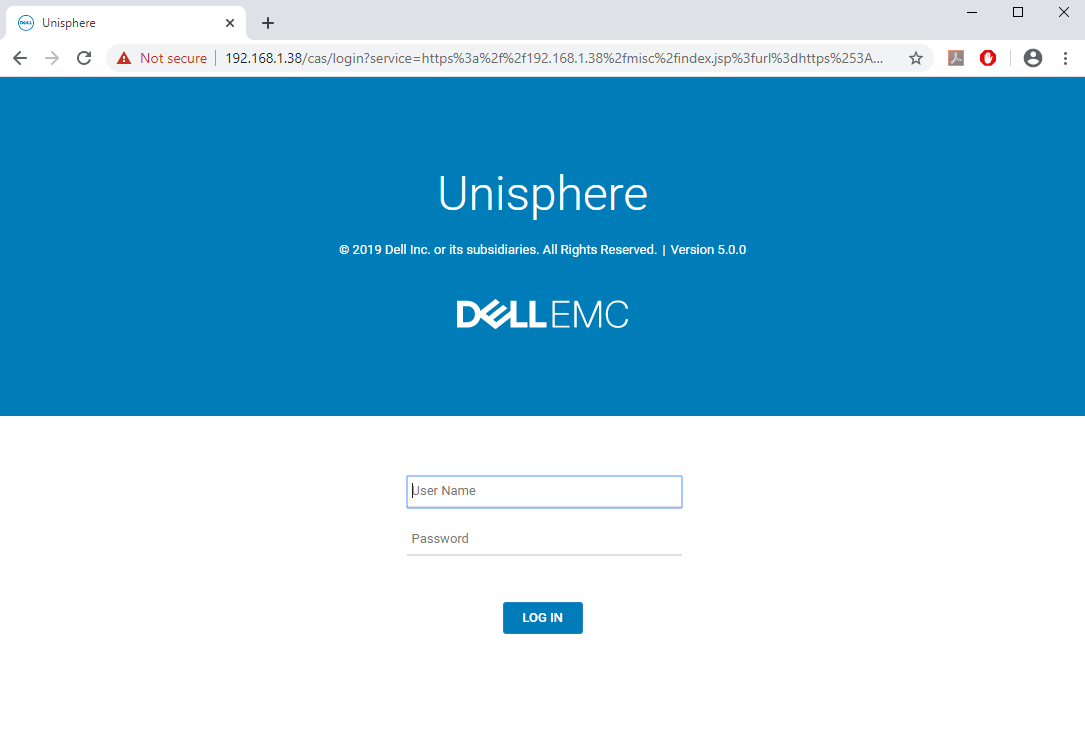
Login to the Unisphere Web user interface with below default credentials of appliance.
Username – admin
Password – Password123#
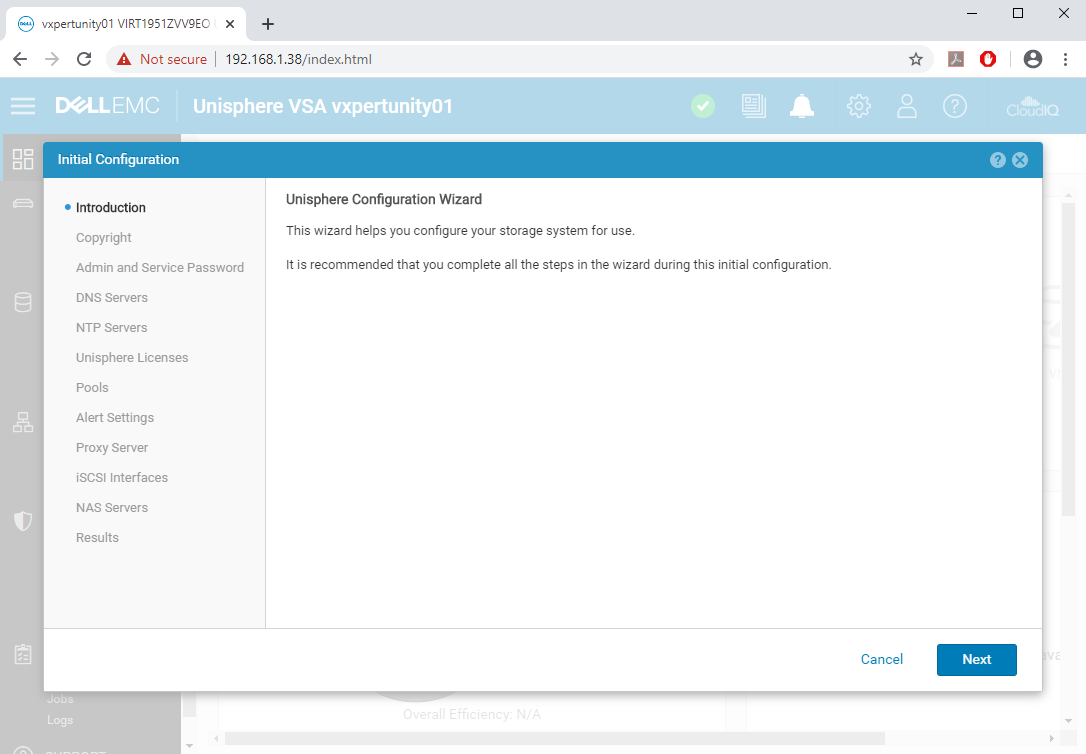
Click Next to start the configuration wizard
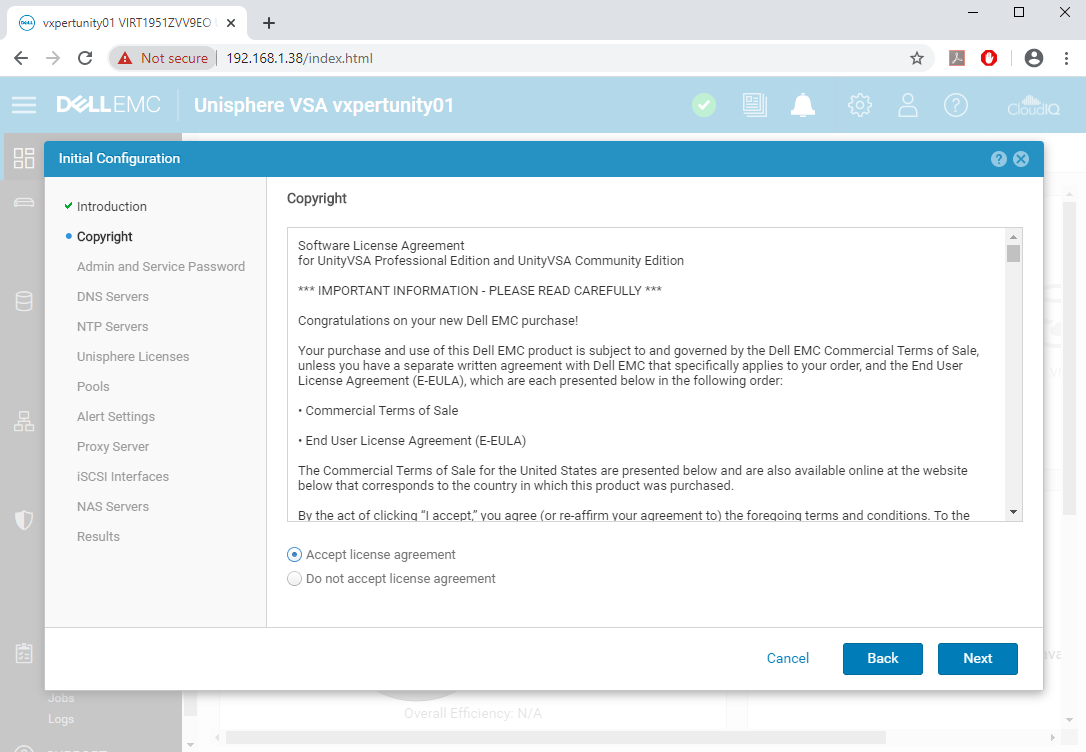
Accept the EULA and click Next
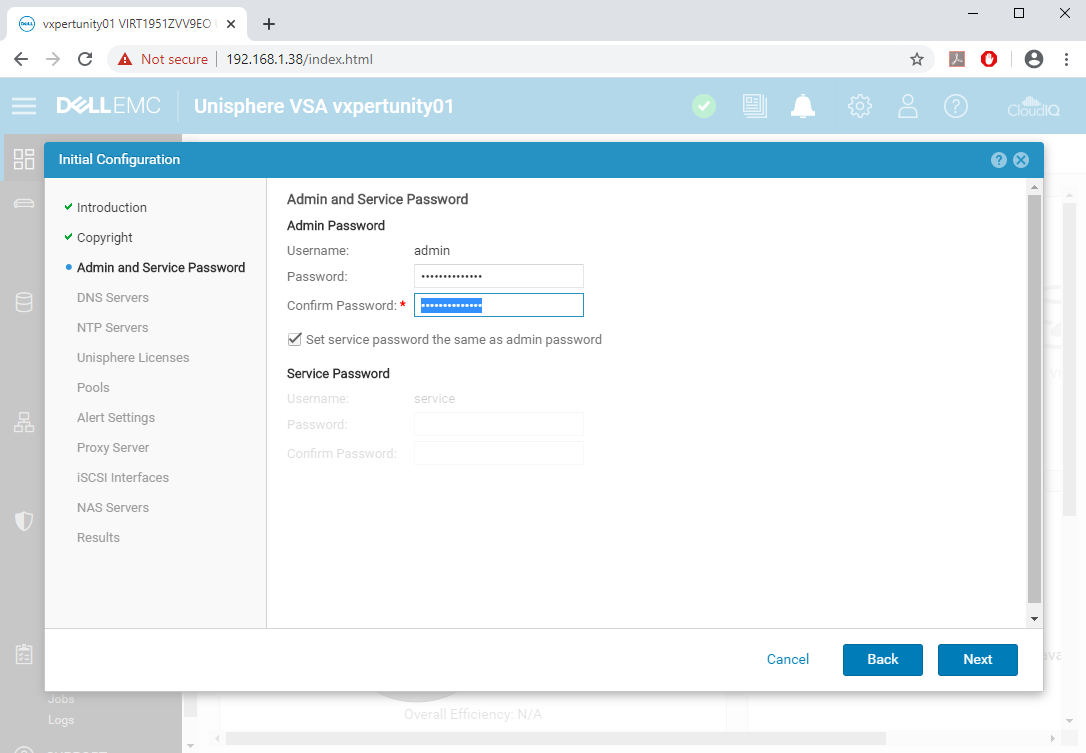
Set the admin and service account password and click Next
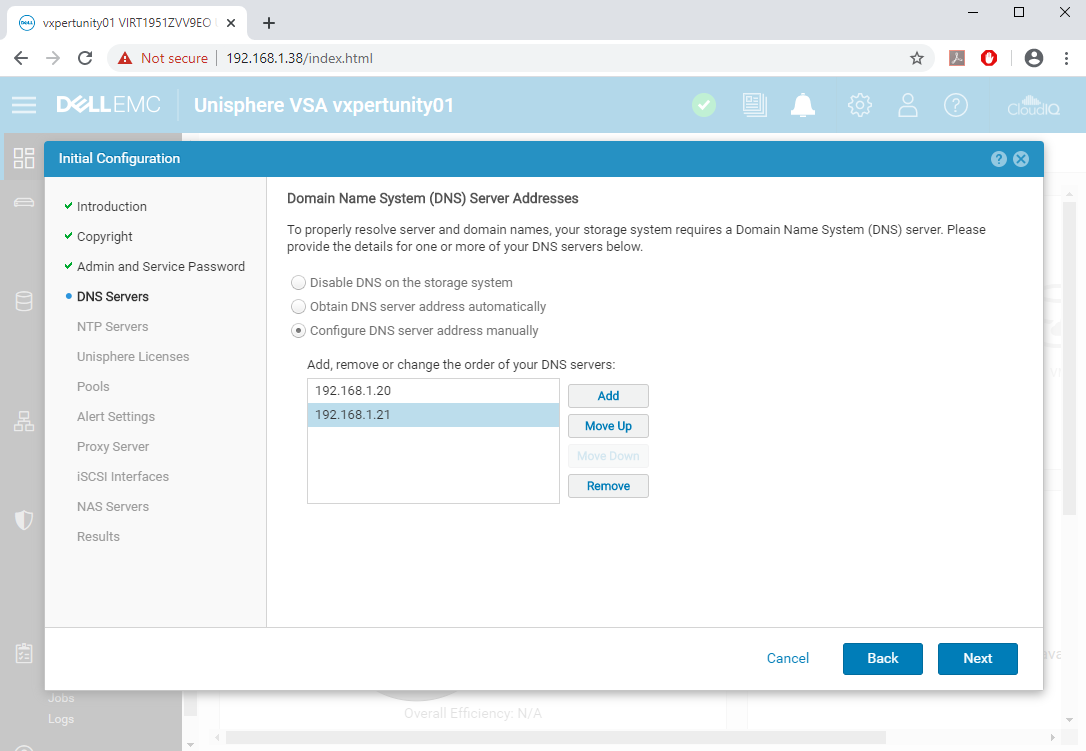
Add the DNS servers manually and click Next
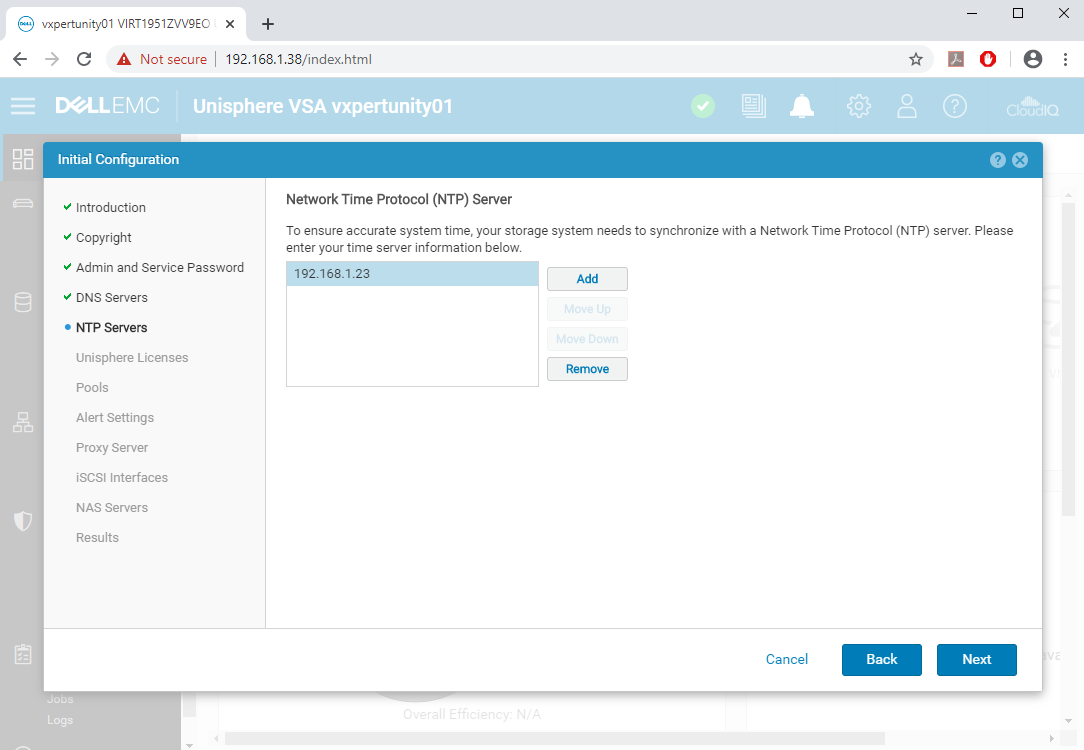
Add NTP server and click Next
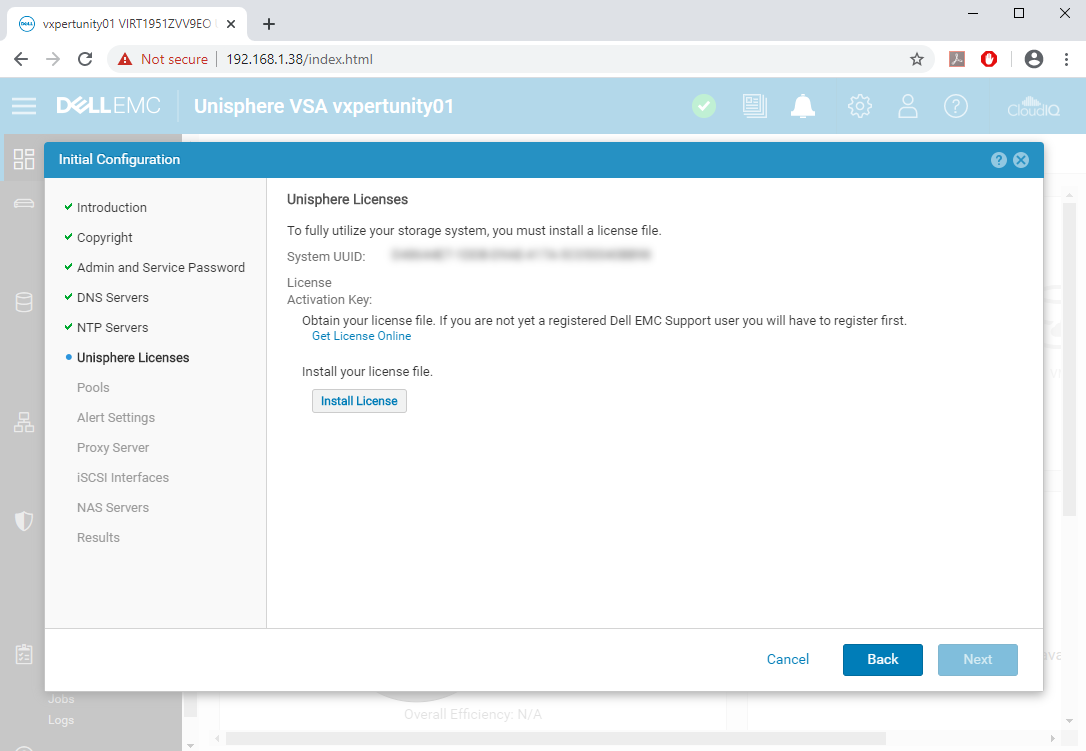
In this step you must obtain the license from Dell EMC by providing the system UUID.
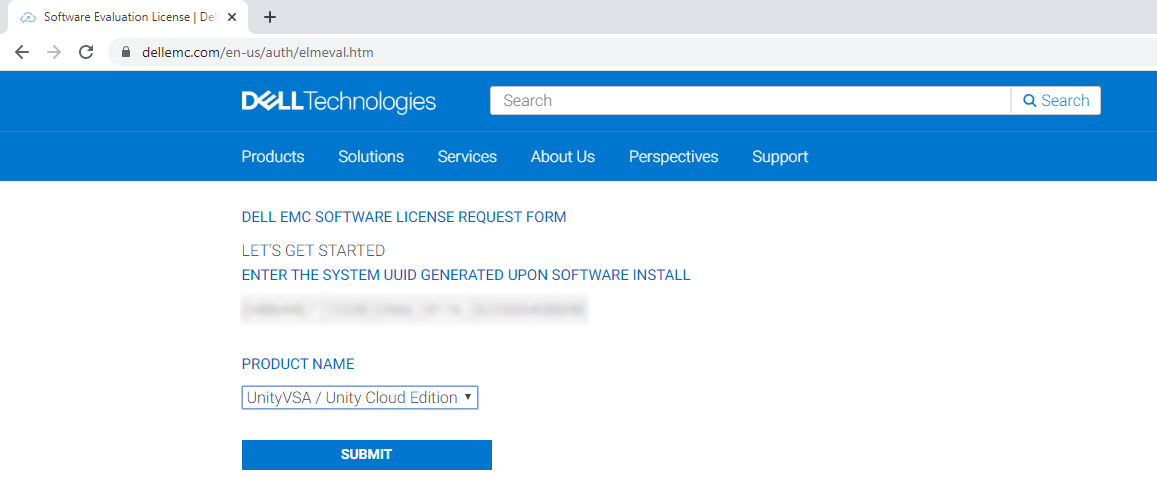
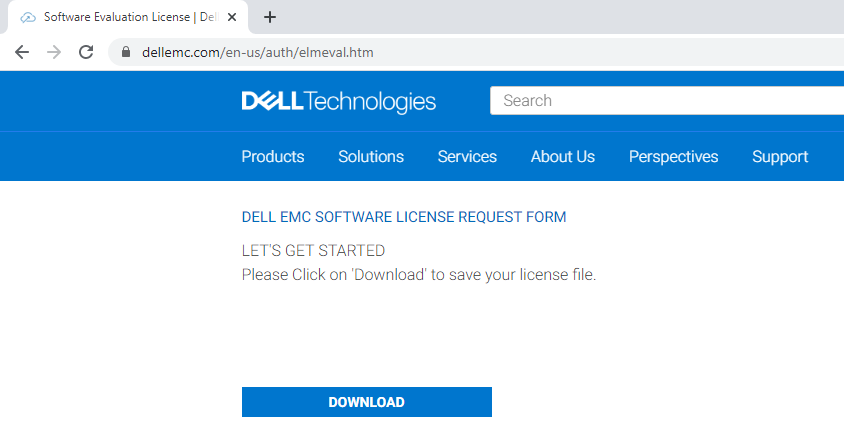
Use this link and provide the System UUID and select the product name and click SUBMIT
Click Download to get the license
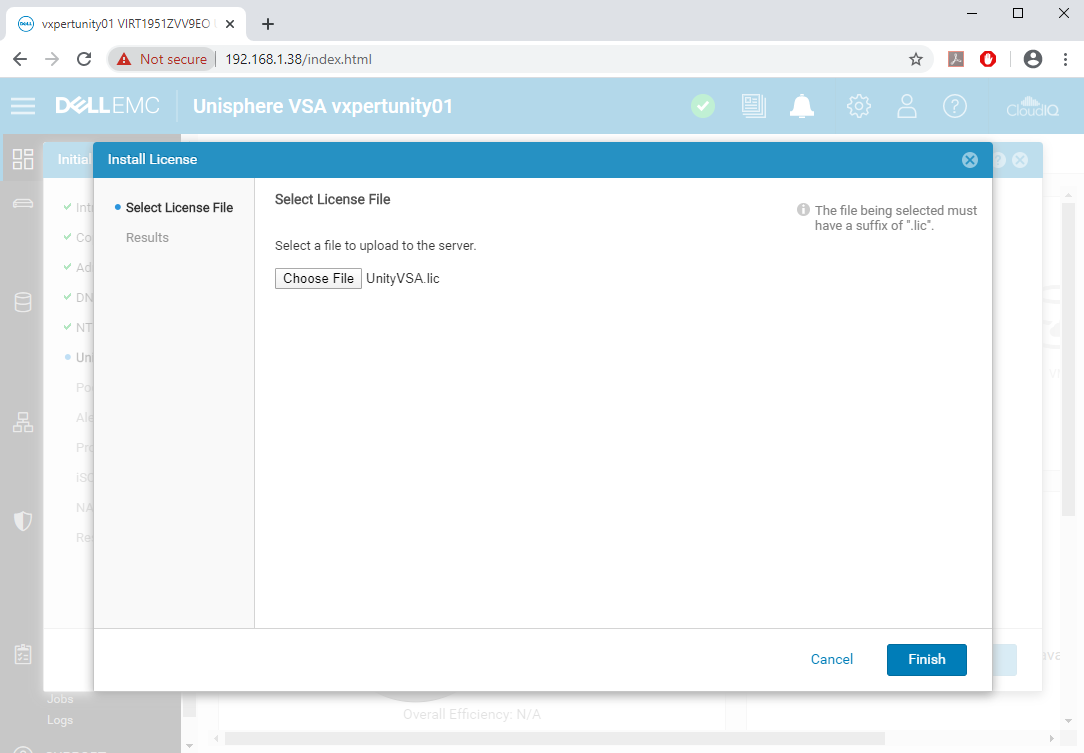
Click on Install License button on Configuration wizard and choose the license file. Click Finish to install the license
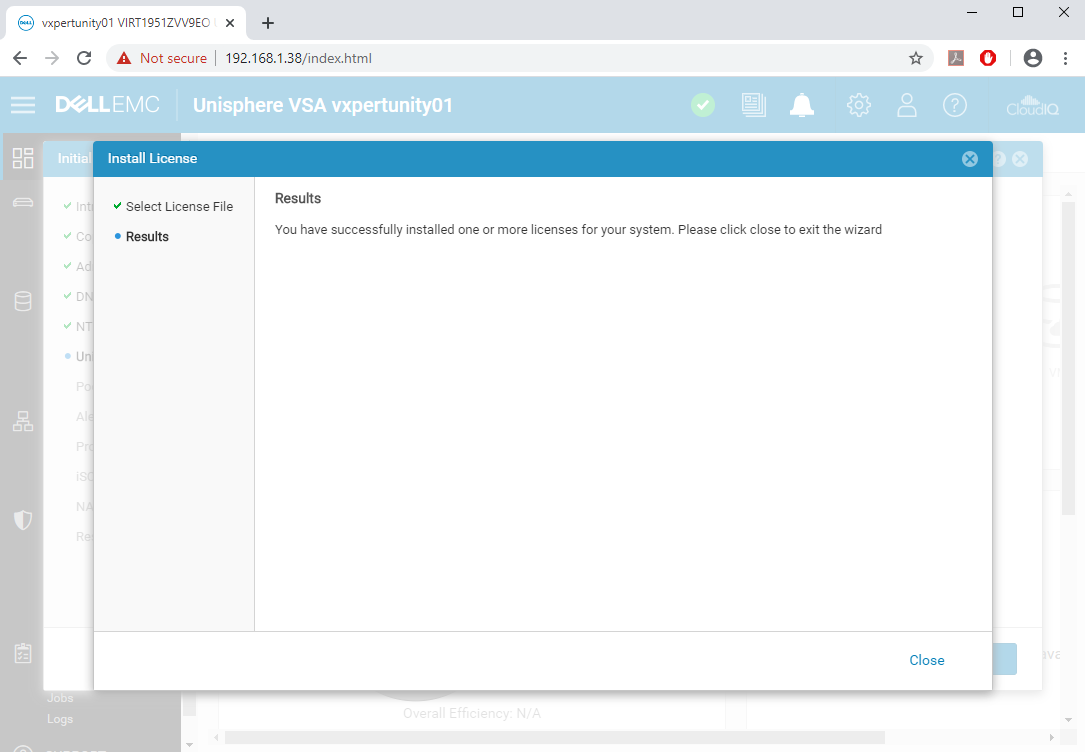
Once installed the license, click Close to proceed
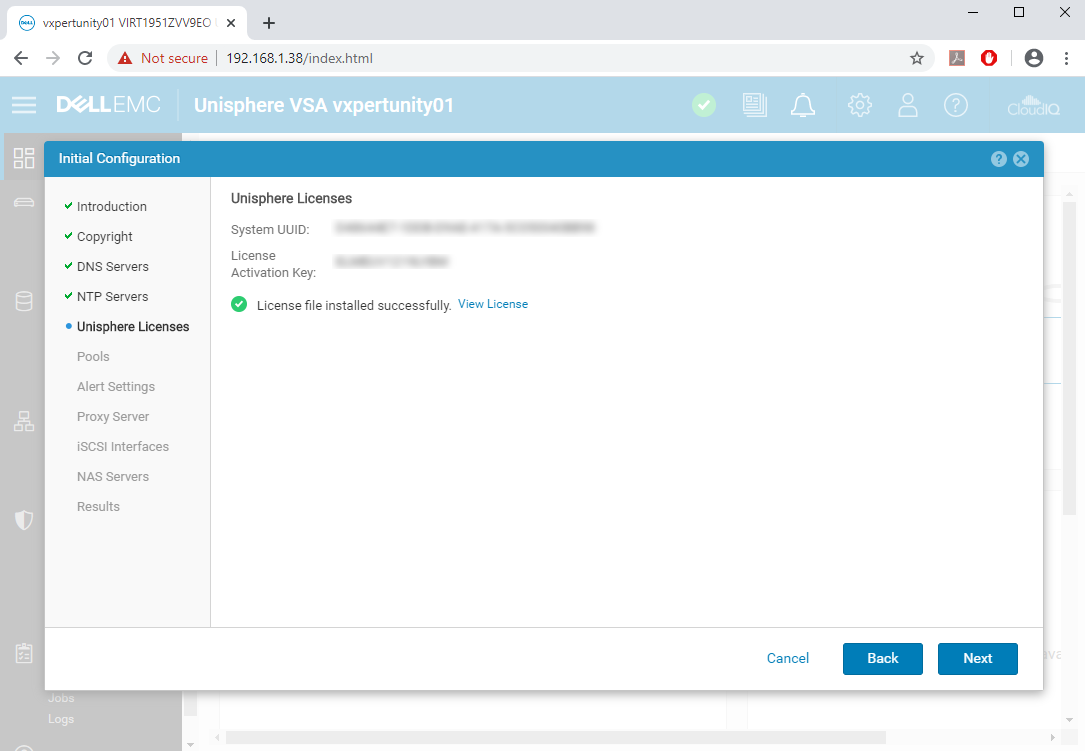
Click Next to continue the configuration
You can create the Pools here if you already added the Data Disks to the appliance else you can do later. We will be doing this later after the initial system configurations. Click Next to proceed

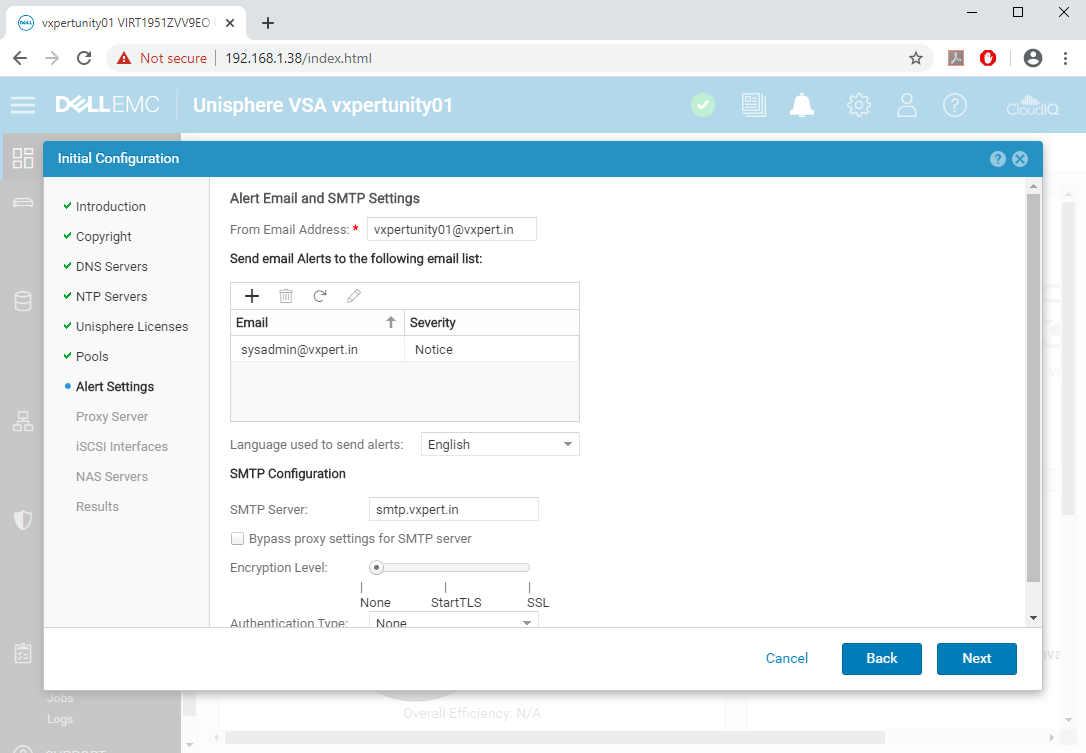
Configure the SMTP and Mail ID configuration for alerting and click Next
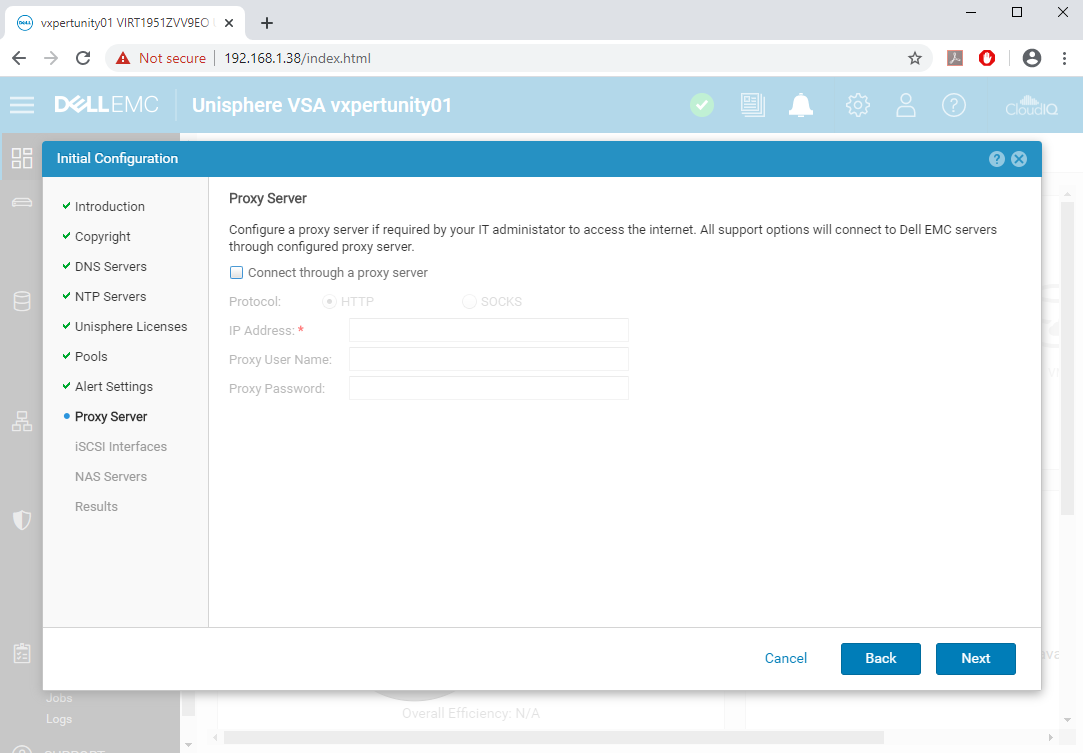
Mention your infrastructure proxy server details else click Next
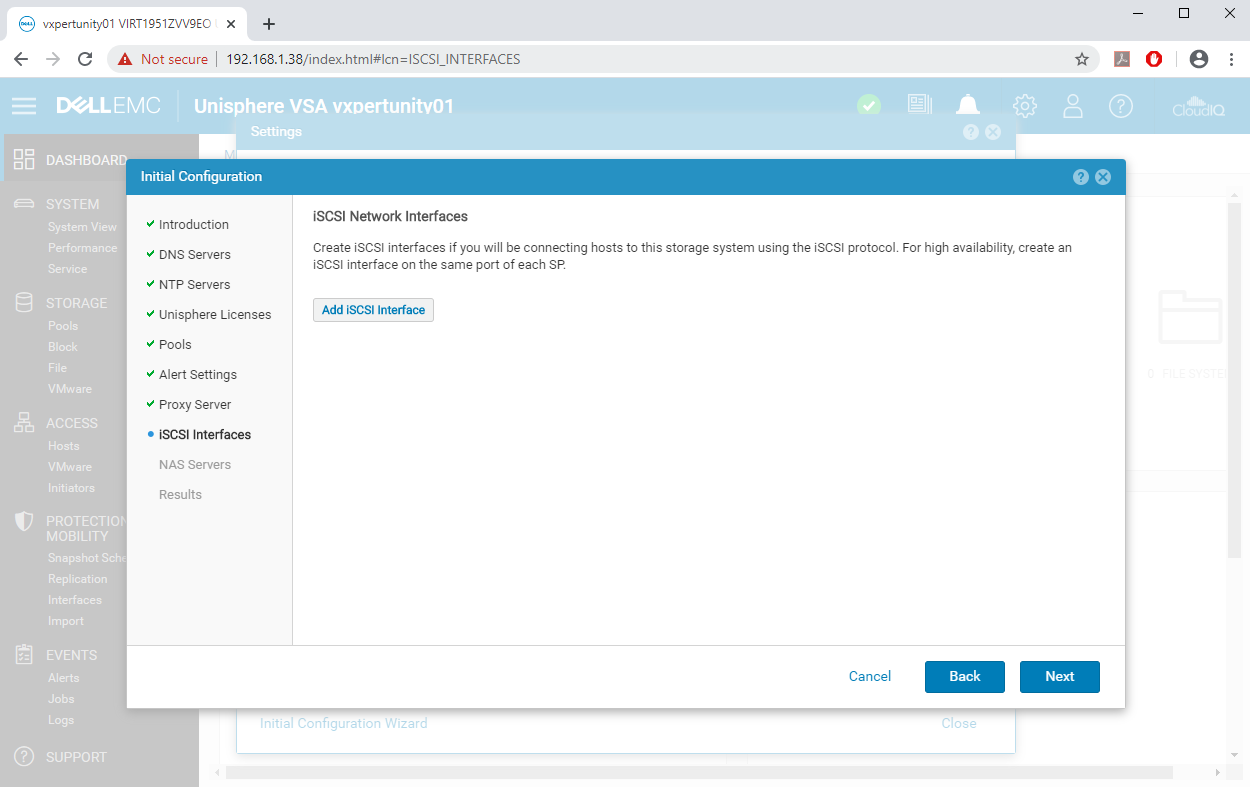
Provide the networking details for iSCSI interface or you can do this configuration later. In our case we will be configuring this later, click Next
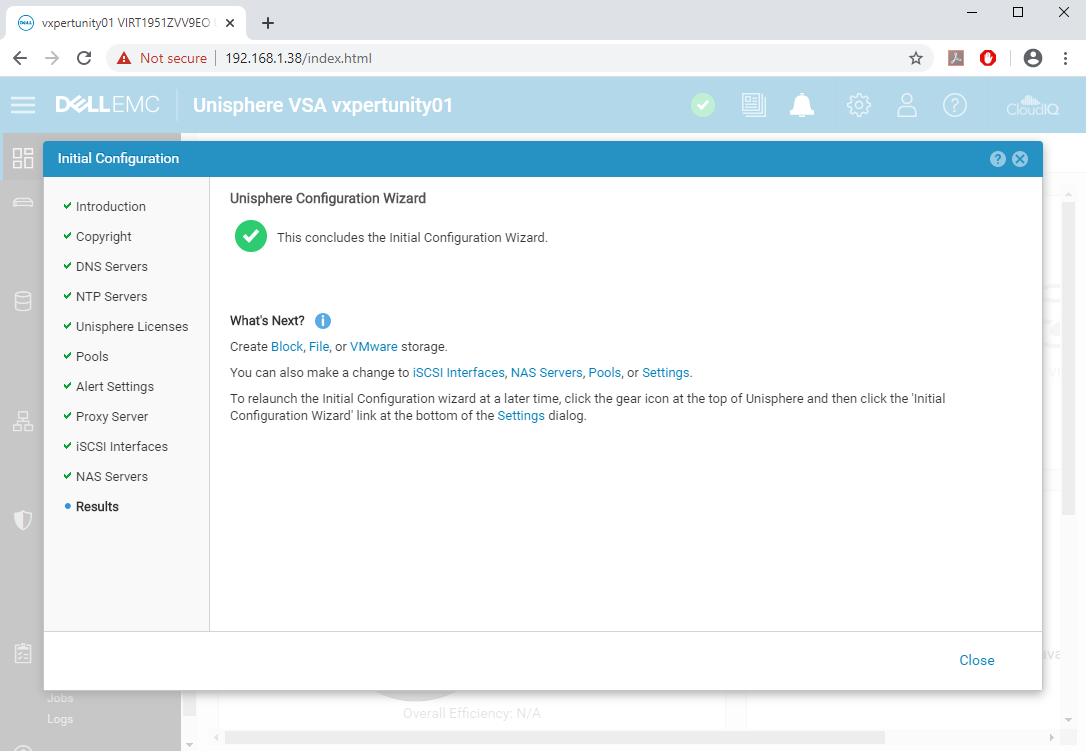
You can create NAS server here, in our case we will create this later as we have not yet created storage pool, click Next to proceed

Click Close to complete the initial configuration
After configuration this Dashboard will give you the details of Dell EMC UnityVSA details and where we can do the advanced configurations
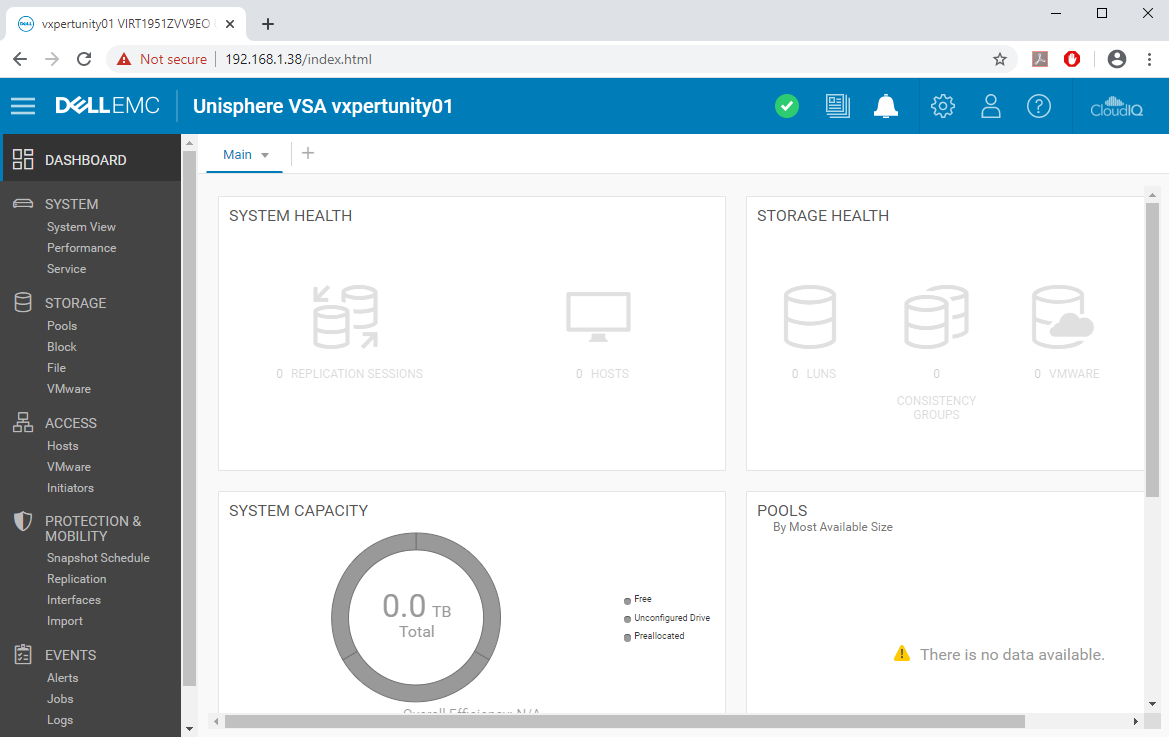
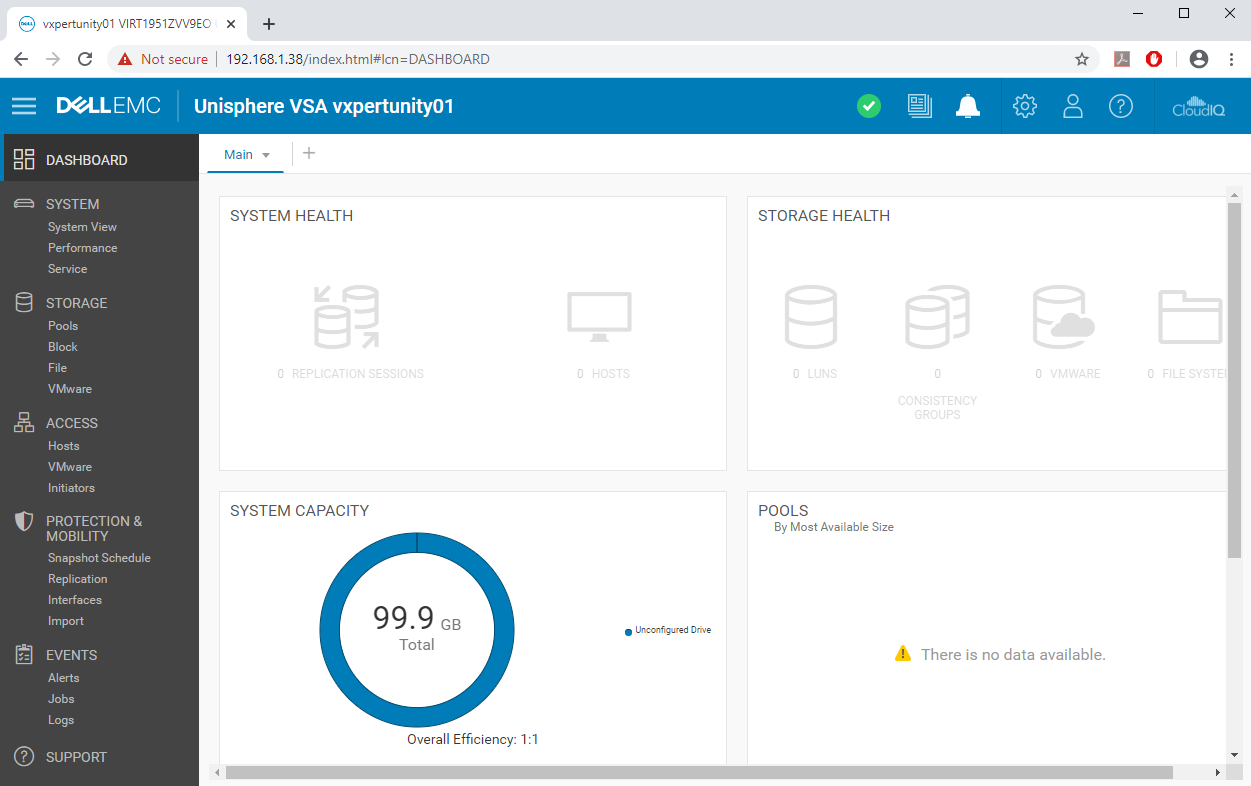
As the above screenshot the system capacity is zero, Now add the required space to the virtual machine and once added you can see the free space on Dashboard like below.
Dell EMC UnityVSA Endpoint Access Configuration
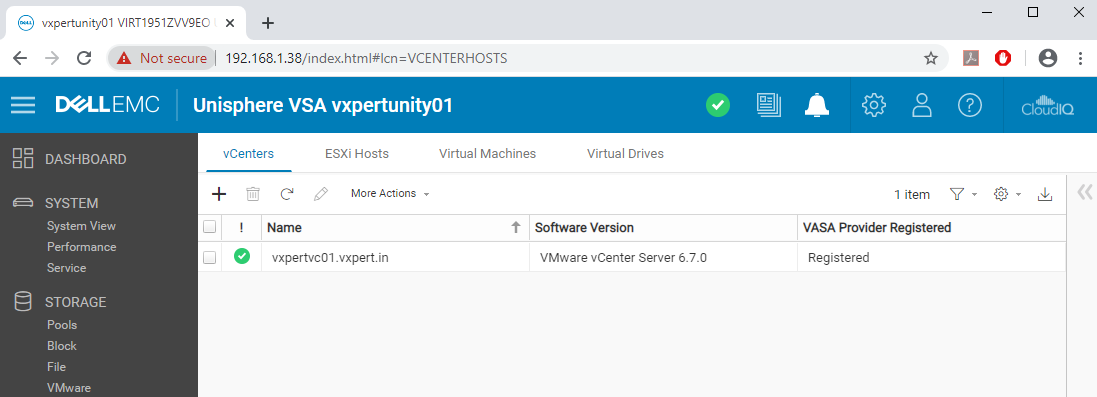
In this recipe will add the storage endpoints like vCenter, Hosts and Initiators etc. Login to Dell EMC UnityVSA browser and click on Access and then VMware
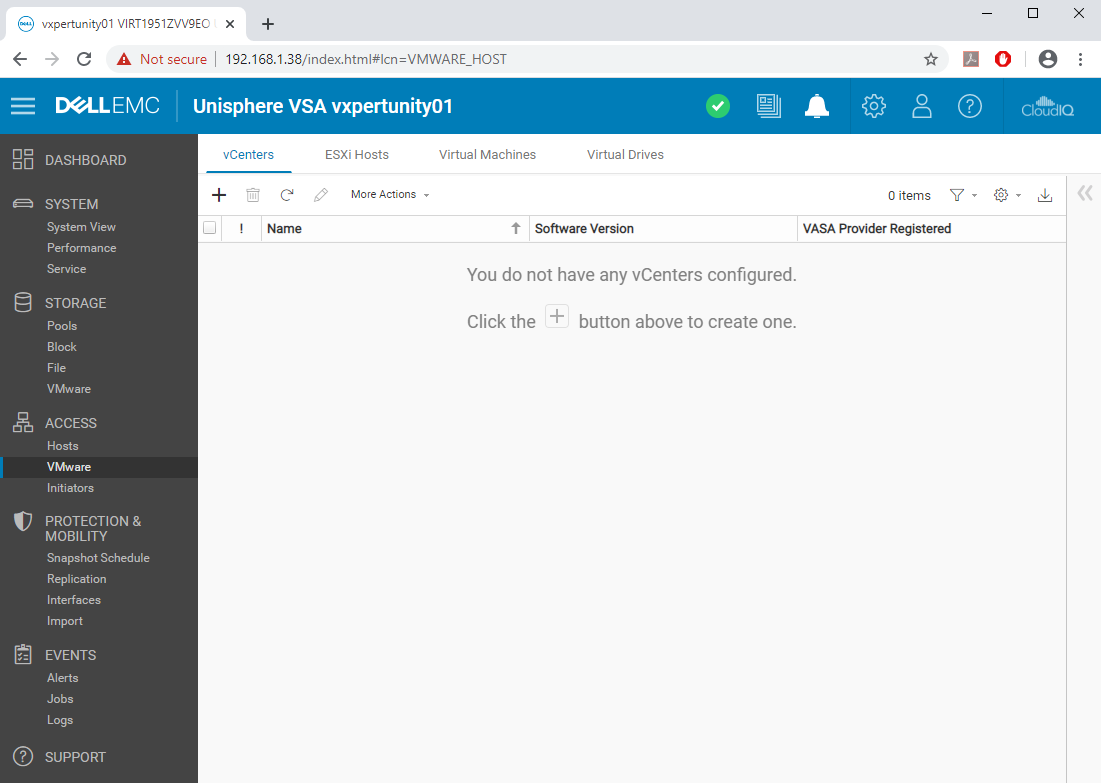
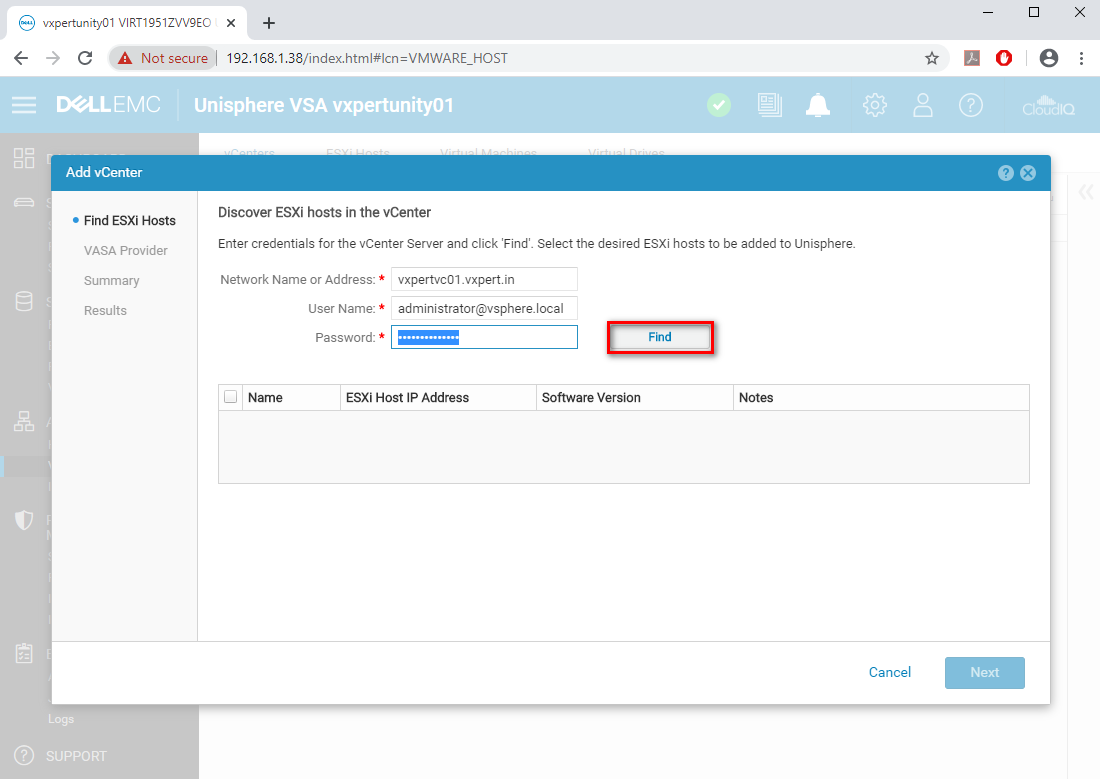
Click on vCenter and press on + symbol
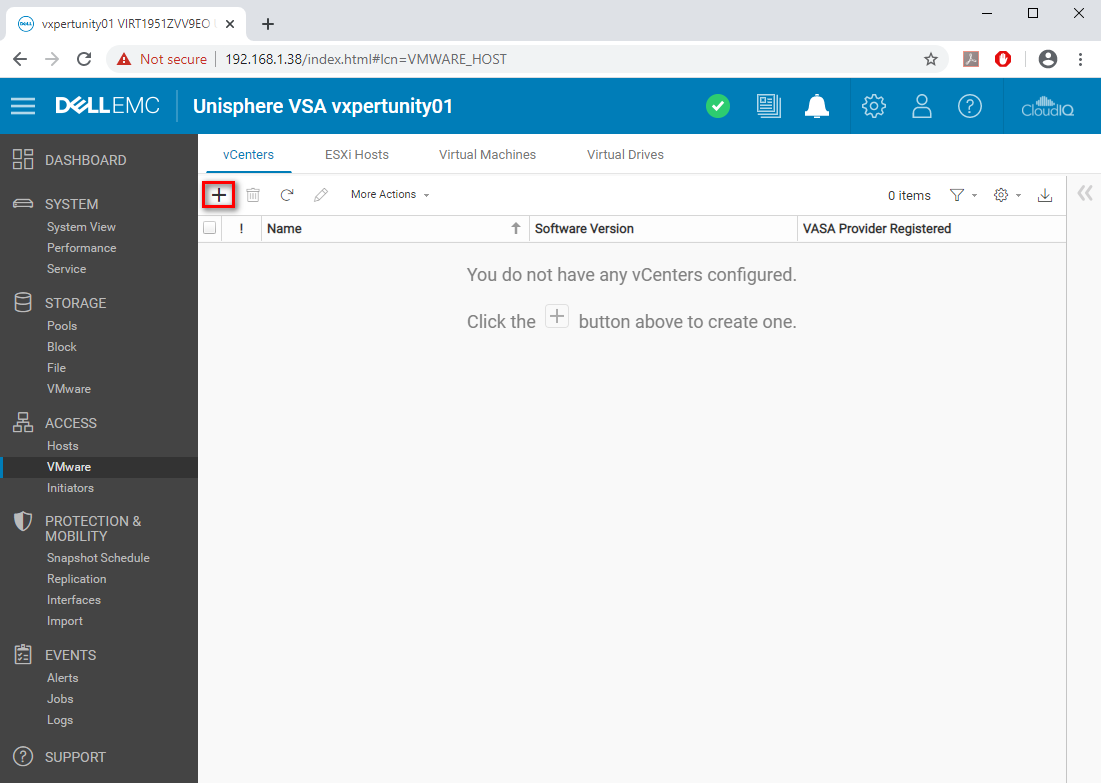
Provide vCenter Server FQDN and credentials and click on Find
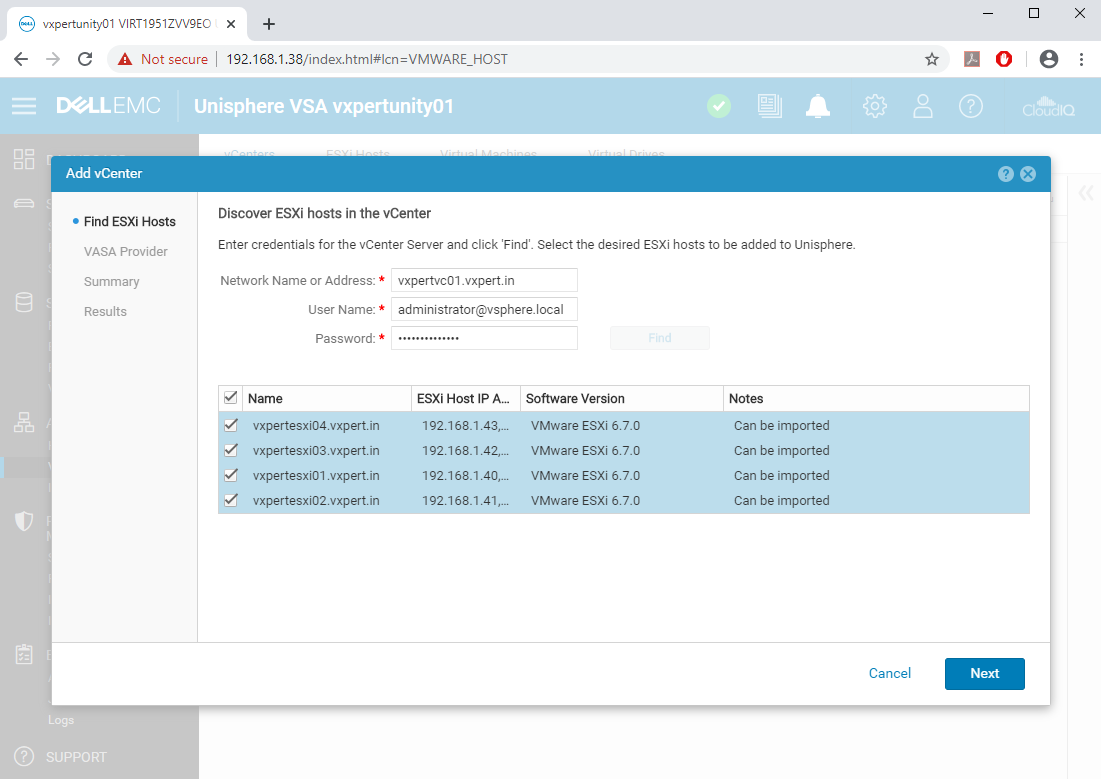
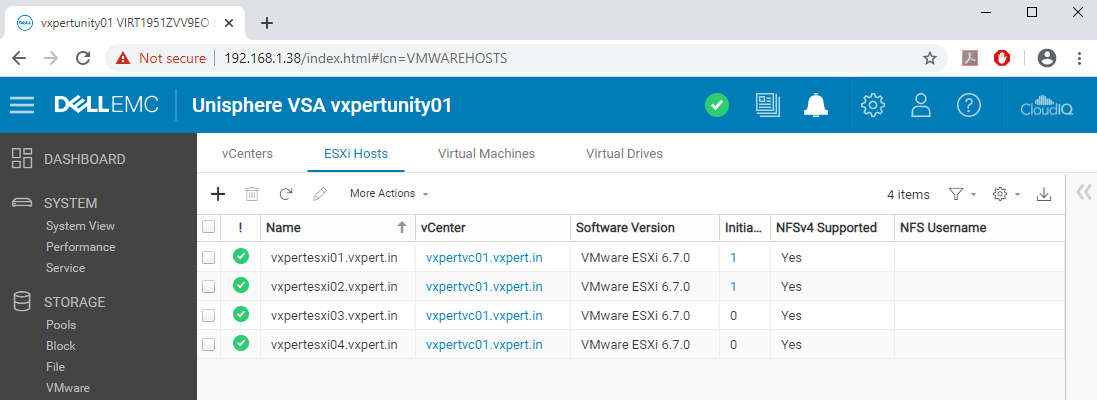
After the discovery you can thee the ESXi hosts which is part of the vCenter Server, Select the host to be part of UnityVSA and click Next
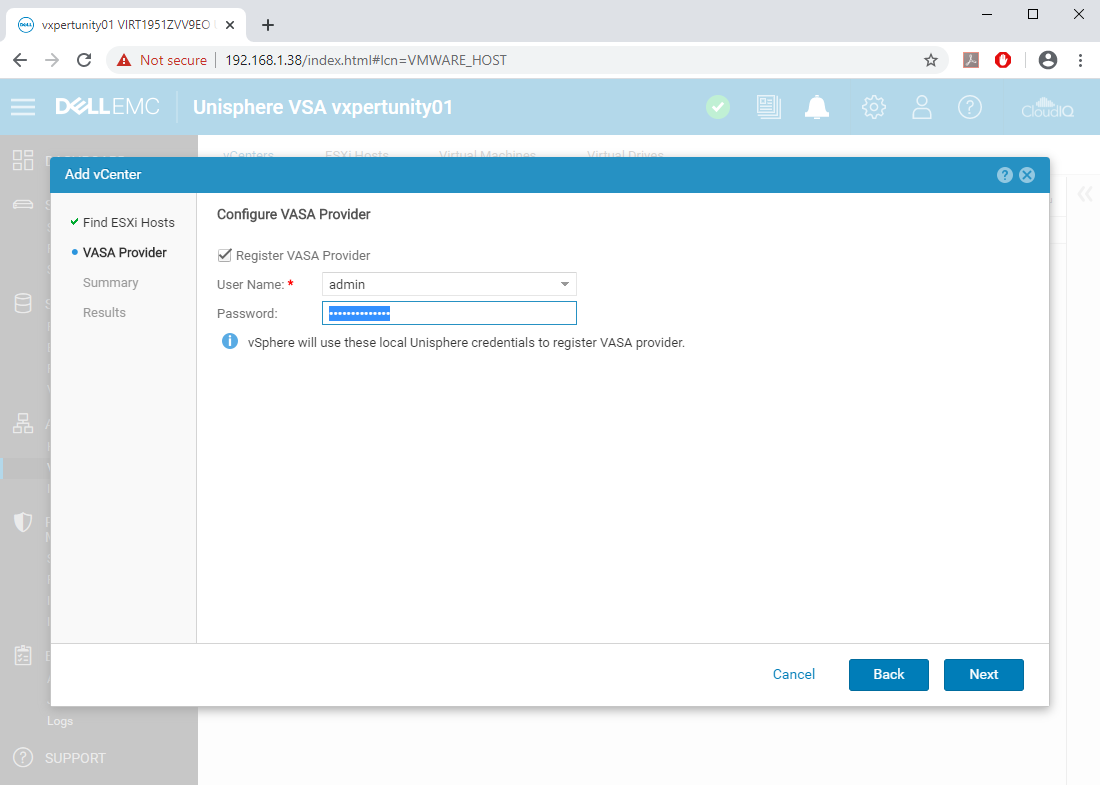
You can configure VMware vSphere APIs for Storage Awareness (VASA) provider here. vSphere will use the local Unisphere credentials to register and click Next
Review the Summary and click Finish

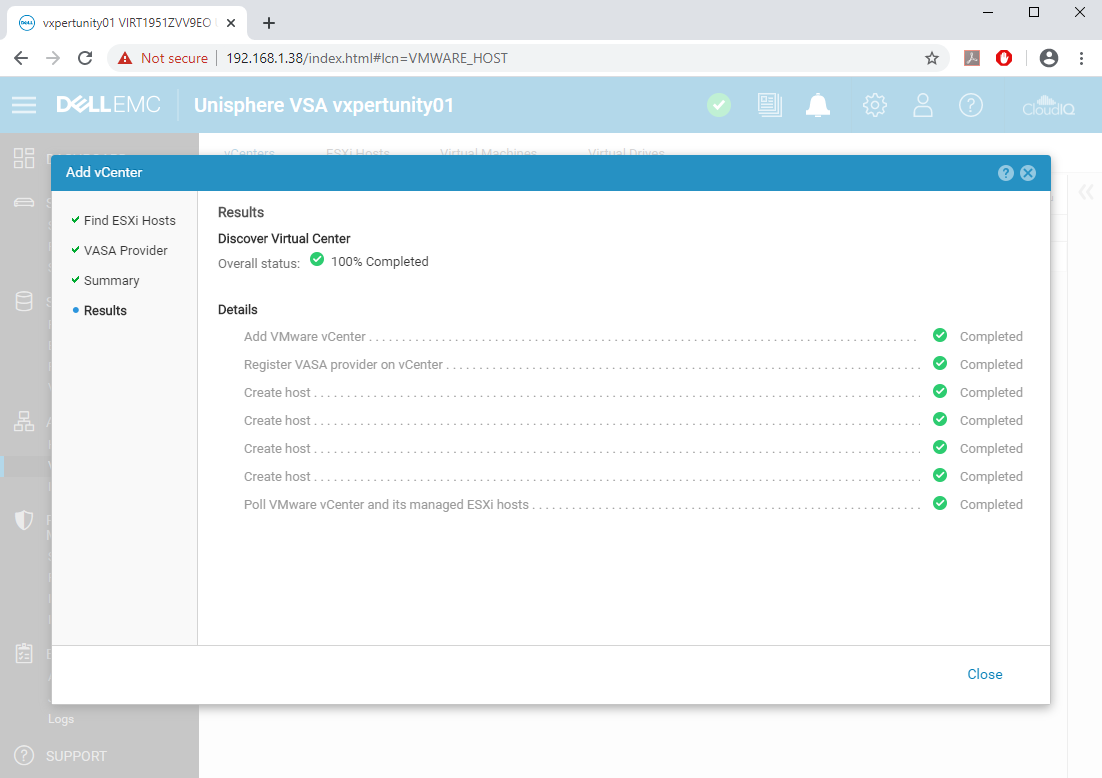
After the process we can see the results like below, click Close to proceed with configuration
After the configuration review the vCenter and ESXi hosts tabs to confirm the inventory.
Dell EMC UnityVSA Storage Pool Configuration
A pool is a set of drives that provide specific storage characteristics for the resources that use them. Pools generally provide optimized storage for a particular set of applications or conditions. When you create a storage resource for hosts to use, you must choose a pool with which to associate the storage resource. The storage that the storage resource uses is drawn from the specified pool. If there are multiple drive types on the system, you can define multiple tiers for the pool.
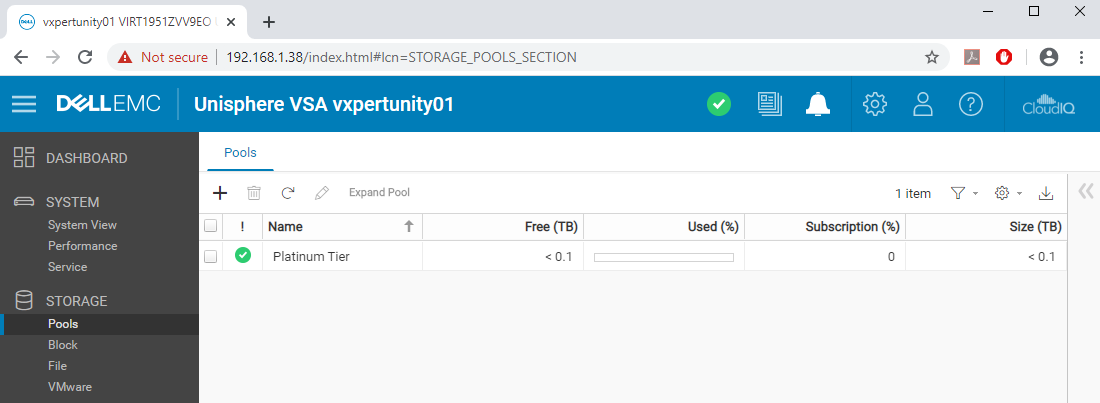
Login to Dell EMC UnityVSA browser and click on Storage and then Pools
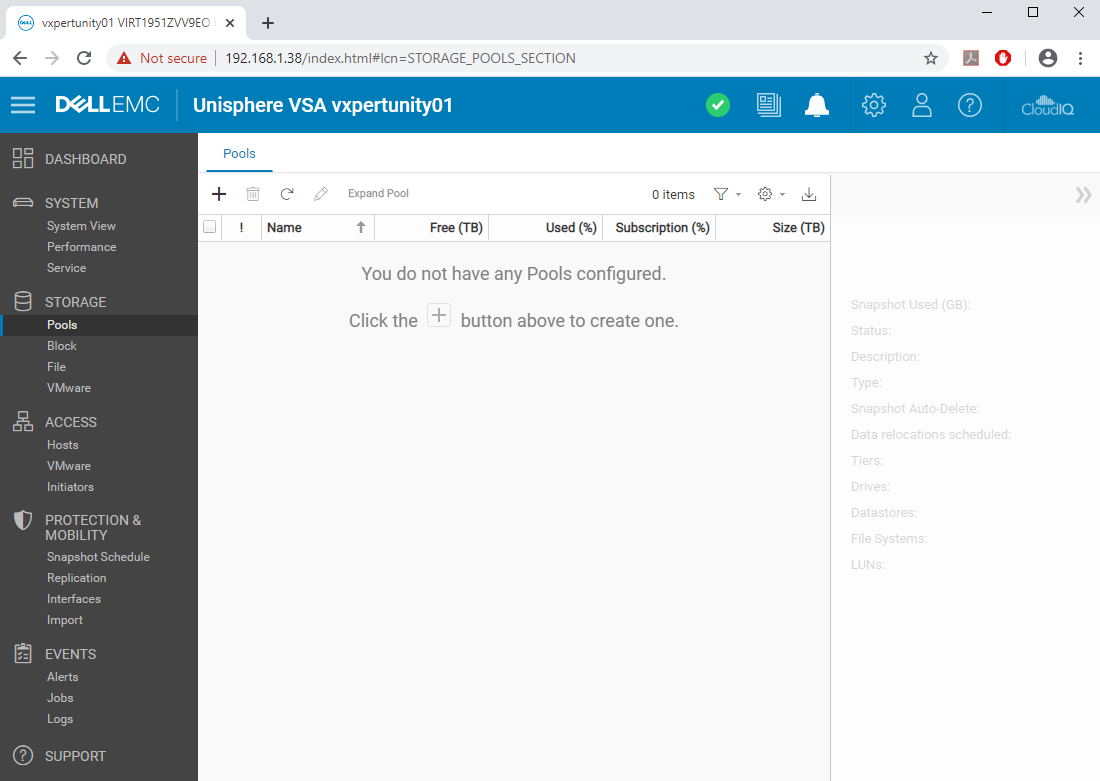
Click on Pools a press on + symbol

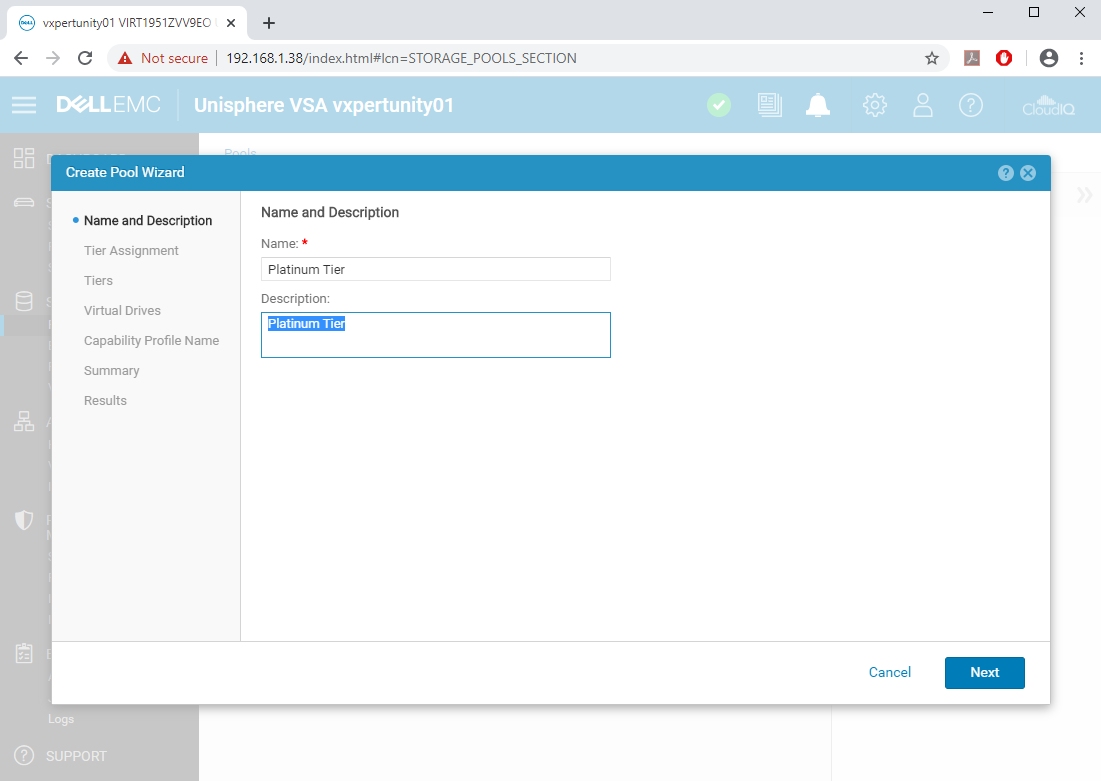
Provide the pool Name and description and click Next
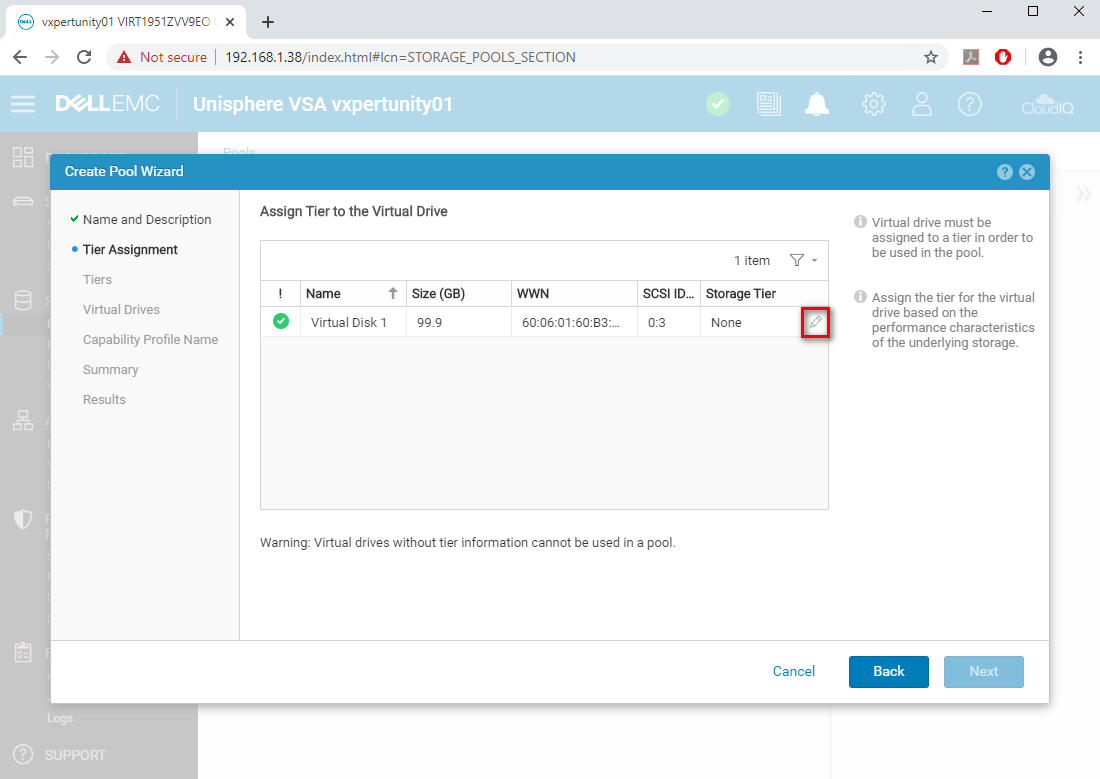
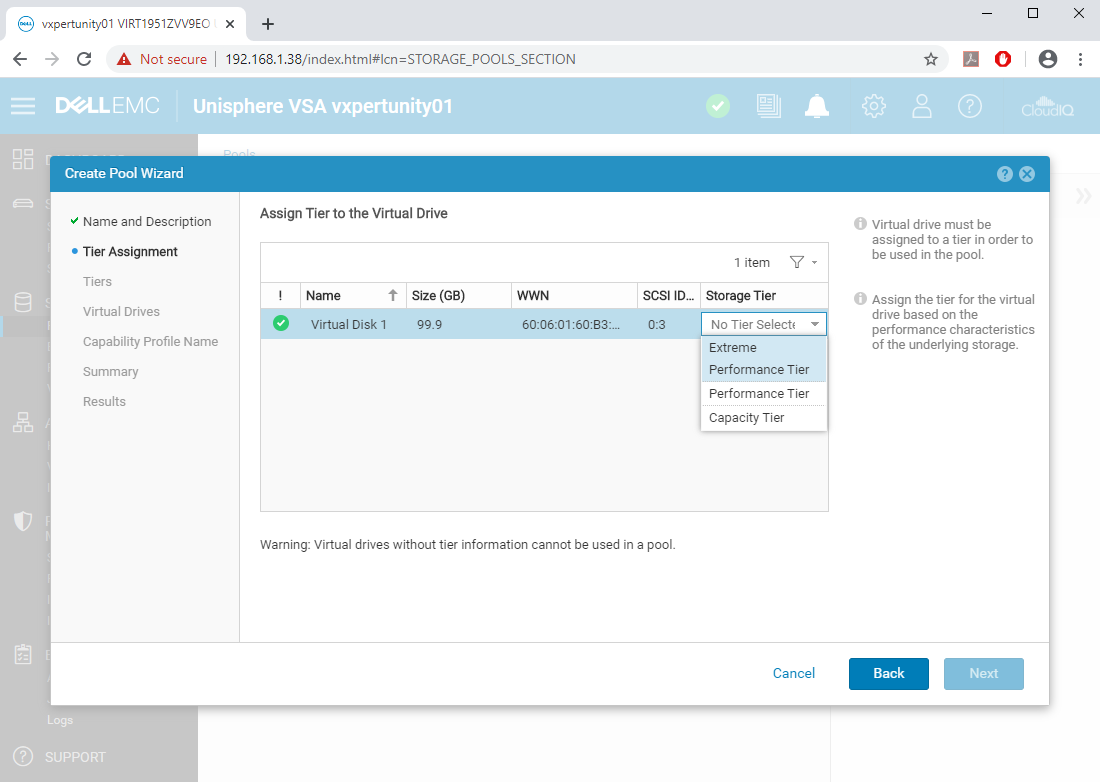
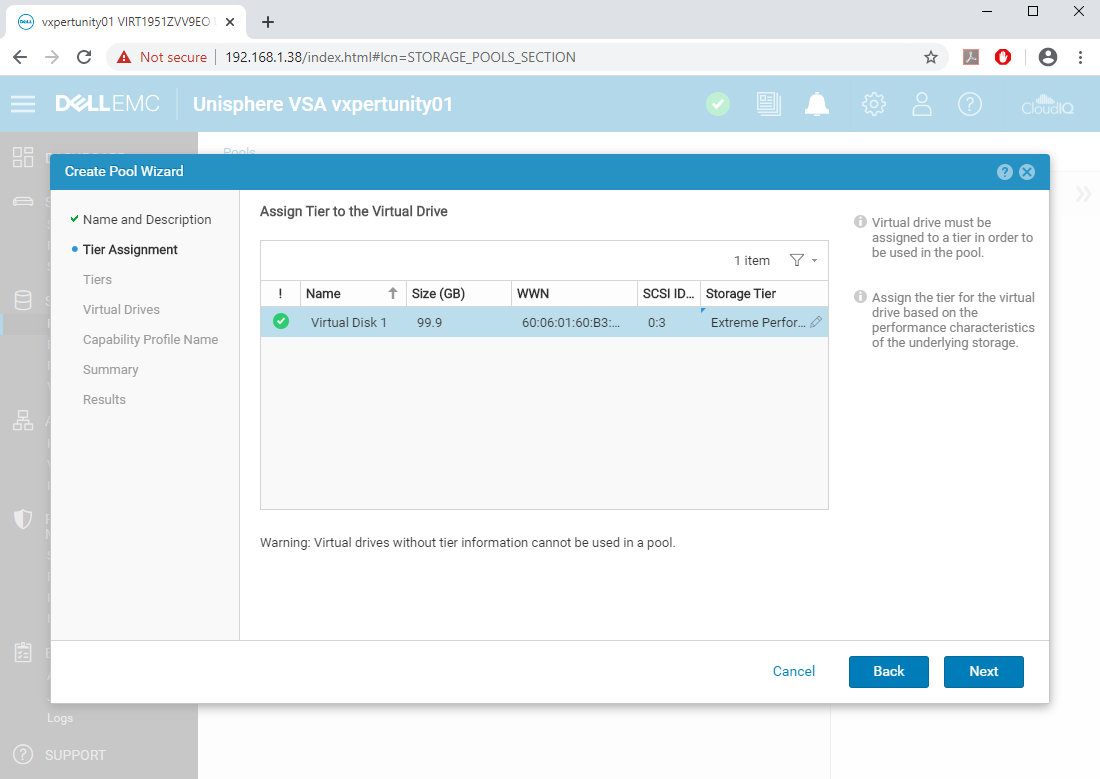
Click on Storage Tier pencil button and select the tier according to your requirement and click Next
As you can see below, we have three storage tier options like Capacity, Performance and Extreme Performance.
Click Next to proceed with configuration
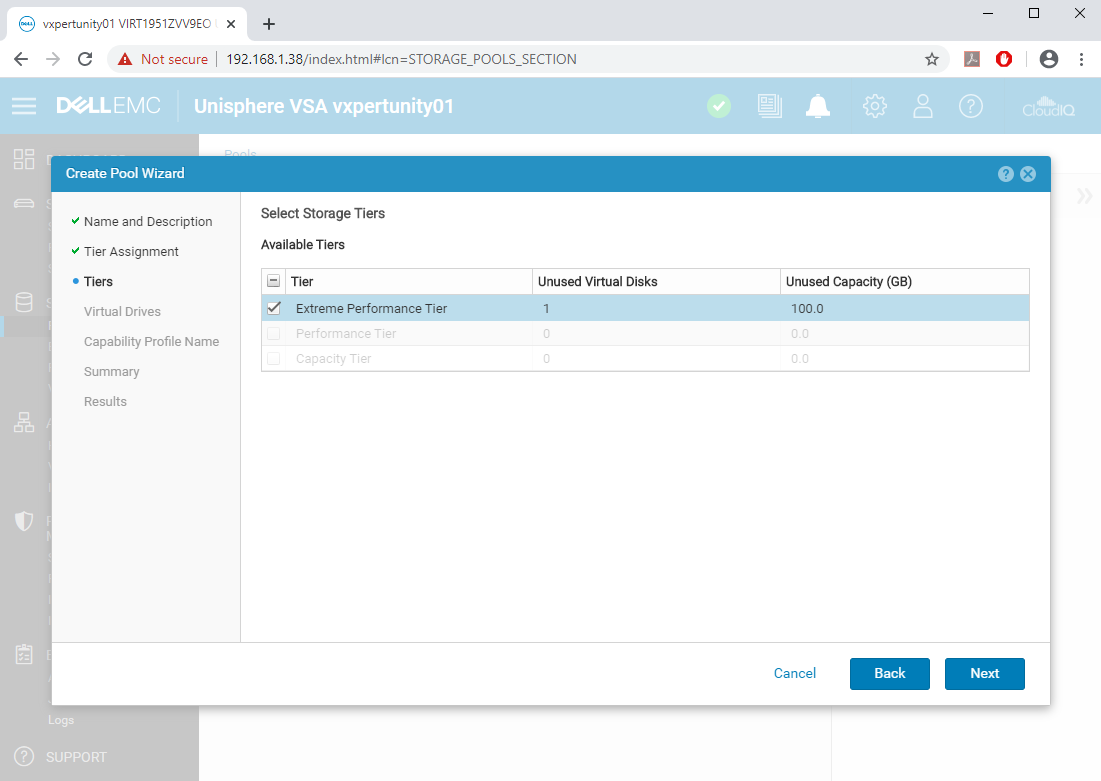
Select the tier and click Next
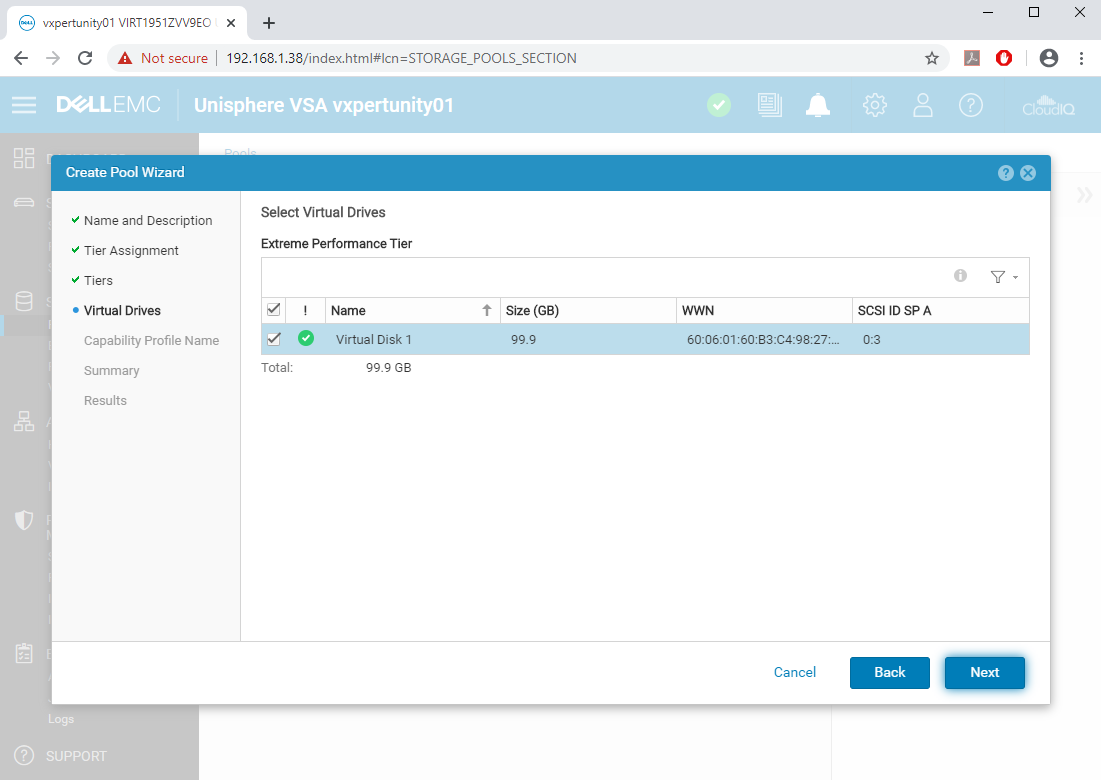
Select the virtual disk and click Next
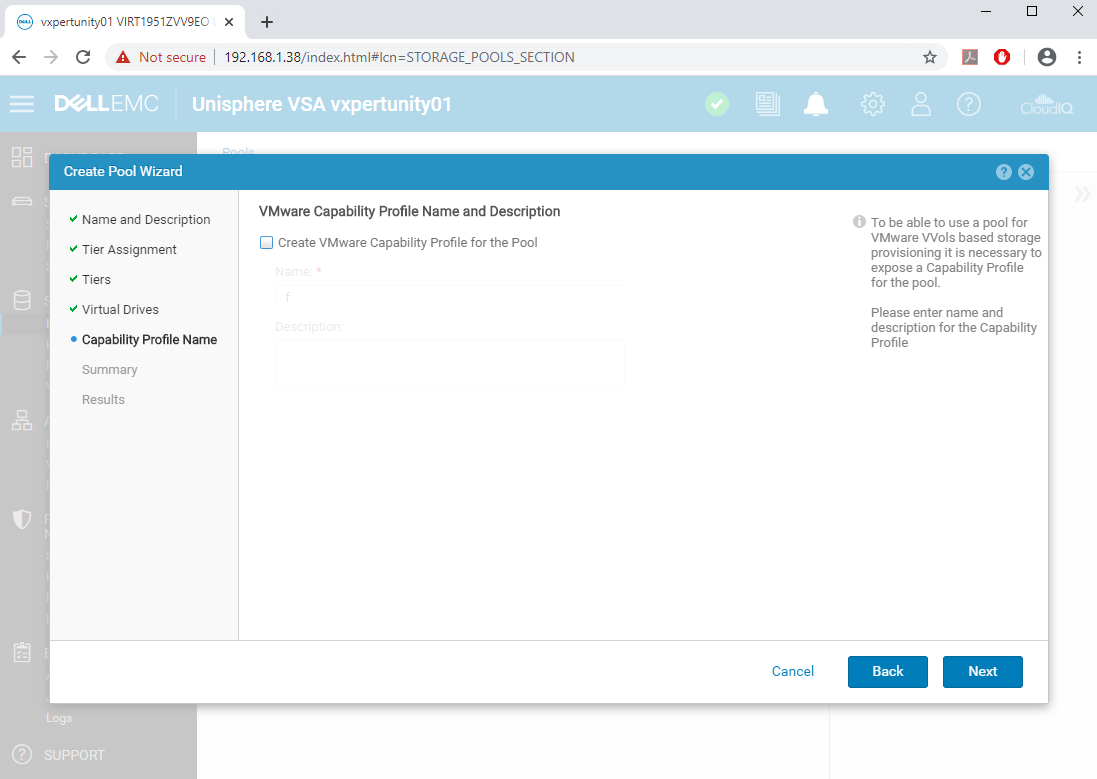
You can create the vVOLs here, if not please leave this blank and click Next
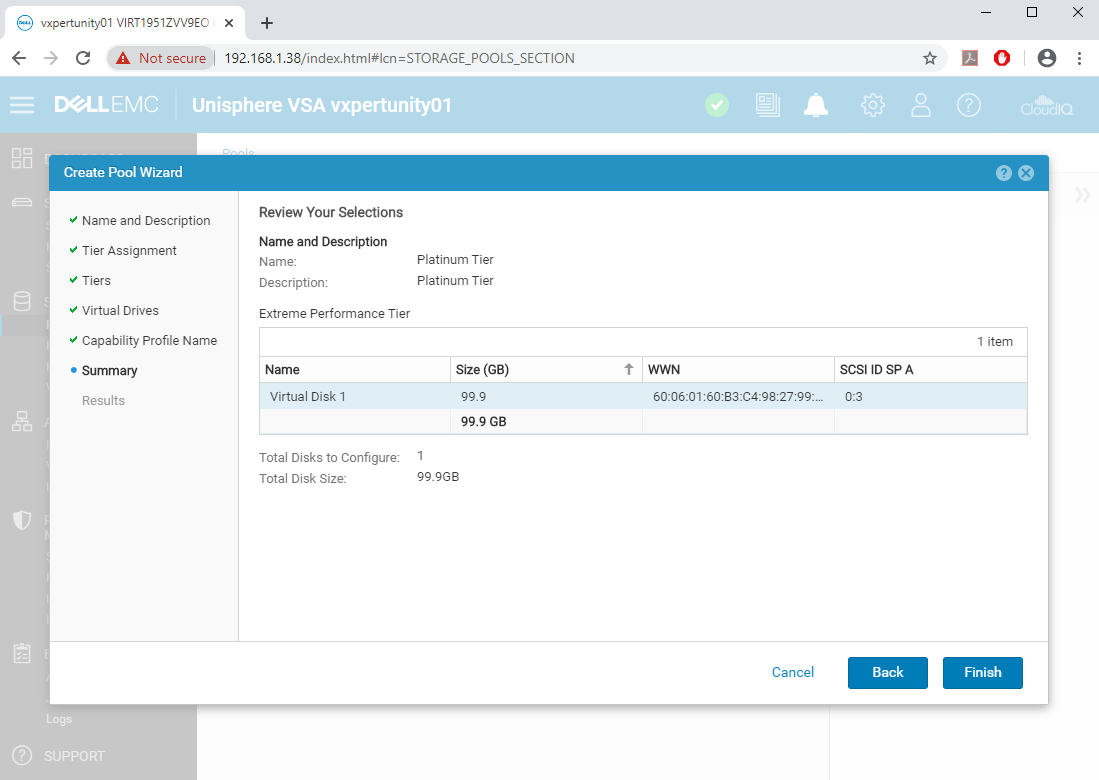
Review the summary and click Finish
Validate the results and click Close
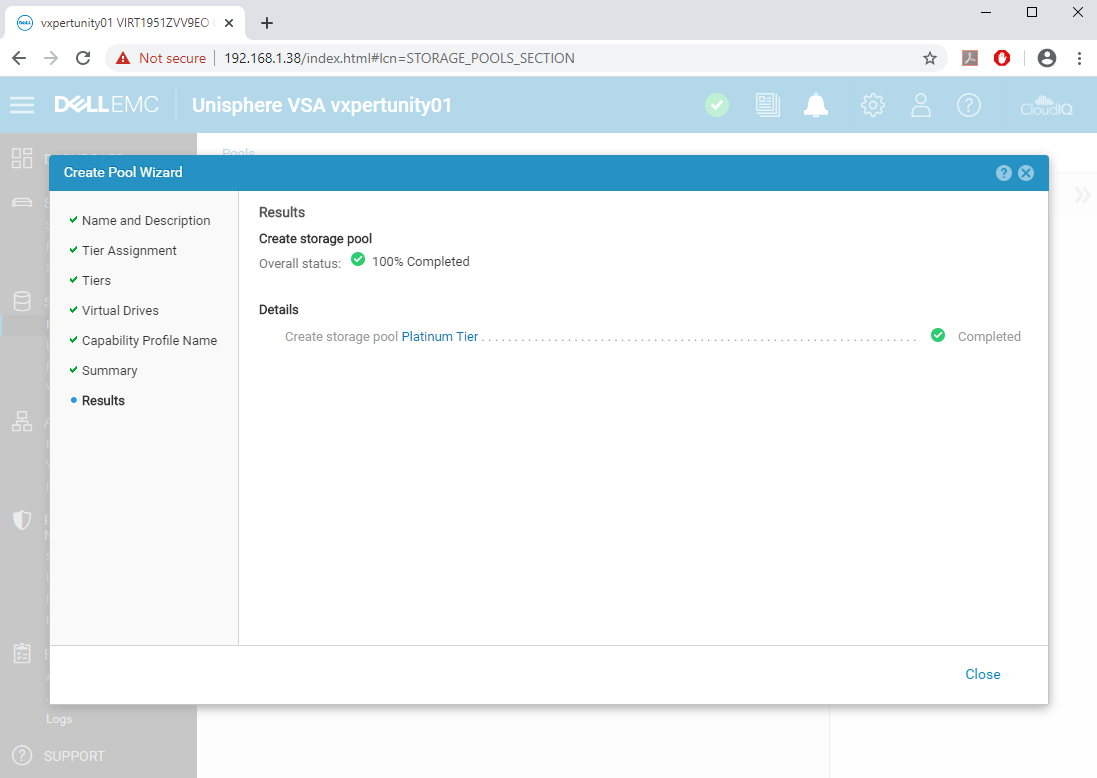
Now you have successfully created storage pool and you can see the same in below console.
Dell EMC UnityVSA Block Storage Provisioning
As we have added the vCenter and ESXi hosts to Dell EMC UnityVSA, now we can add iSCSI storage to the discovered ESXi hosts. To proceed with we must configure iSCSI Interface on UnityVSA appliance.
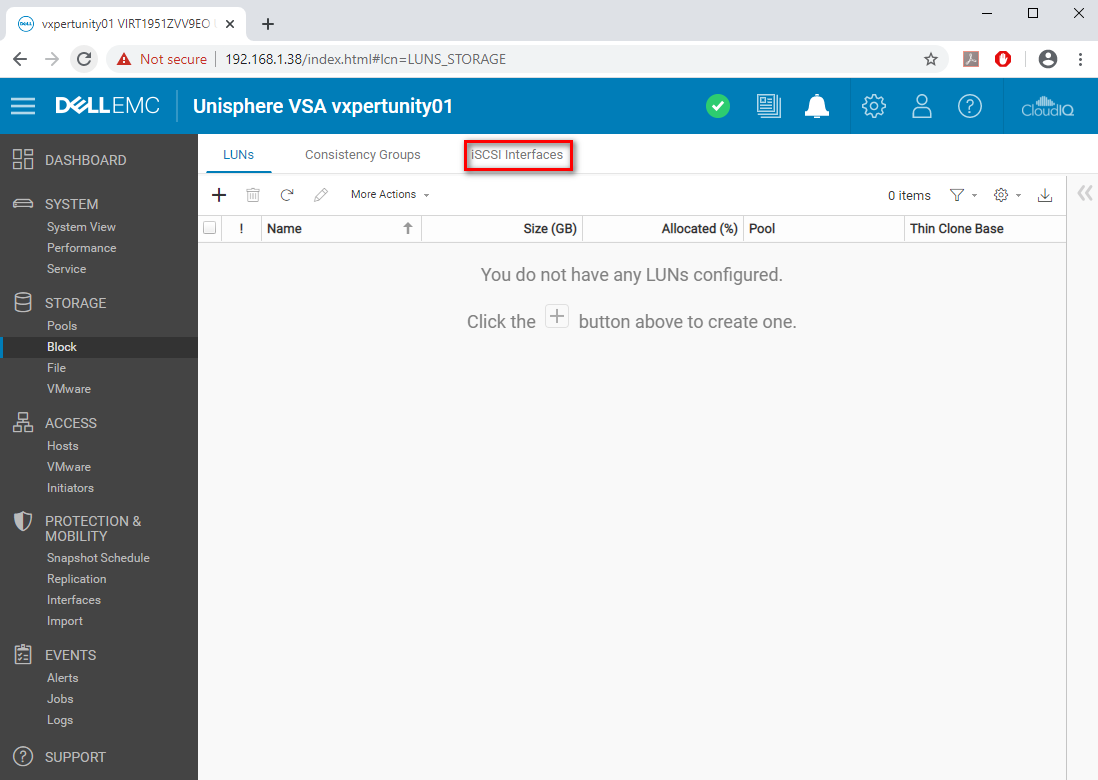
Login to Dell EMC UnityVSA browser and click on Storage and then Block

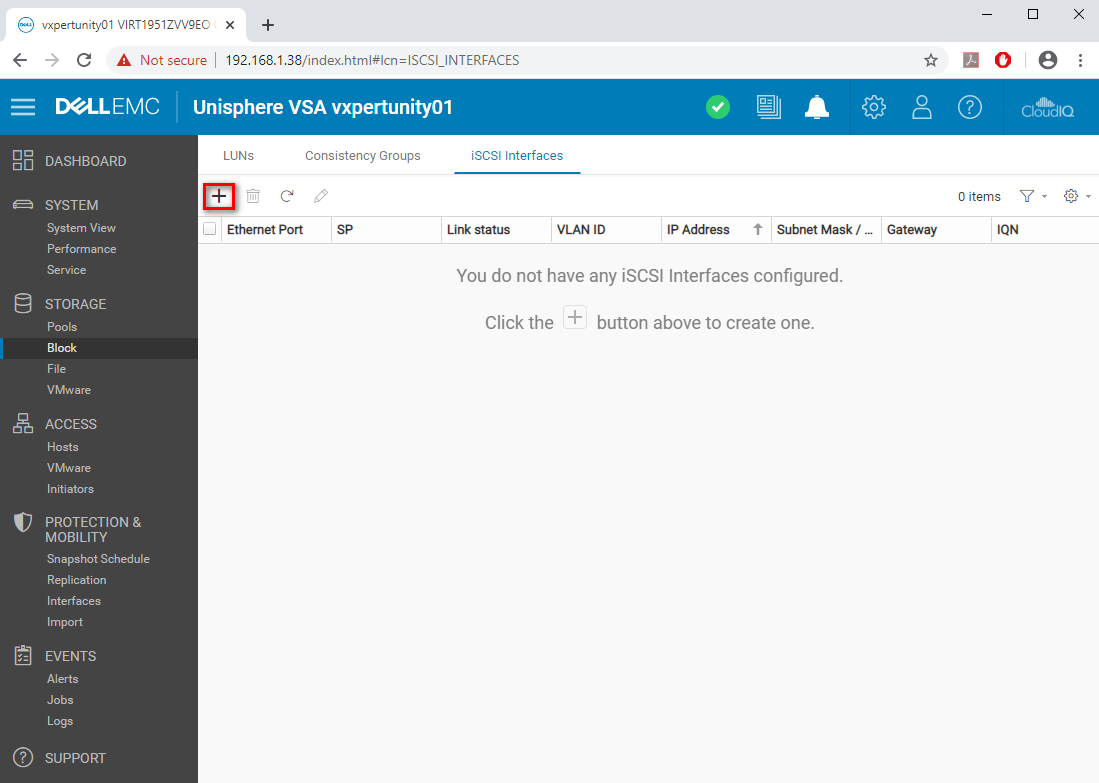
Click on iSCSI Interface a press on + symbol
Select iSCSI Interface and provide IP Address, Subnet Mast and Gateway and click OK Note: – You can create multiple up links for the iSCSI high availability
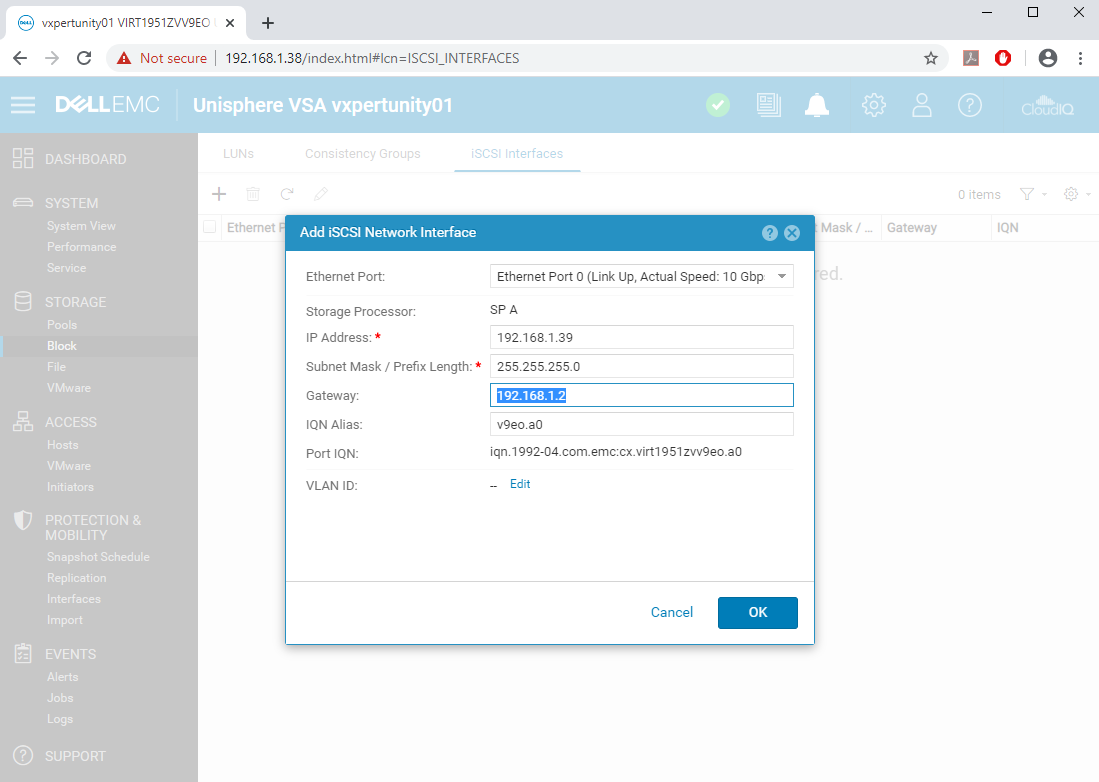
Once complete verify the iSCSI interface details on console as below

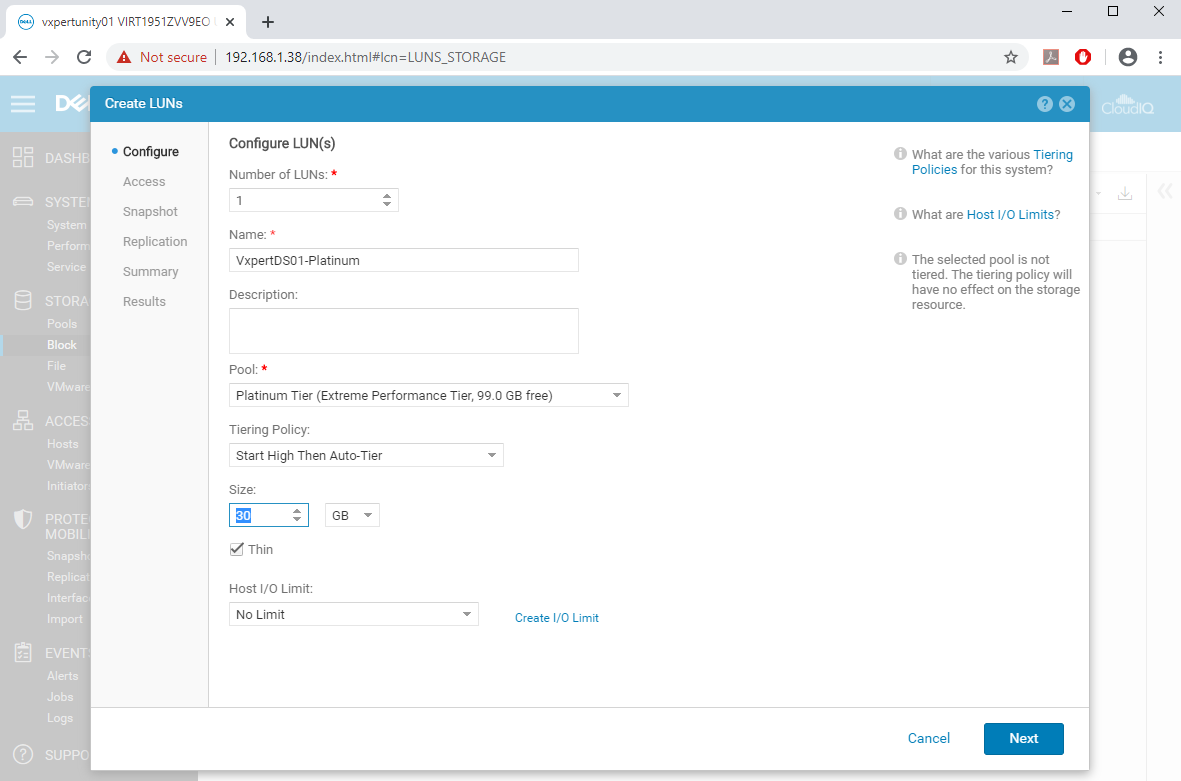
Click on LUNs a press on + symbol to create a new LUN

Provide the LUN Number, Name, Storage Pool, Tiering Policy, Size, and IO details according to your infrastructure planning and click Next
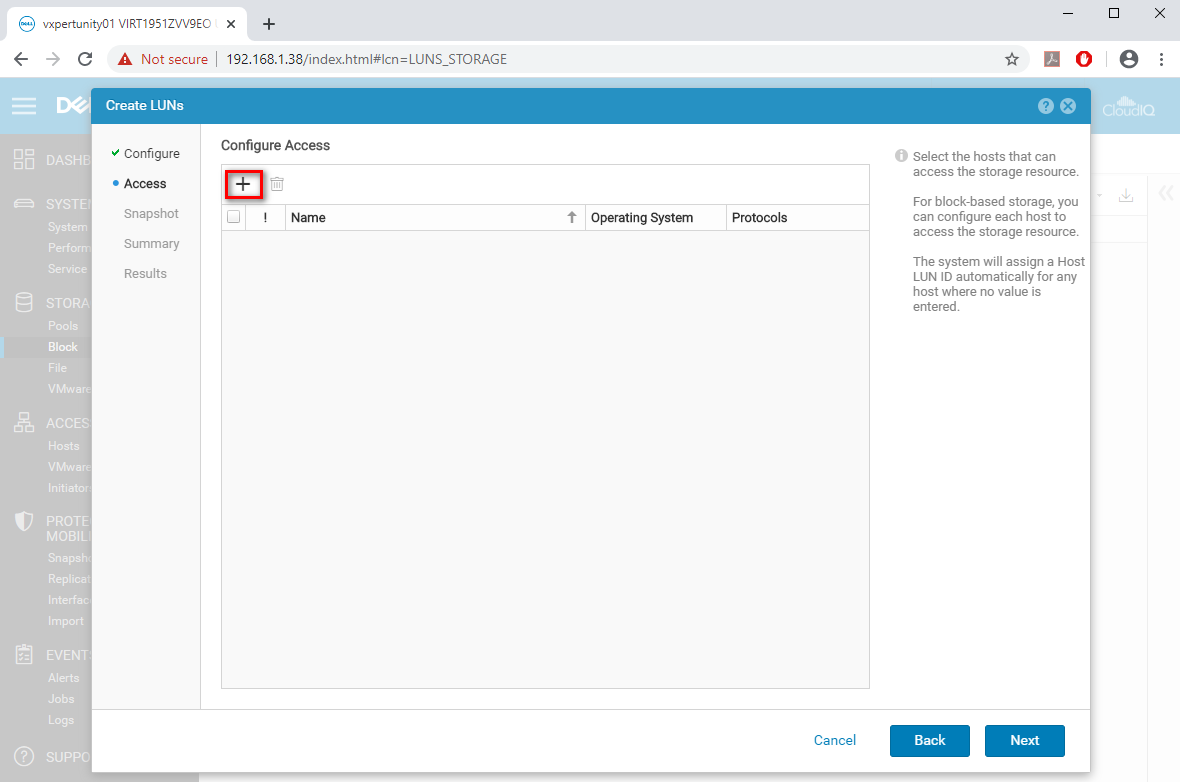
On Access tab press on + symbol to select the Hosts
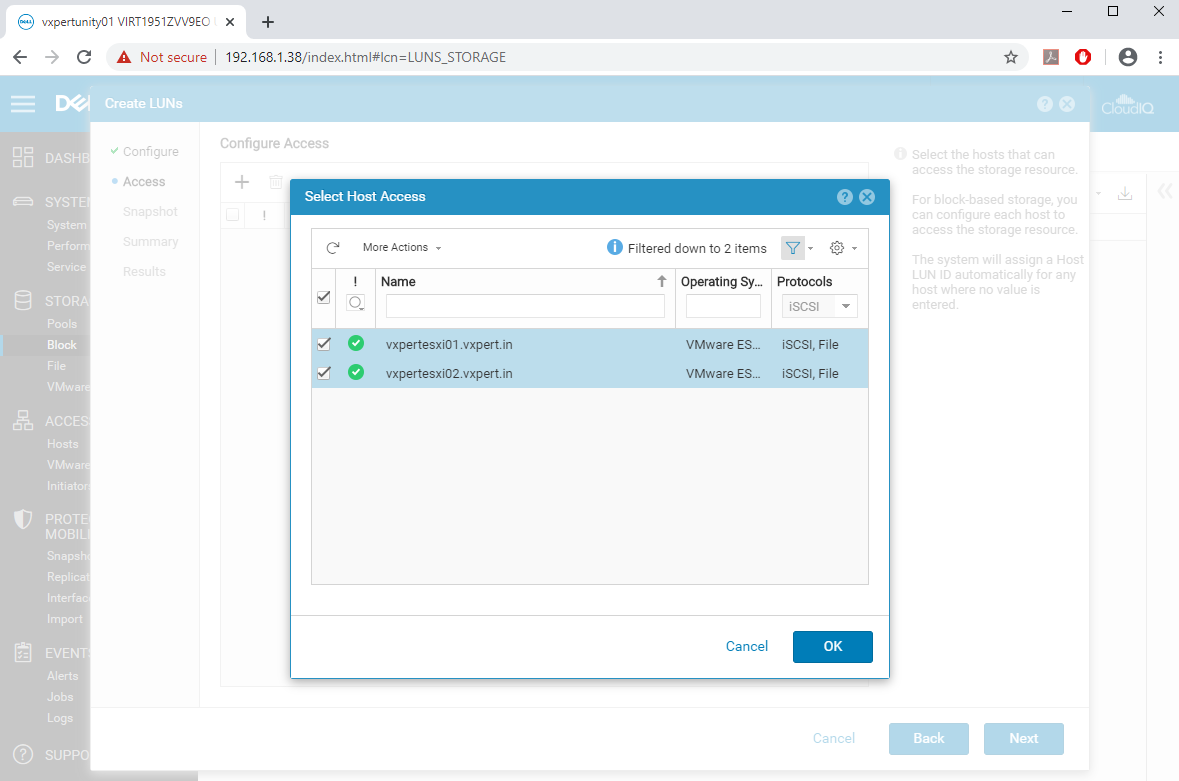
Select the hosts and click OK
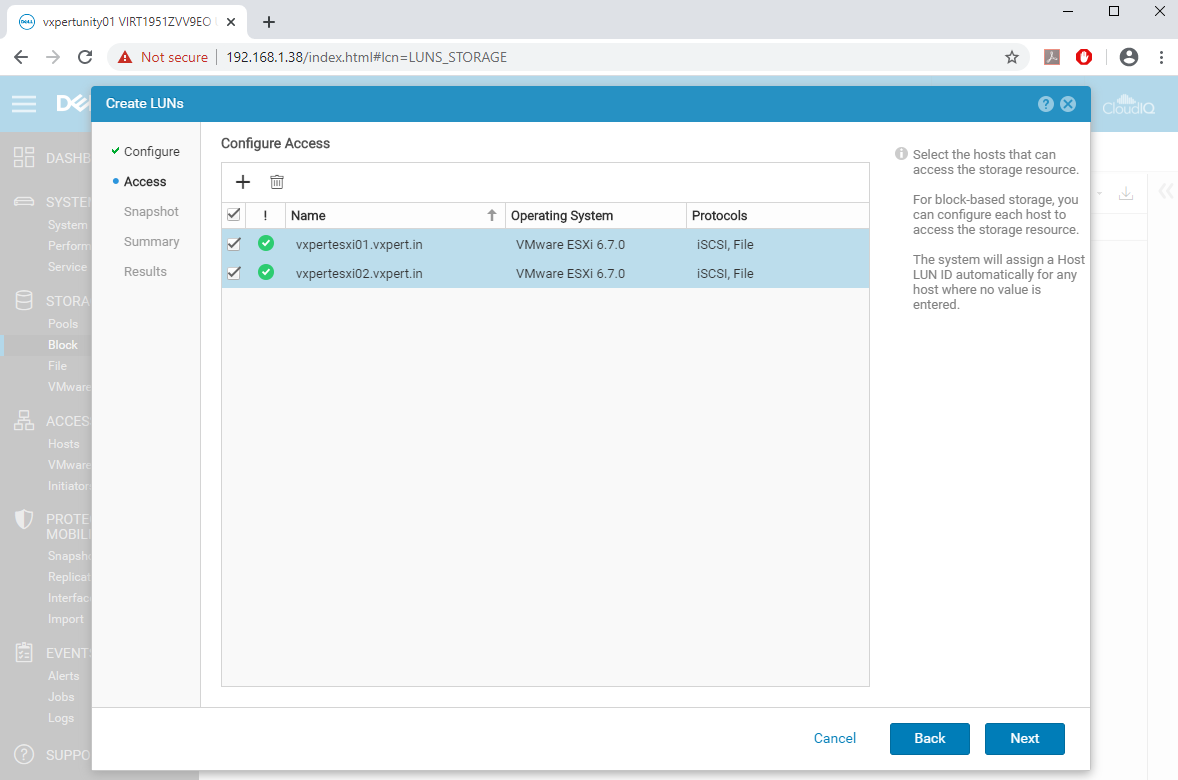
Select the hosts and click Next to proceed
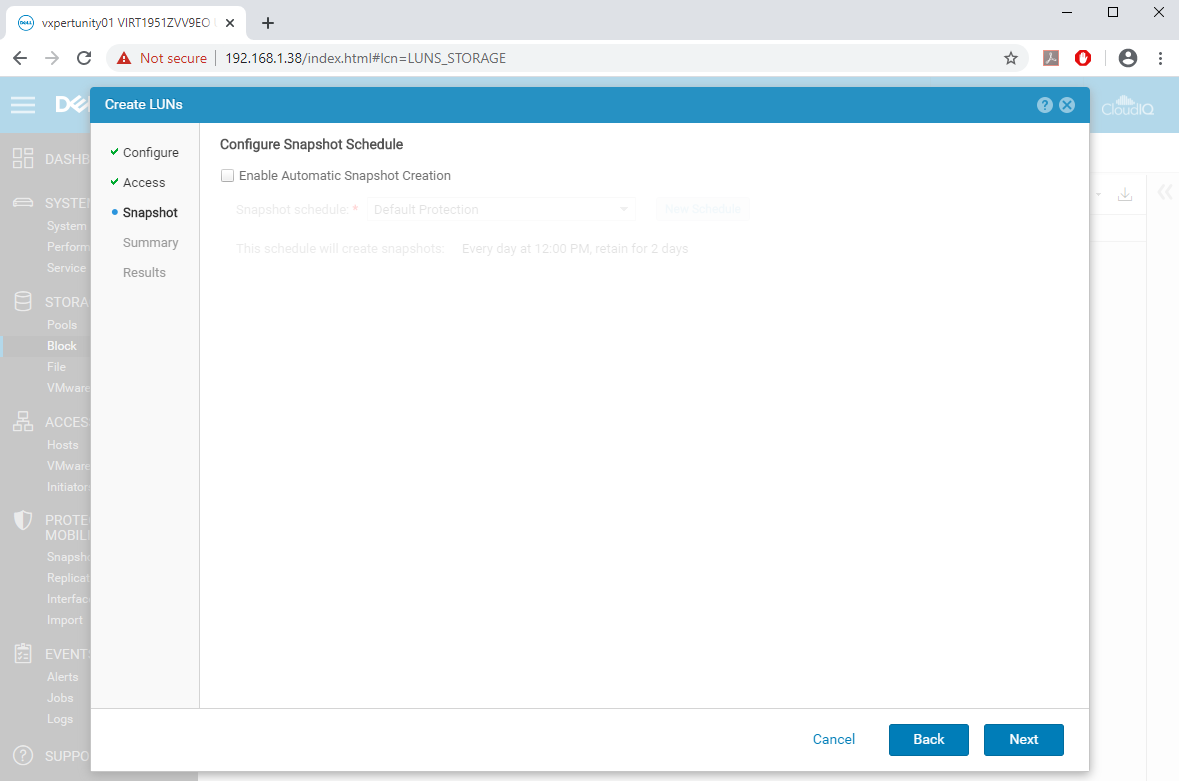
You can configure LUN Snapshot here, if not click Next to continue
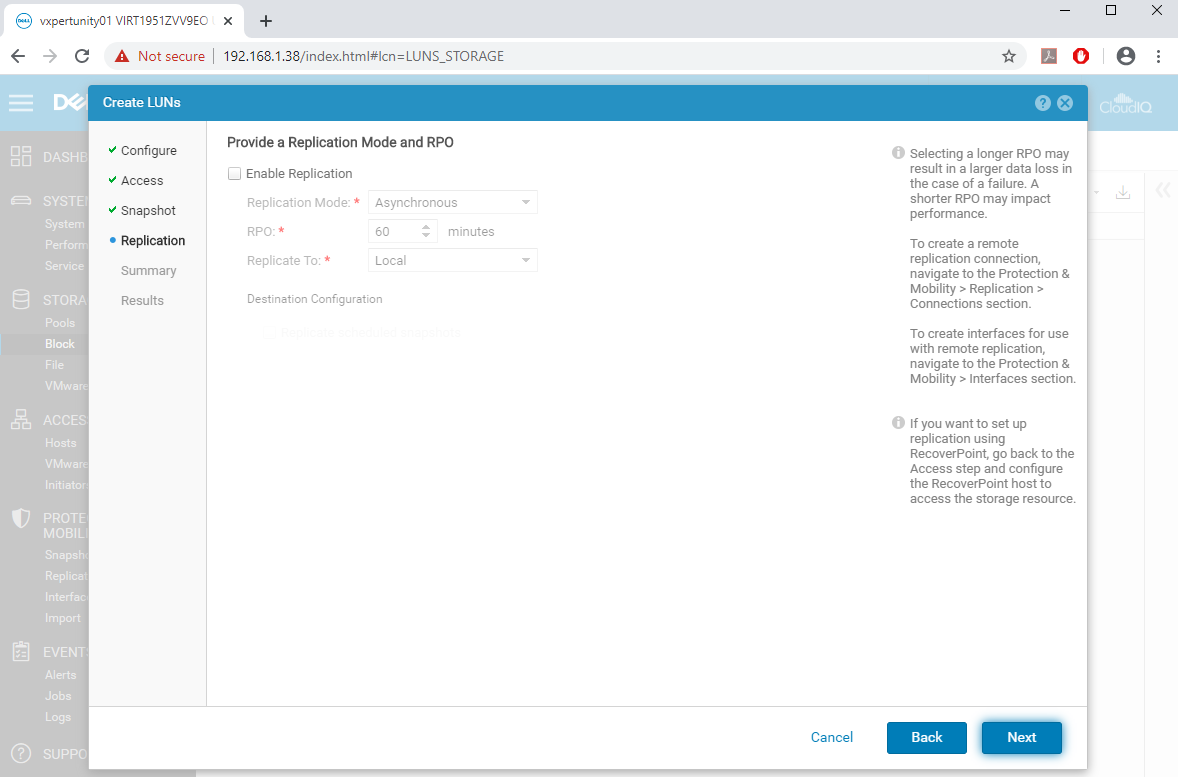
You can configure Replication Mode and RPO here, if not click Next to continue
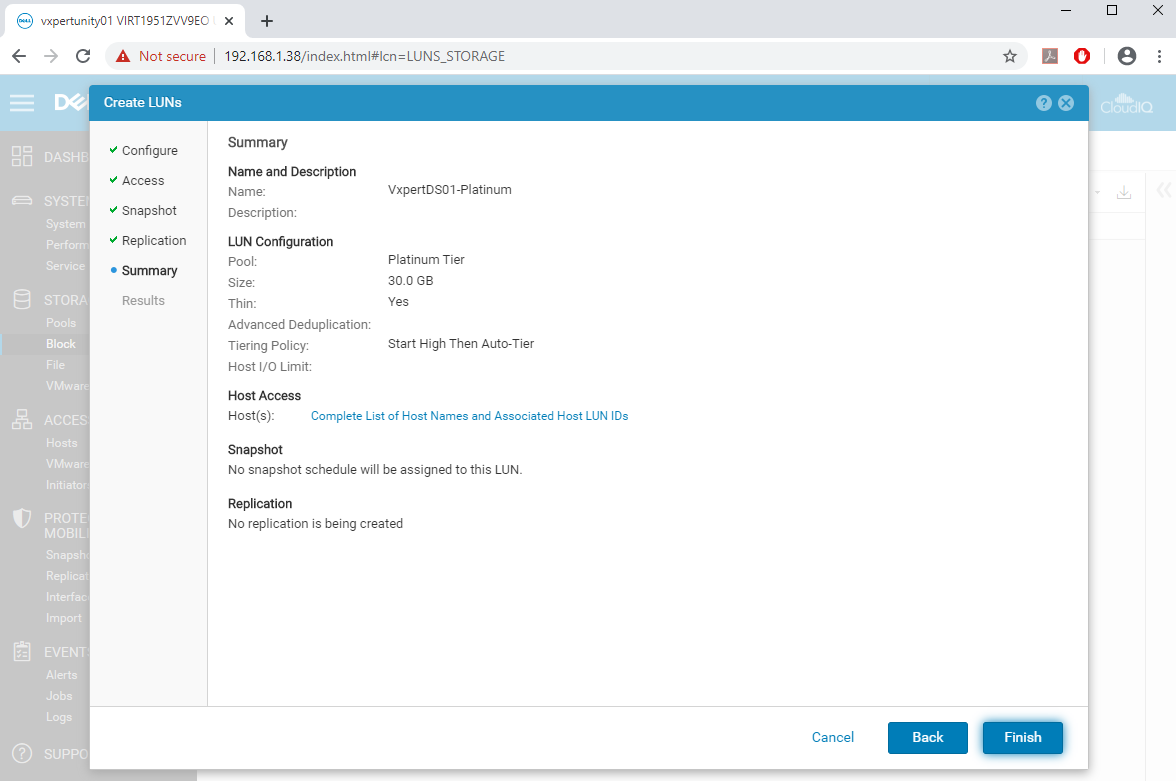
Review the Summary and click Finish
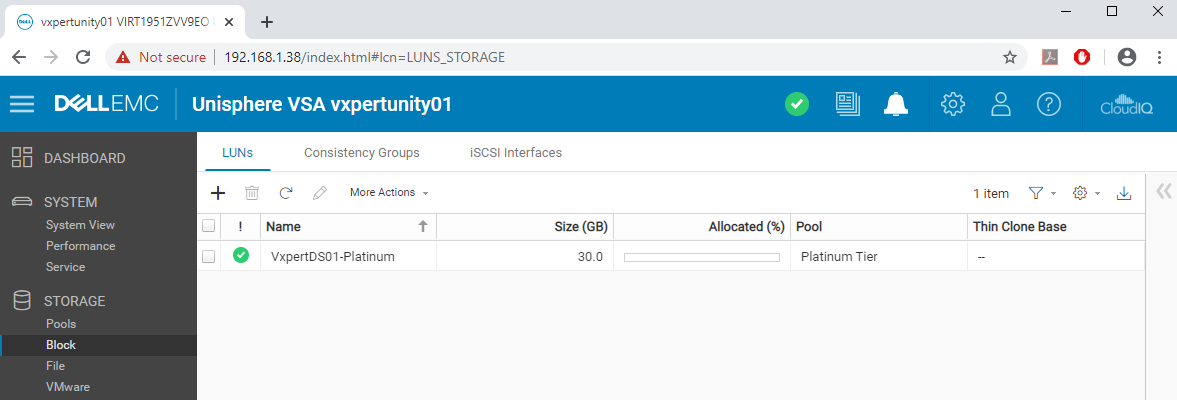
Validate the LUN creation result and click Close

Once complete the review the Dashboard for the LUN details
Note: – Configure host iSCSI adapters and re scan your adapter to view the new LUN.
Dell EMC UnityVSA NAS Server Configuration
NAS Servers host file systems on the Dell EMC UnityVSA storage system. NAS Servers utilize virtual interfaces to enable host connectivity to SMB, NFS, and Multi protocol file systems, as well as VMware NFS Datastores and VMware Virtual Volumes. Depending on what is enabled on the NAS Server, SMB file systems and NFS file systems can be created either separately or in a multi protocol configuration.
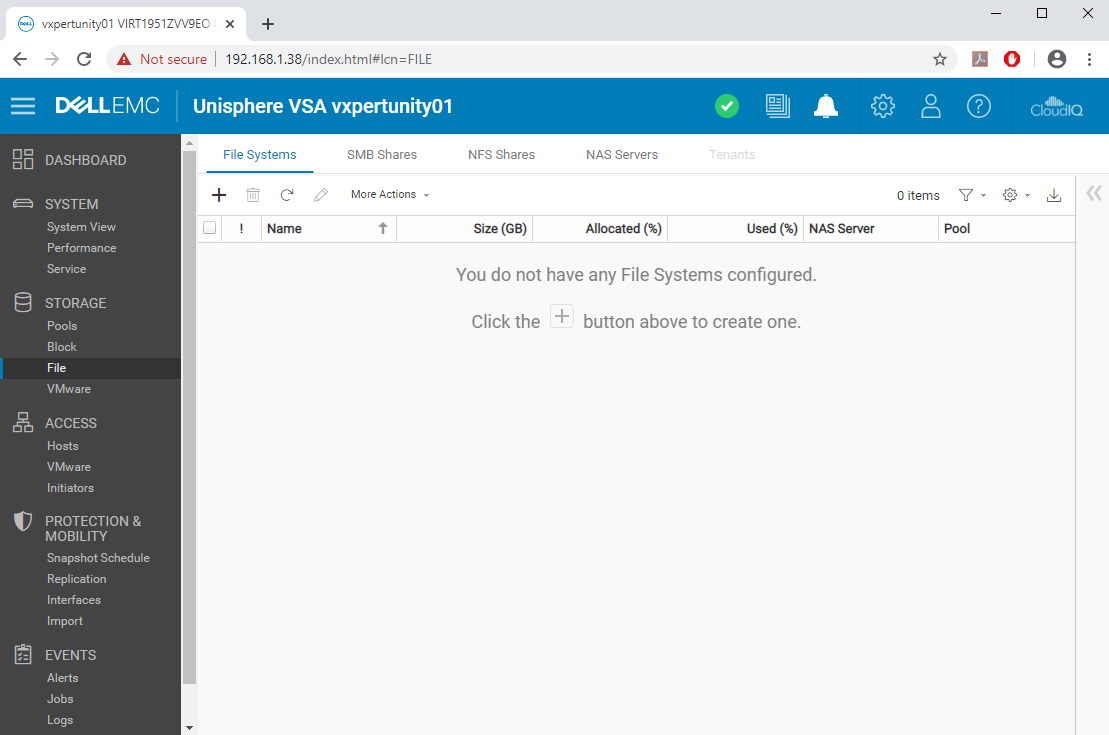
Login to Dell EMC UnityVSA browser and click on Storage and then File
Click on NAS Servers and press on + symbol
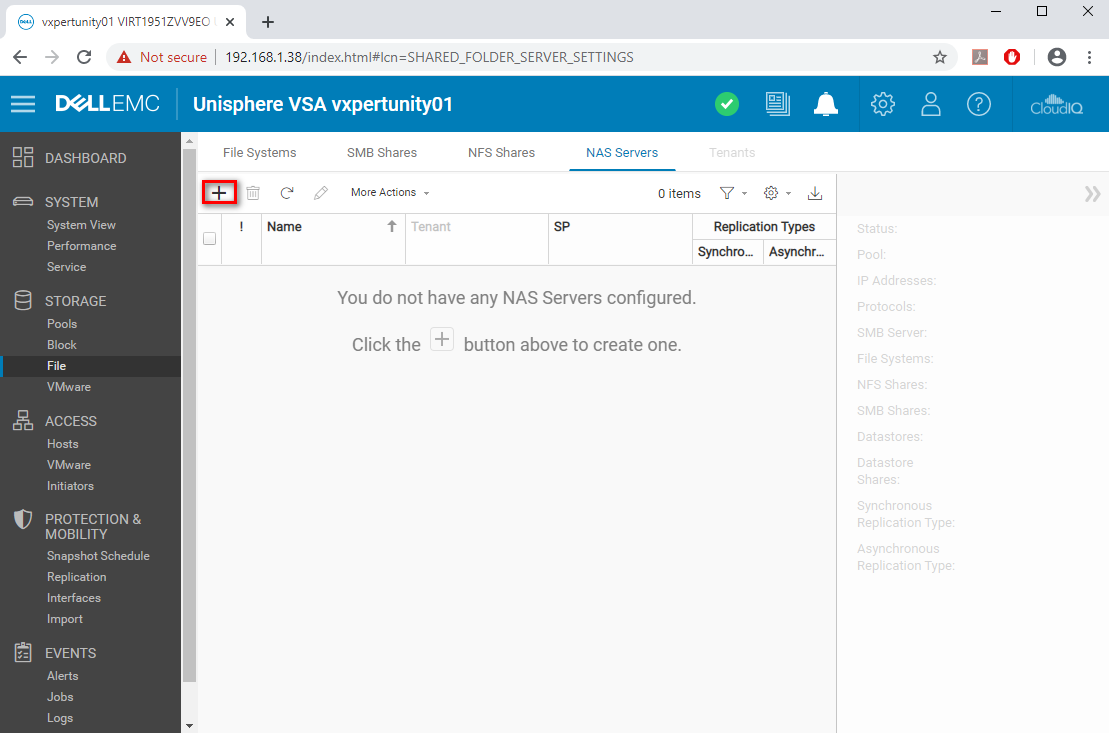
Provide NAS Server name, tenant if any, Storage Tier and Storage processor and click Next

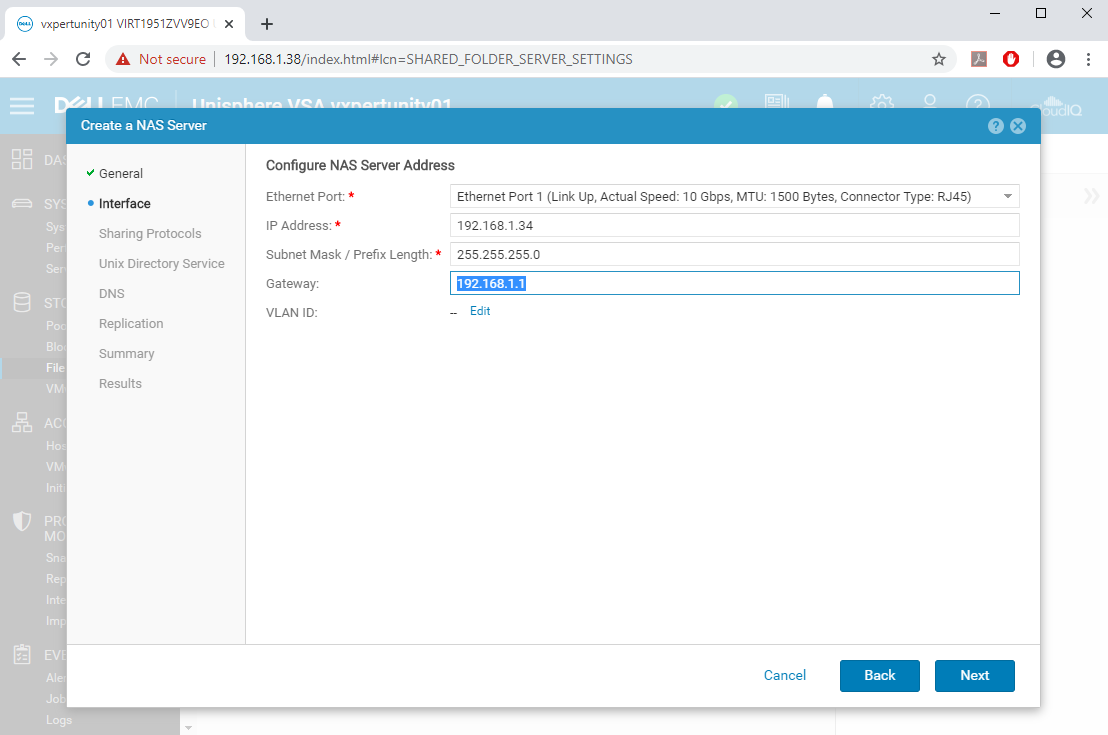
Select Ethernet port, and provide IP address, Subnet Mask, Gateway and click Next
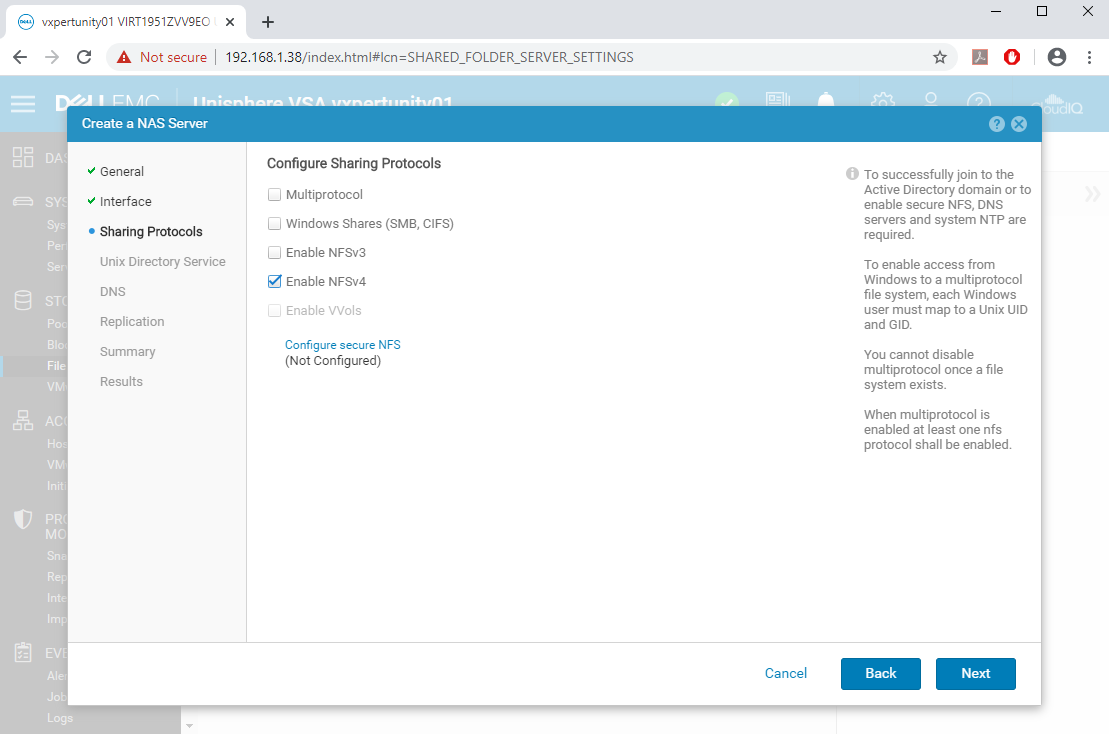
Select Protocol, you can select multi protocol which can support SMB/CIFS/NFS. In our case we are creating NAS share for ESXi hence selecting NFSv4 and click Next
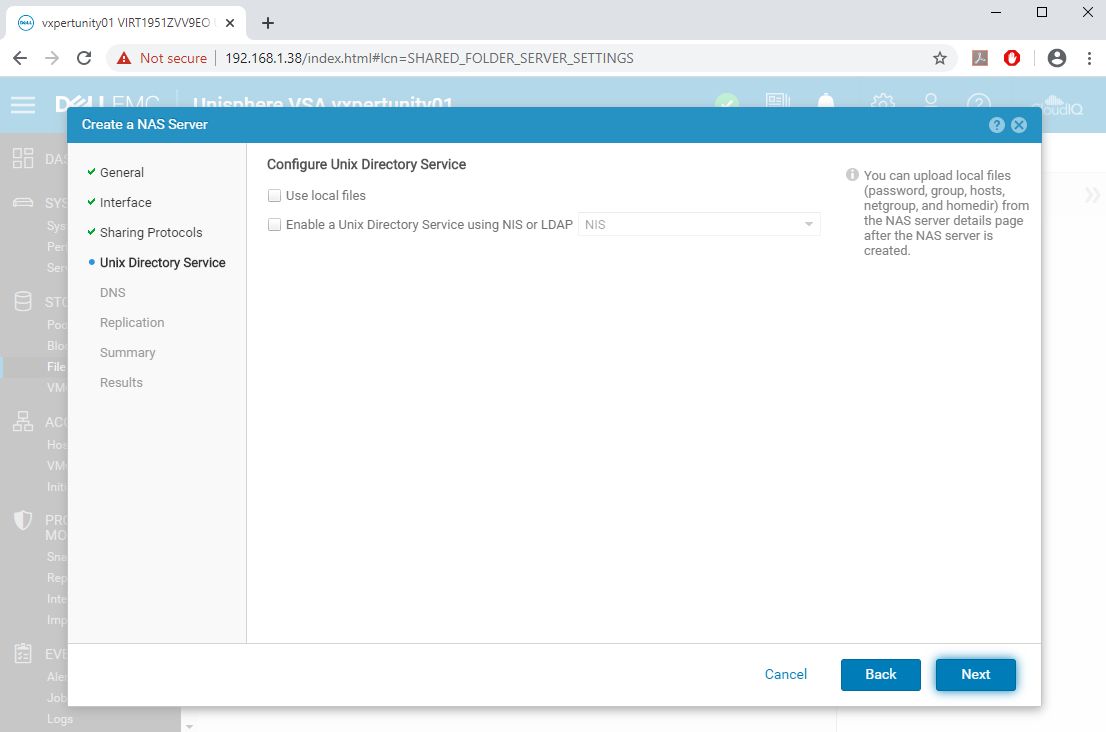
You can configure Unix Directory Services, if not click on Next to proceed
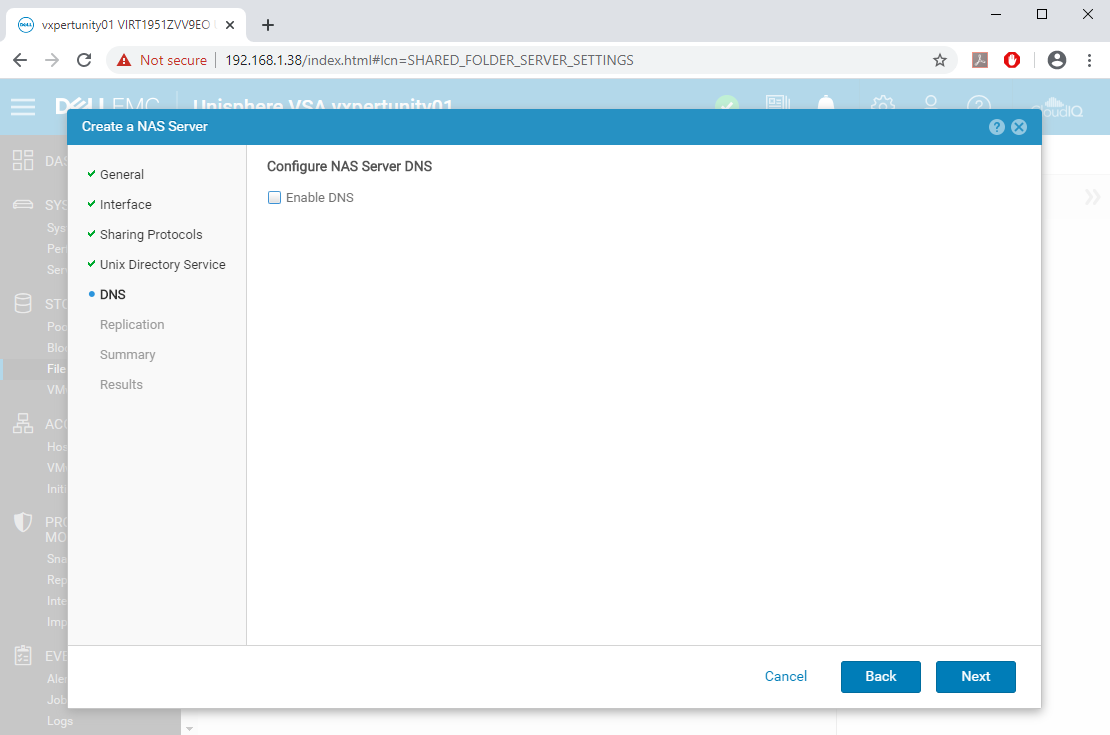
You can enable DNS here, if not click Next
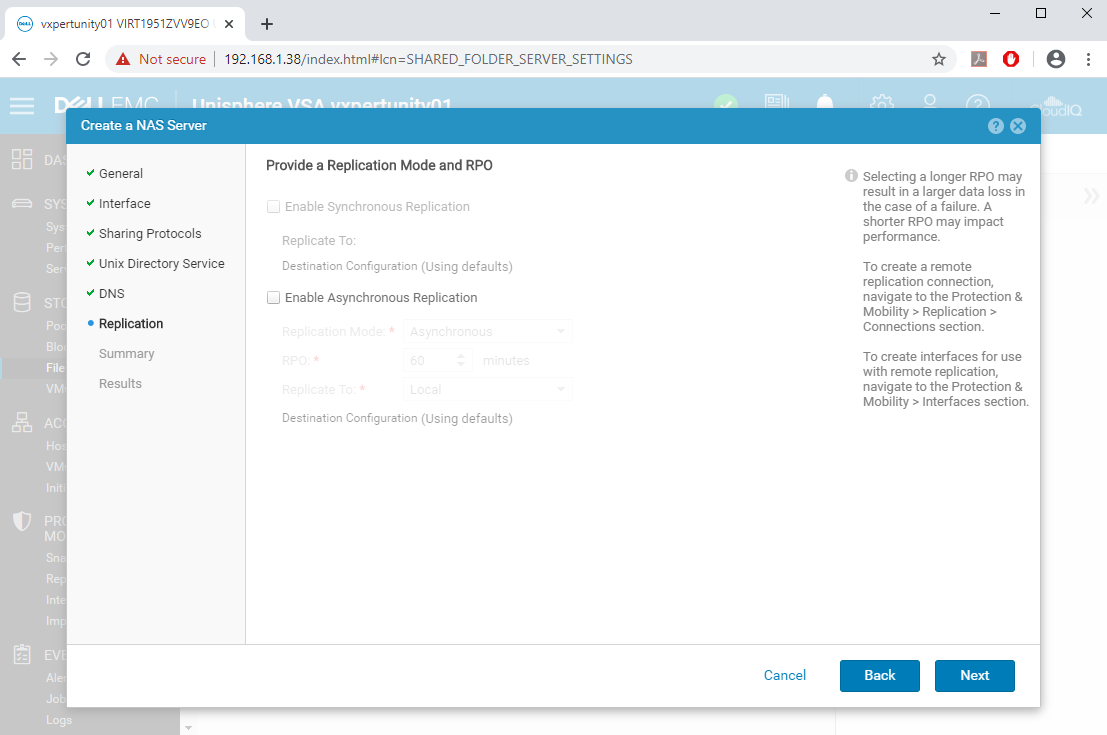
Configure Replication or RPO services here else click Next
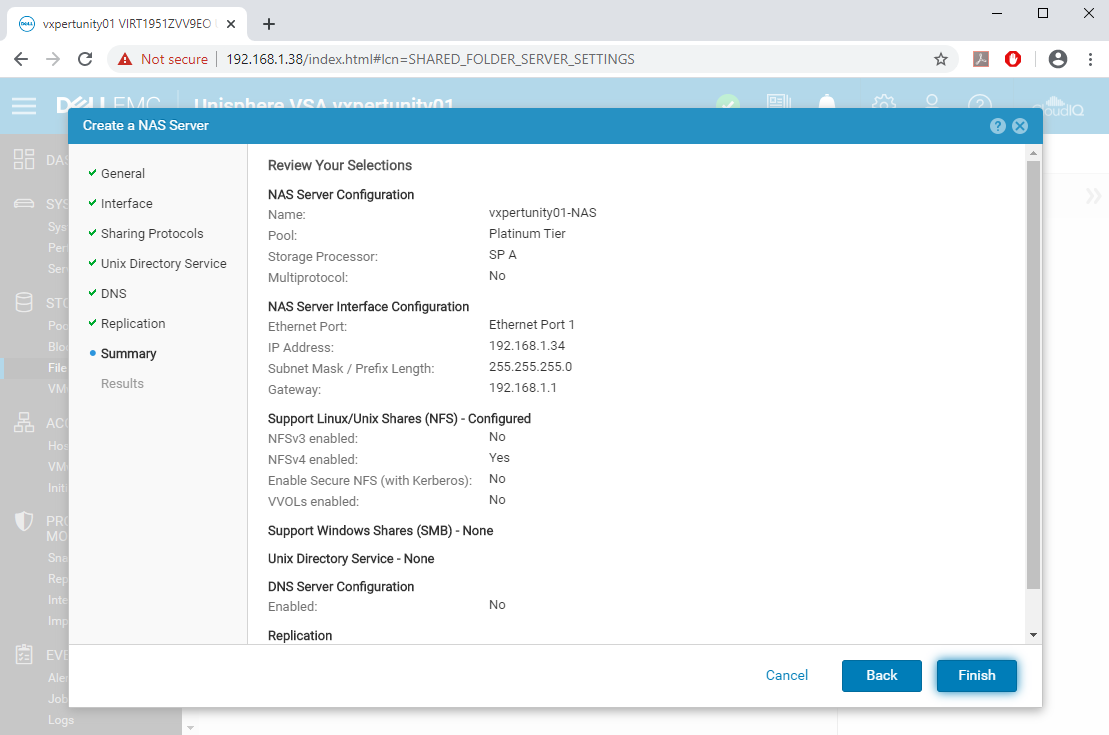
Review the Summary and click Finish
Validate the results and click Close
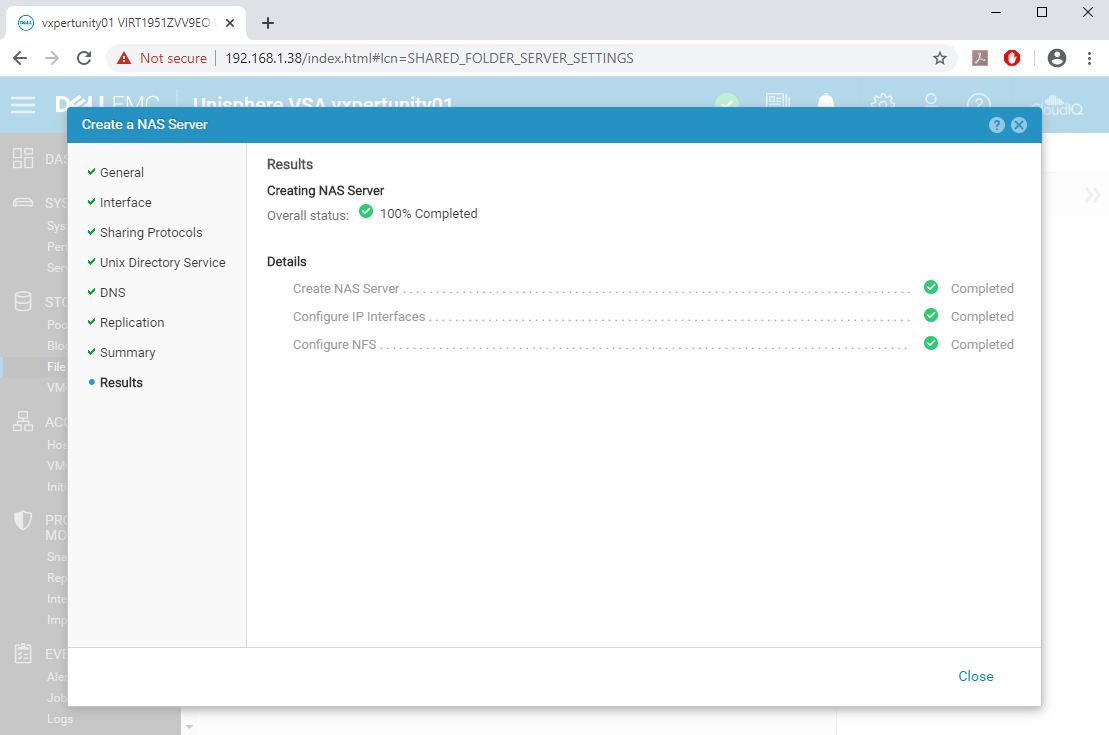
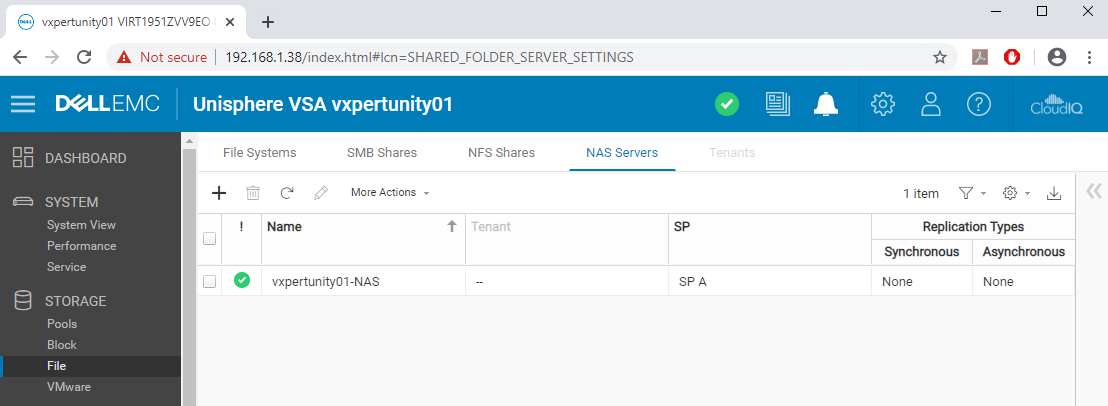
Now we have successfully created NAS Server, to enable the service we need to create File System
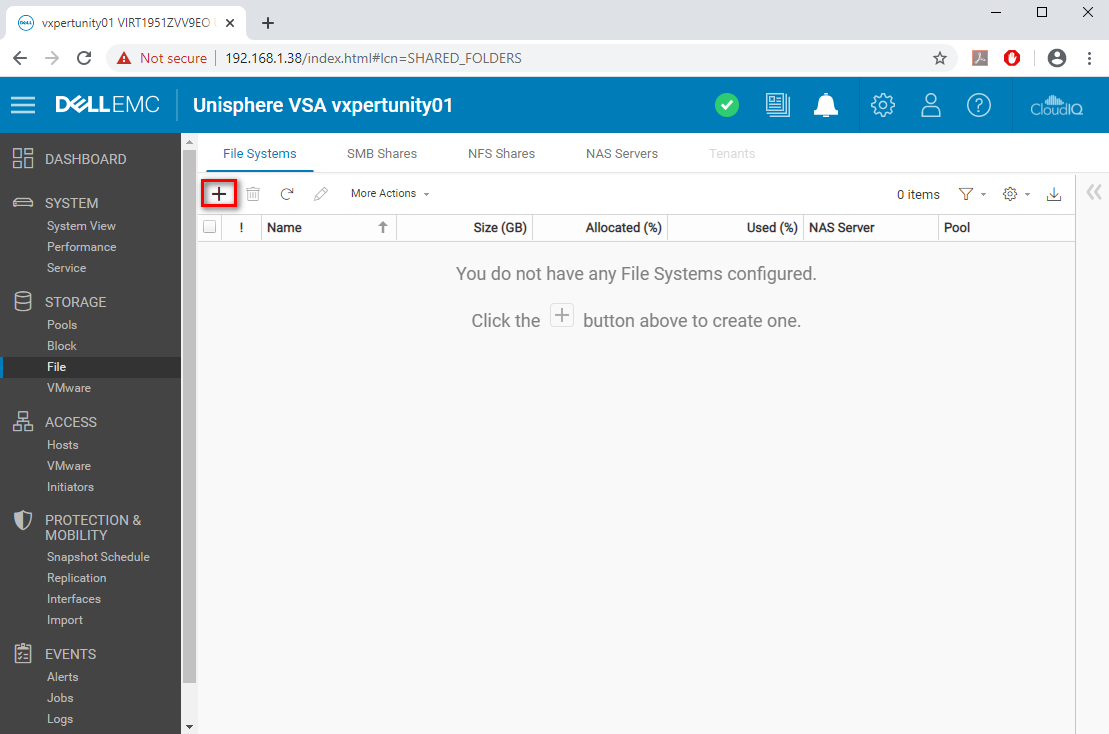
Click on File Systems and press on + symbol
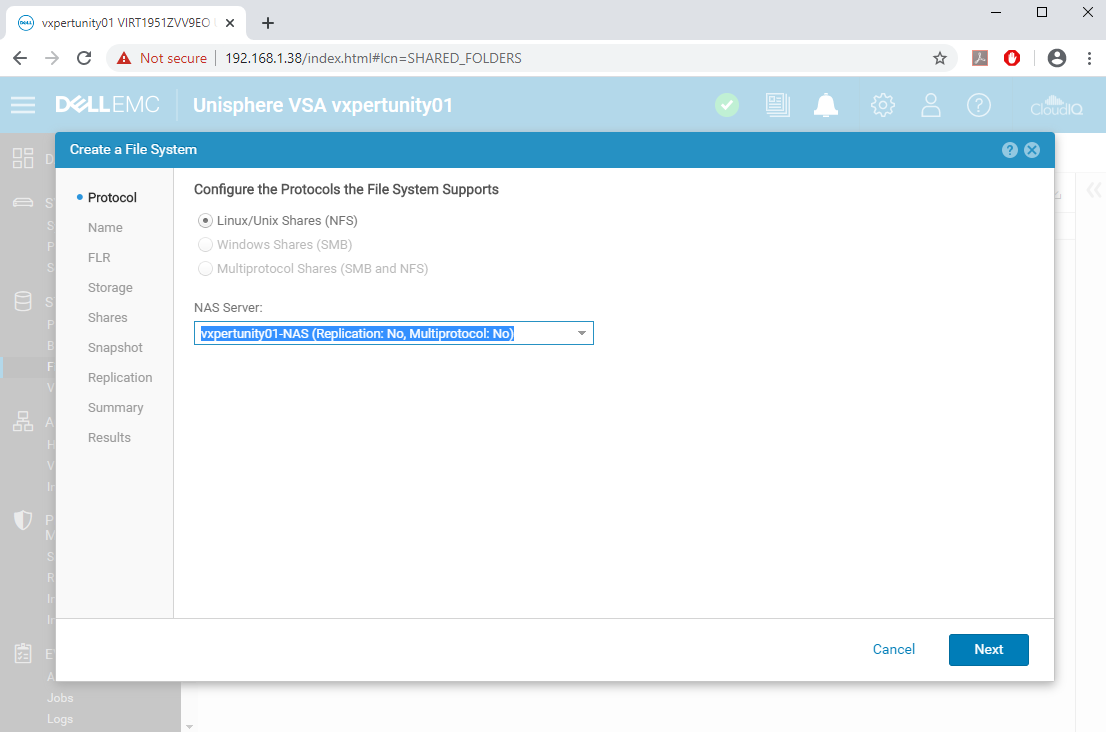
Select the File System protocol as Linux/Unix and NAS Server which you have created, click Next
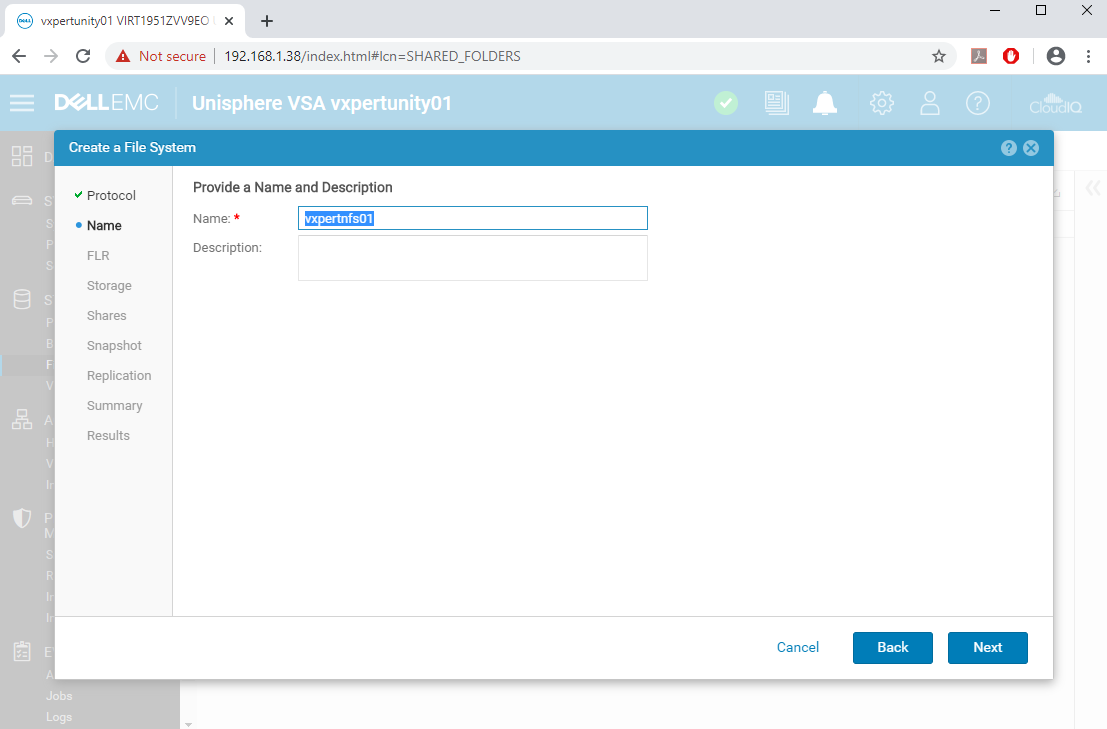
Provide Name and Description for the File System and click Next
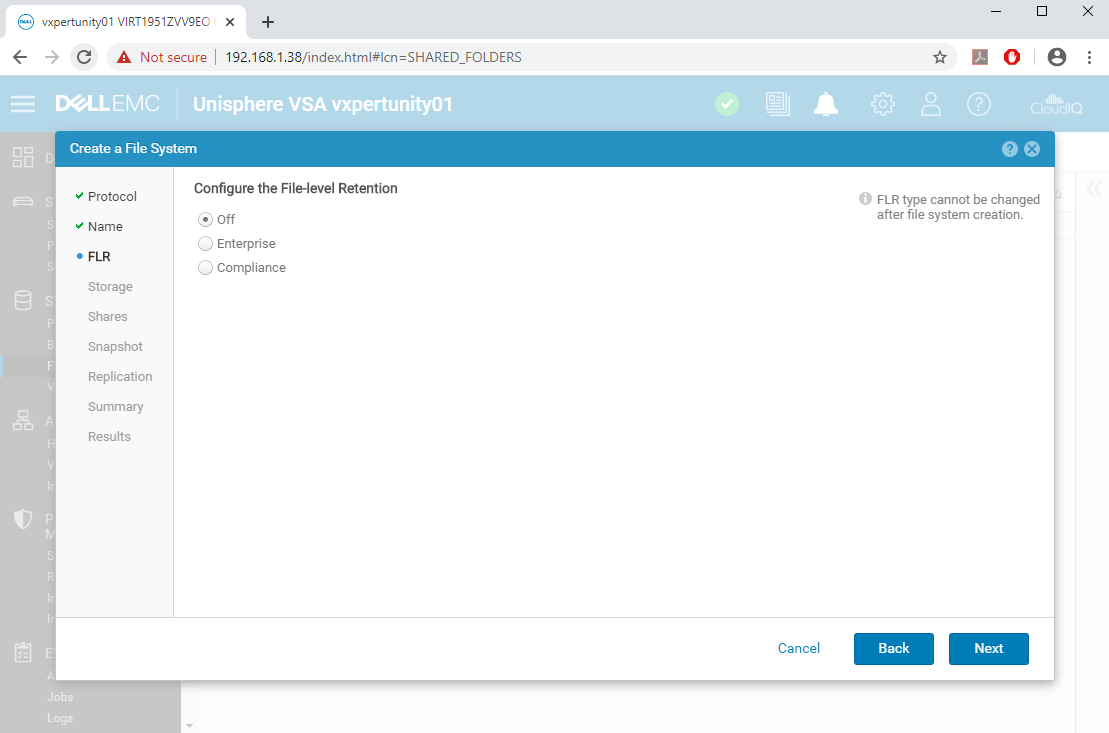
Here you can configure the File-Level Retention (FLR) is a feature that is used to protect file data from deletion or modification until a specified retention date, if not click Next
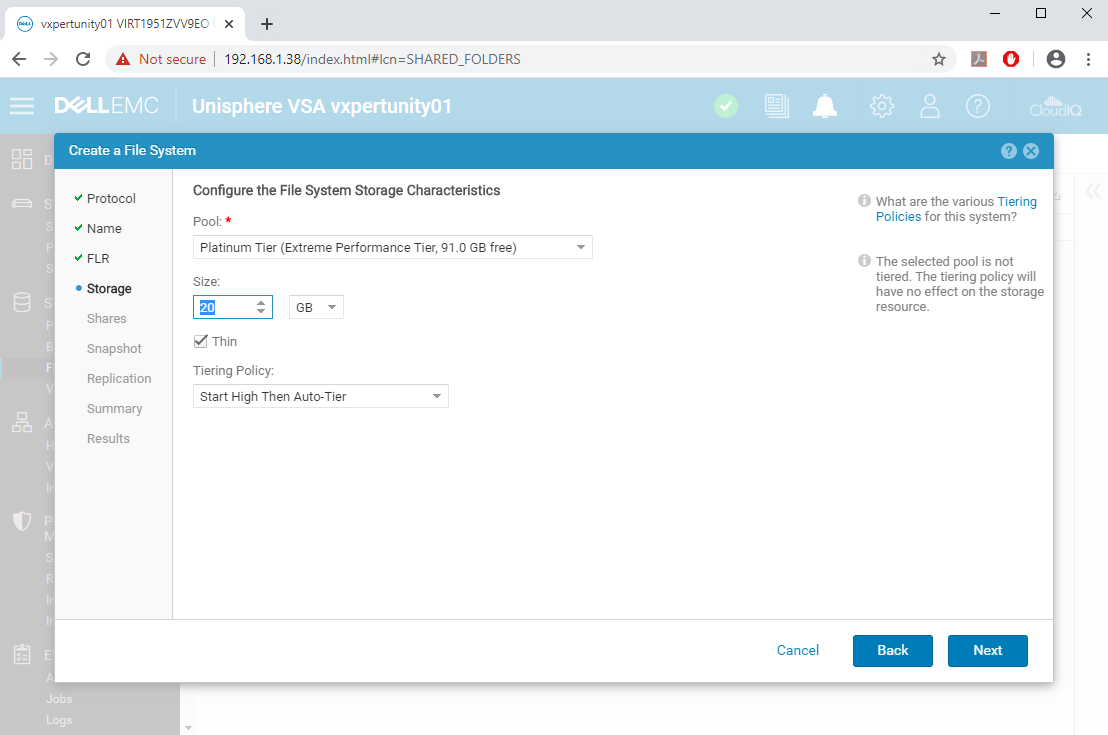
Select the Storage Pool, capacity, Tiering Policy and click Next
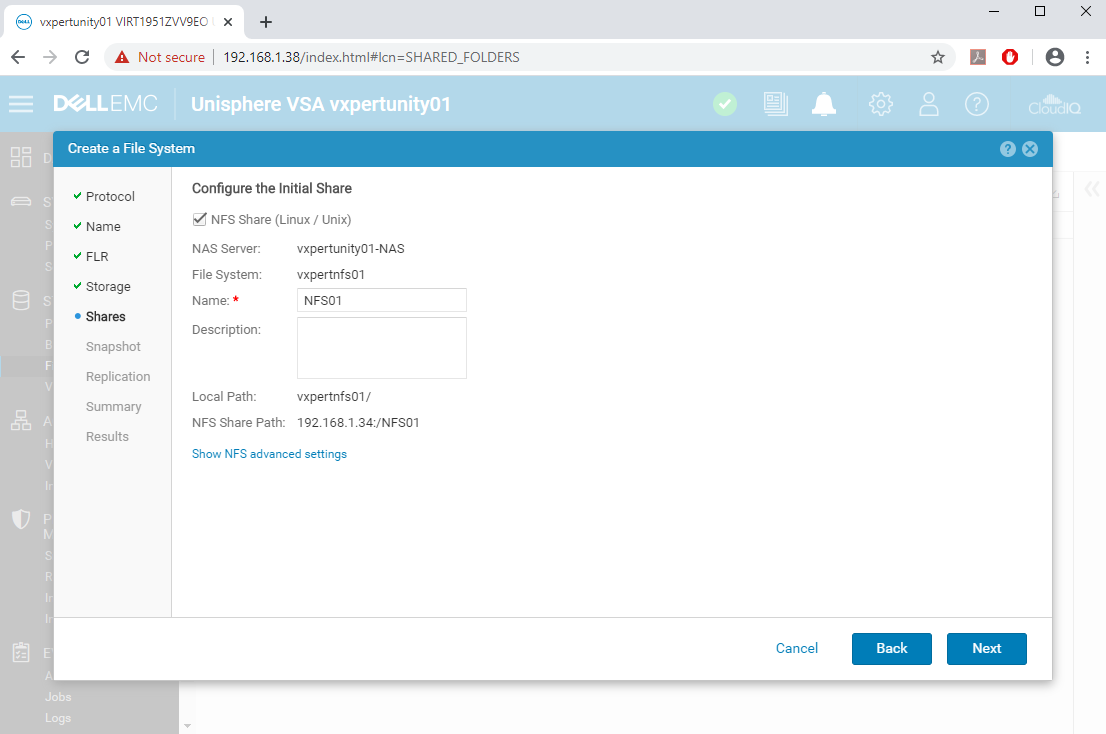
Enable the NFS share and note down the Local path and NFS share path and click Next
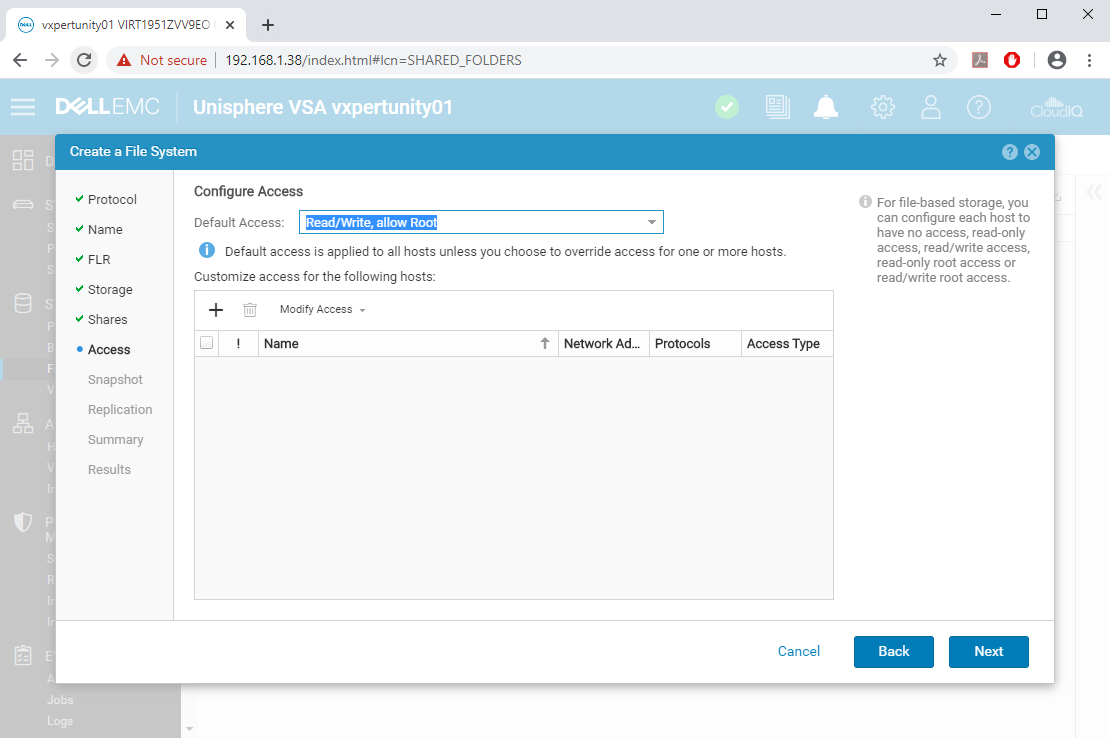
Configure access and customize access by pressing + symbol
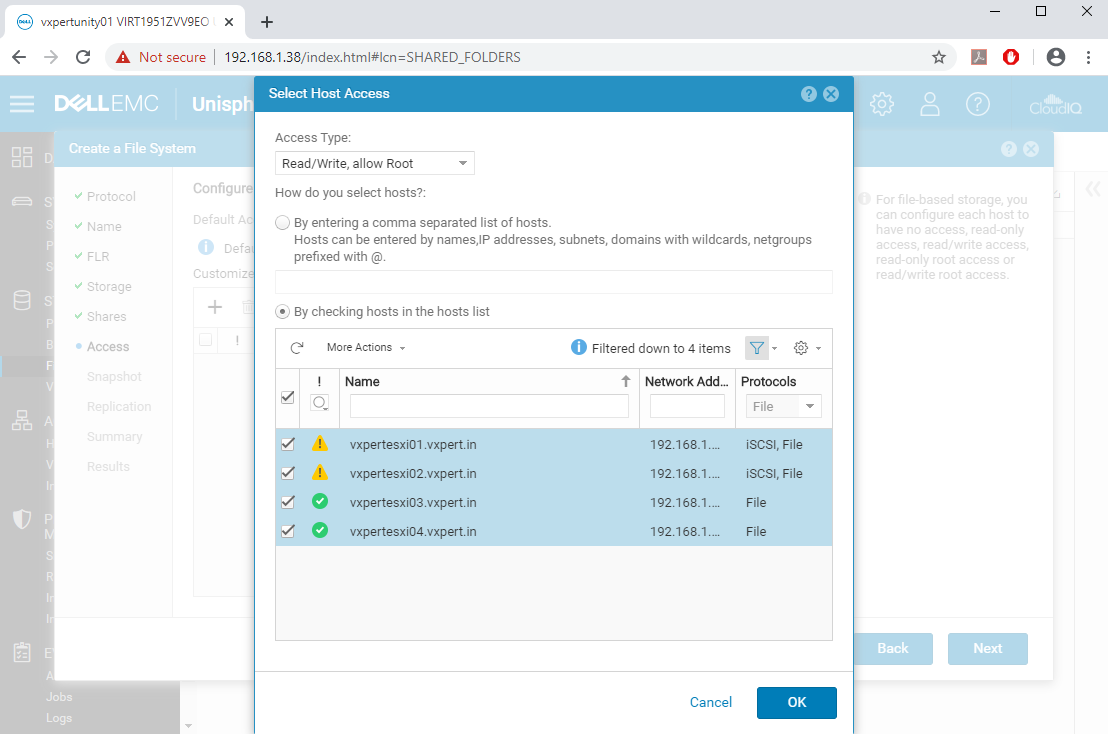
Select the hosts and click OK
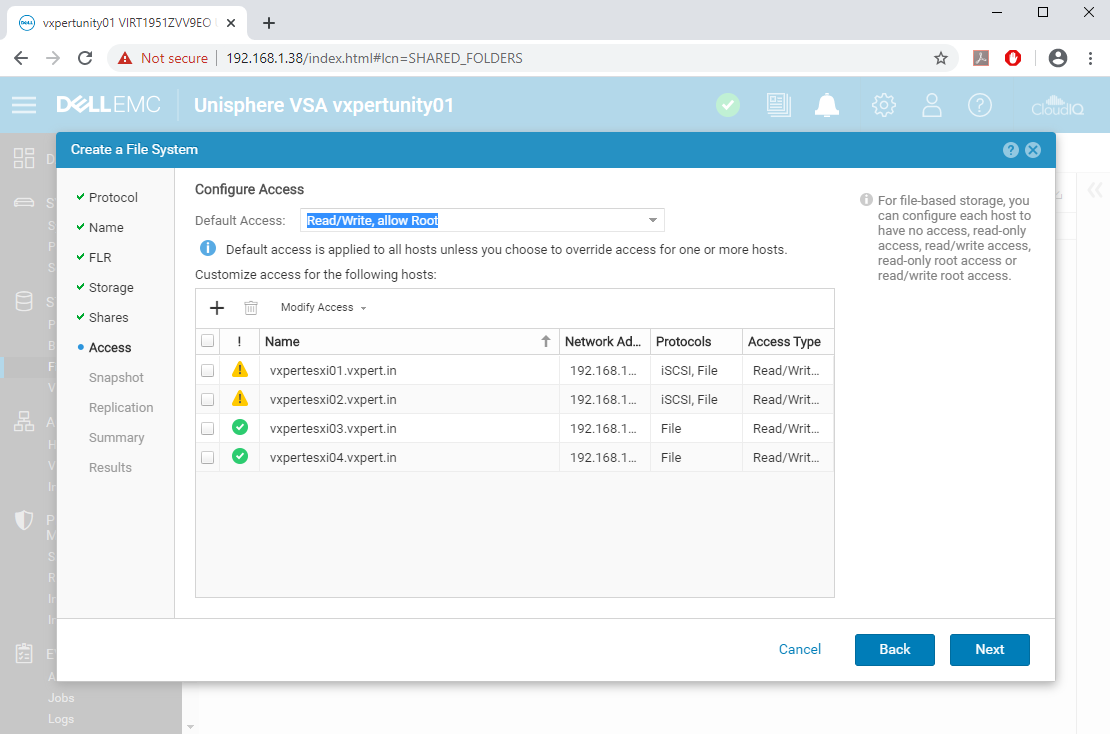
Click Next to proceed with configuration
You can configure snapshot for NFS, if not click Next

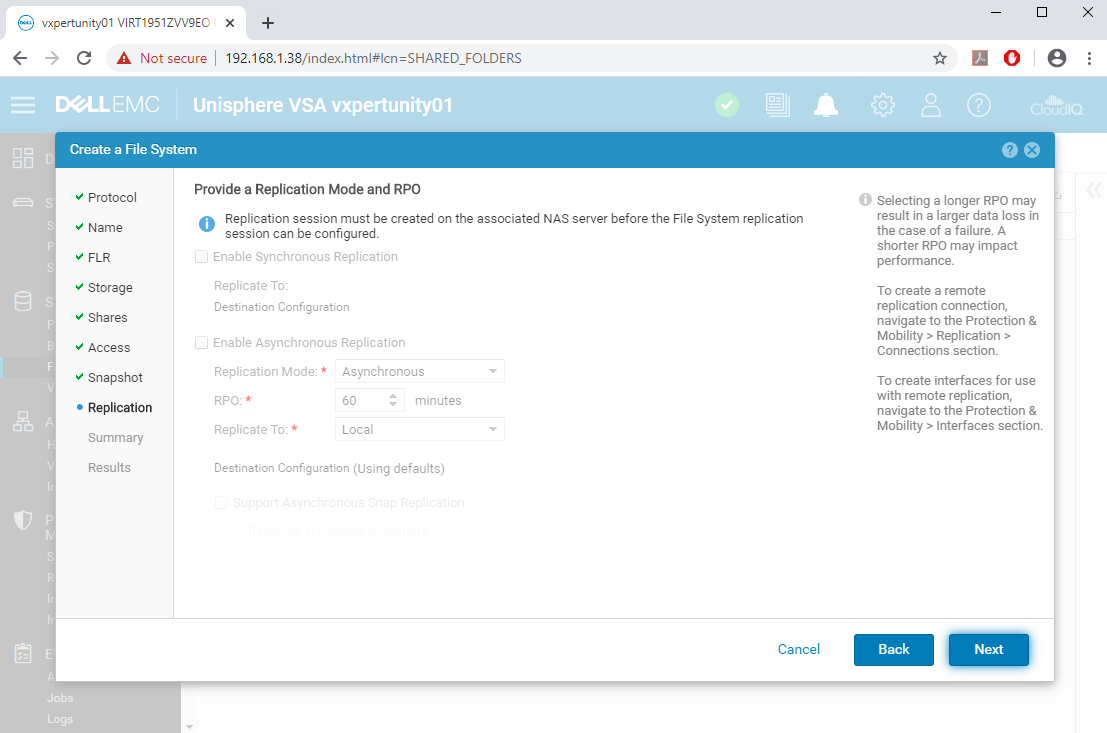
You can configure Replication Mode and RPO here, click Next if not required
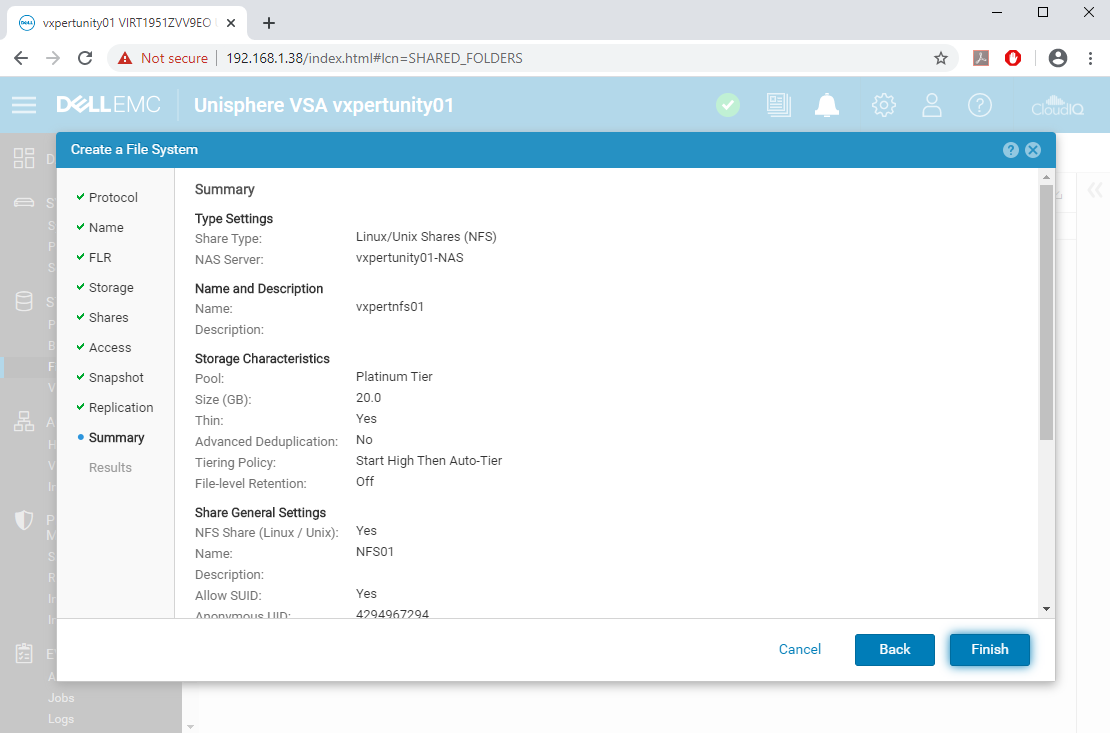
Review the summary and click Finish
Validate the result and click Close
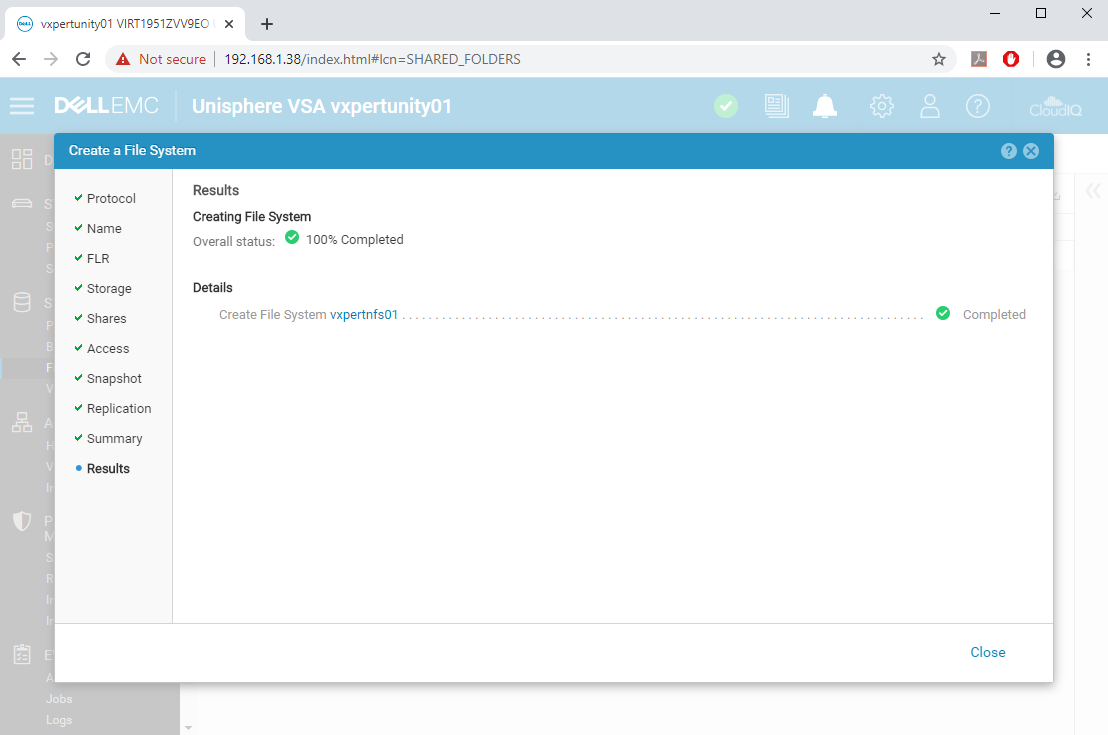
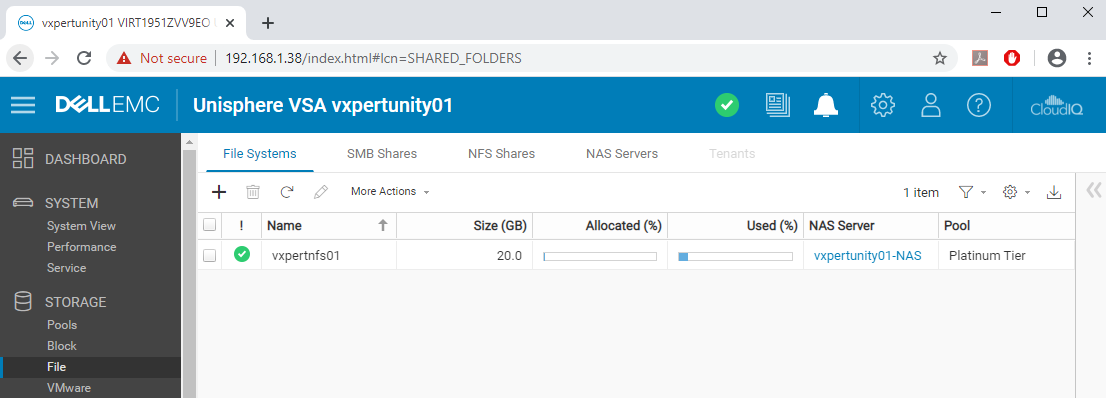
You have successfully created NFS File System and NFS Share now
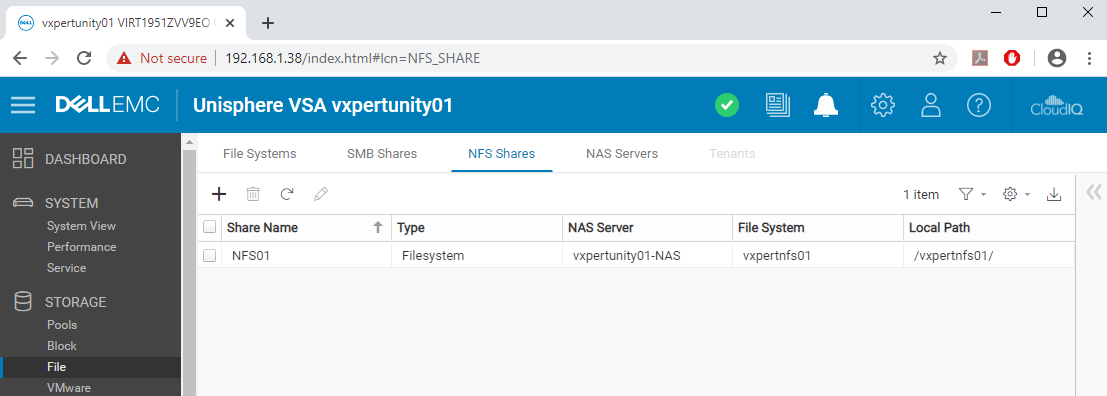
Note: – You can mount the NFS share on ESXi as a Datastore with NFS share path.
Thanks,
If you have any comments, please drop me a line.
I hope this article was informative, and don’t forget to buy me a coffee if you found this worth reading.


Leave a Reply