SSL Certificates are small data files that digitally bind a cryptographic key to an organization’s details. An organization needs to install the SSL Certificate onto its web server to initiate a secure session with browsers. Once a secure connection is established, all web traffic between the web server and the web browser will be secure.
By default, all vCenter Server Appliance has a Self-Signed certificate and it is not recommended to keep same certificate in your Production Infrastructure. In this blog I will explain how to Create, Sign and Replace the certificate of an vCSA 6.7 with you Organization Certificate Authority Server.
Prerequisites
- To Start with we need a Microsoft Certificate Server and The Certificate Template which supports vCSA, This link will help to Install and Configure a MSCA server and to create a certificate Template for vCSA
Generating Certificate Request
Login to vCSA by using SSH or Console and launch the bash by typing Shell.
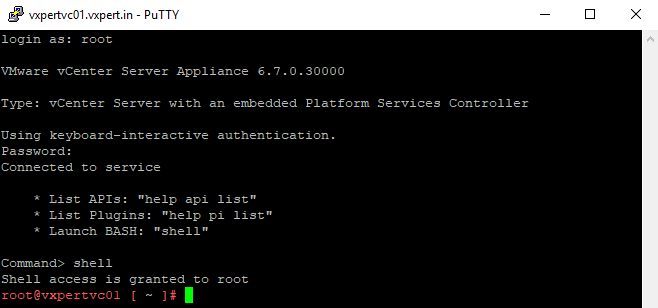
Run Certificate Manager by running below command
#/usr/lib/vmware-vmca/bin/certificate-manager
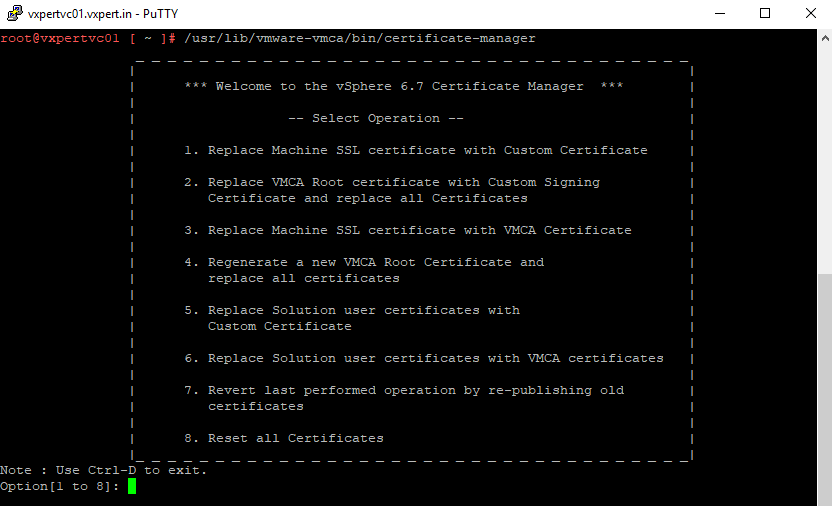
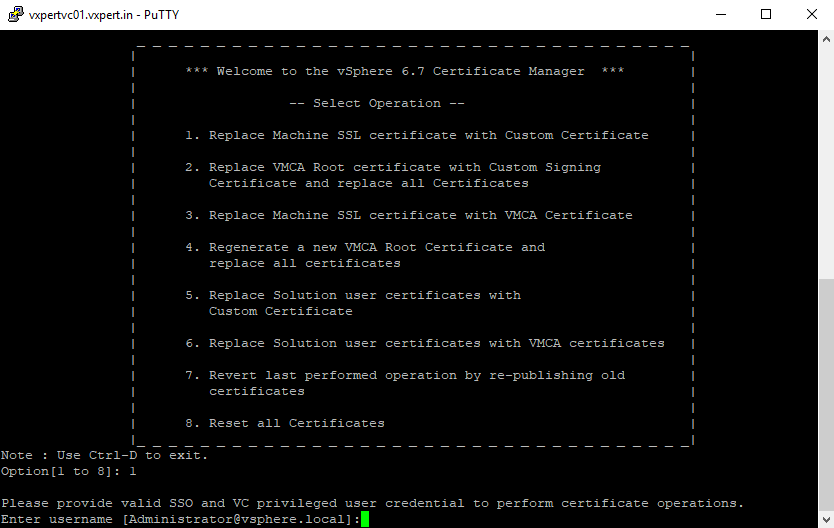
Select the operation option 1 to Replace Machine SSL certificate with Custom Certificate and enter administrator credentials to authenticate.
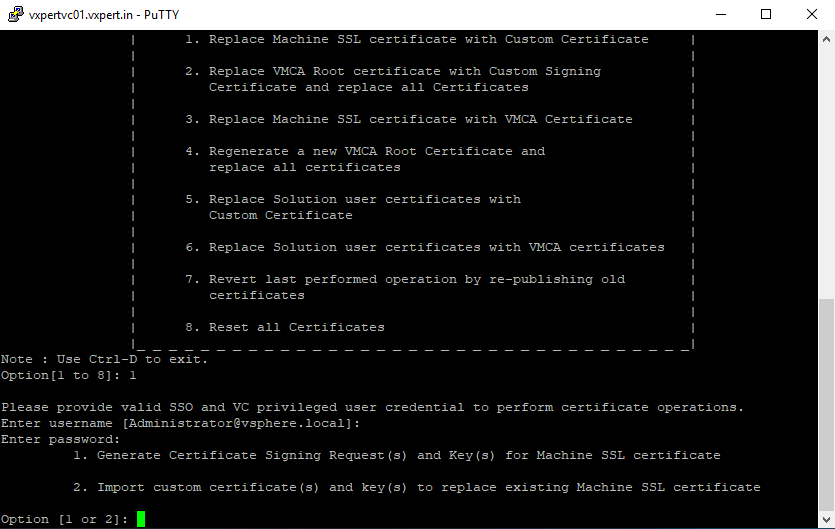
Press 1 to Generate Certificate signing request and Key for Machine SSL certificate.
Specify the following options:
- Output directory: – Path to generate the private key and the request
- Country: – Your country in two letters
- Name: – The FQDN of your vCSA
- Organization: – An organization name
- OrgUnit: – Type the name of your unit
- State: – Country name
- Locality: – Your city
- IPAddess: – Provide the vCSA IP address
- Email: – Provide your E-mail address
- Hostname: – The FQDN of your vCSA
- VMCA Name: – FQDN where is located your VMCA. Usually the vCSA FQDN
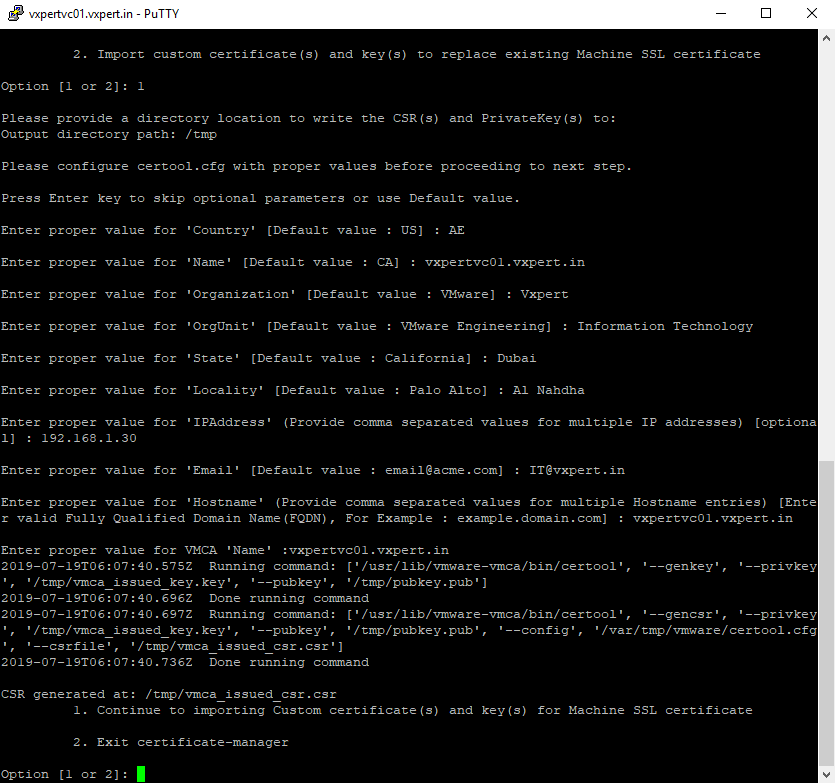
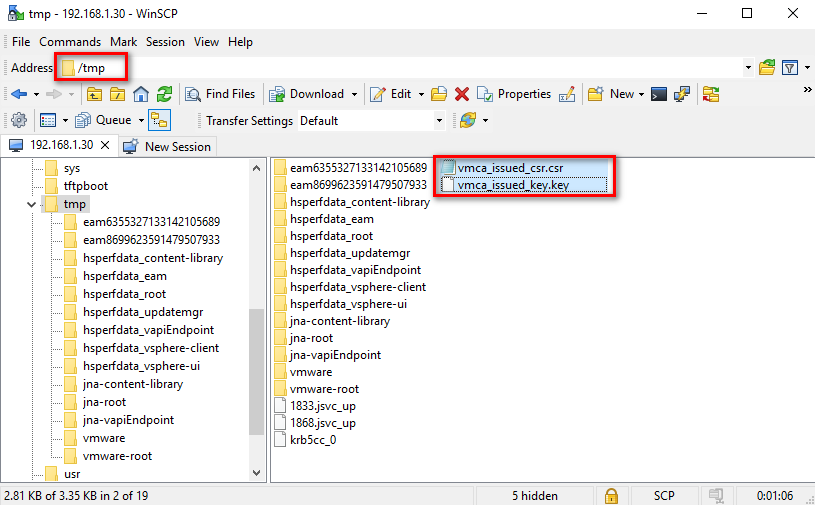
Once the private key and the request is generated select Option 2 to exit. Now we must export the created certificates out of vCSA to sign it. To connect with WinSCP and perform export we need additional permission on vCSA, type the following command for same
#chsh -s /bin/bash root

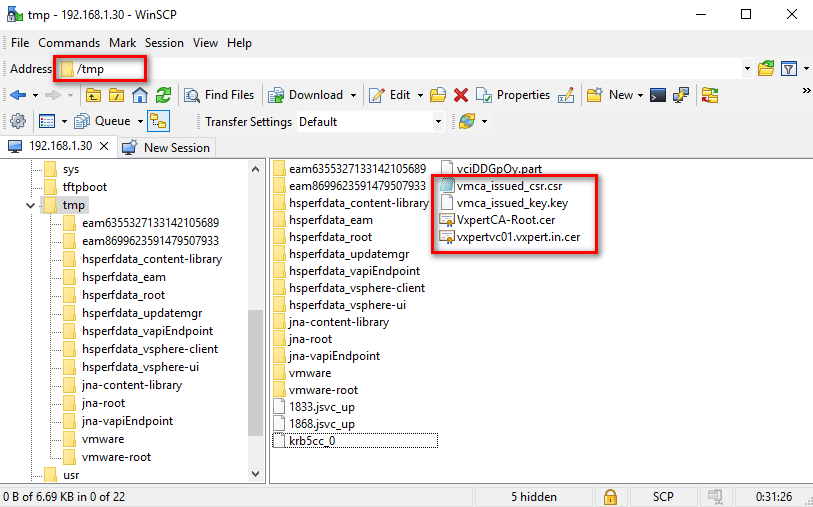
Once connected to vCSA from WinSCP tool navigate the path(/tmp) you have mentioned on the request and download the vmca_issued_csr.csr file.
Sign the Certificate with CA
After the certificate request is created, the certificate must be given to the certificate authority for generation of the actual certificate. The authority presents a certificate back, as well as a copy of their root certificate, if necessary. For the certificate chain to be trusted, the root certificate must be installed on the server.
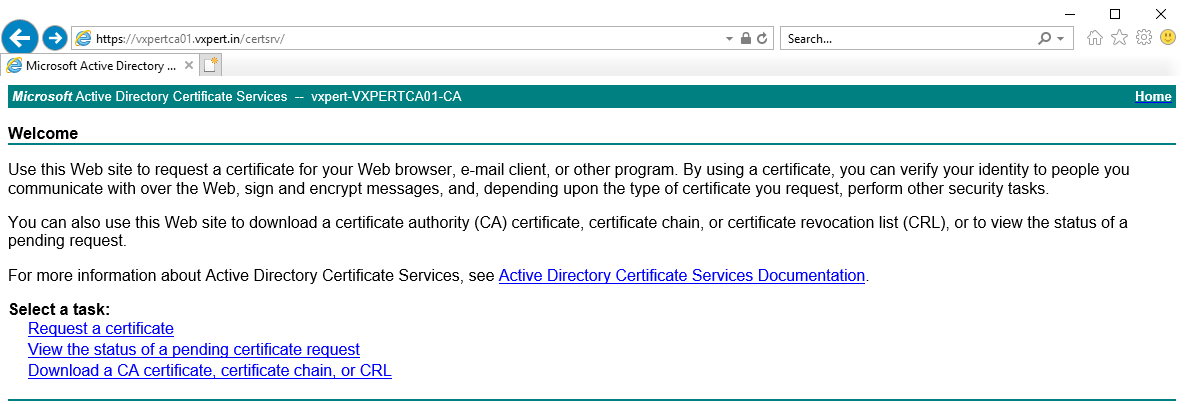
Log in to the Microsoft CA certificate authority web interface. By default, it is http://servername/CertSrv/
Click Request a certificate
Click Advanced certificate request

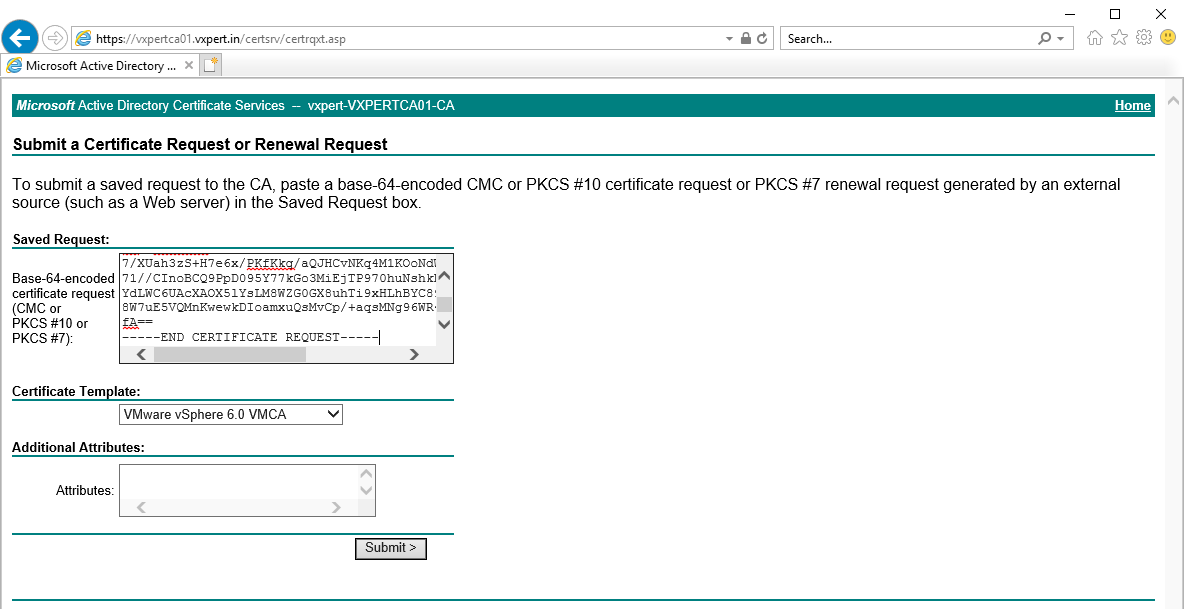
Click Submit a certificate request by using a base-64-encoded CMC or PKCS #10 file, or submit a renewal request by using a base-64-encoded PKCS #7 file

Open the certificate request(vmca_issued_csr) using a text editor, Copy the content from —–BEGIN CERTIFICATE REQUEST—– to —–END CERTIFICATE REQUEST—– into the Saved Request box. Also select the custom template created for vCSA. Click Submit.
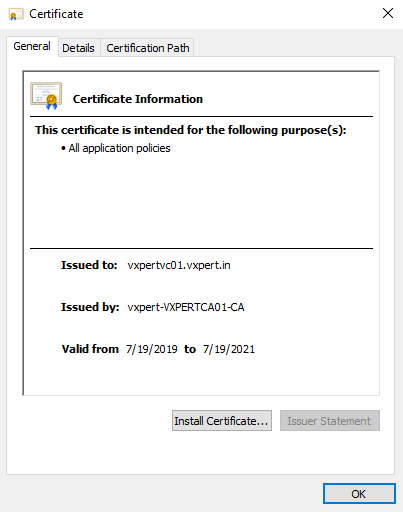
Once you administrator approves the request you can download the Base 64 encoded on the Certificate issued screen

Save the certificate, Open the certificate and check the parameters you have provided is correct or on not.
Installing Certificate on vCSA
Export the newly downloaded certificates to vCenter Appliance by using WinSCP and remember the location and file names.
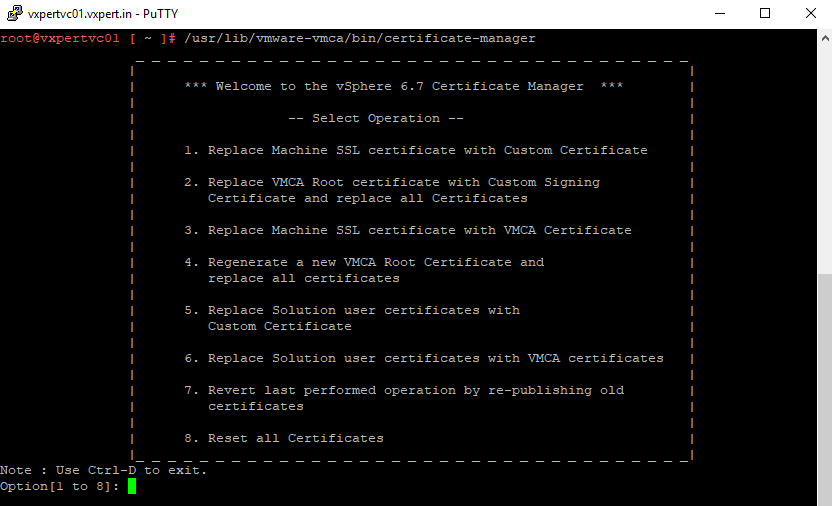
Login to vCenter Server Appliance Console or using putty and run below command to open Certificate Manager and select the operation option 1
#/usr/lib/vmware-vmca/bin/certificate-manager
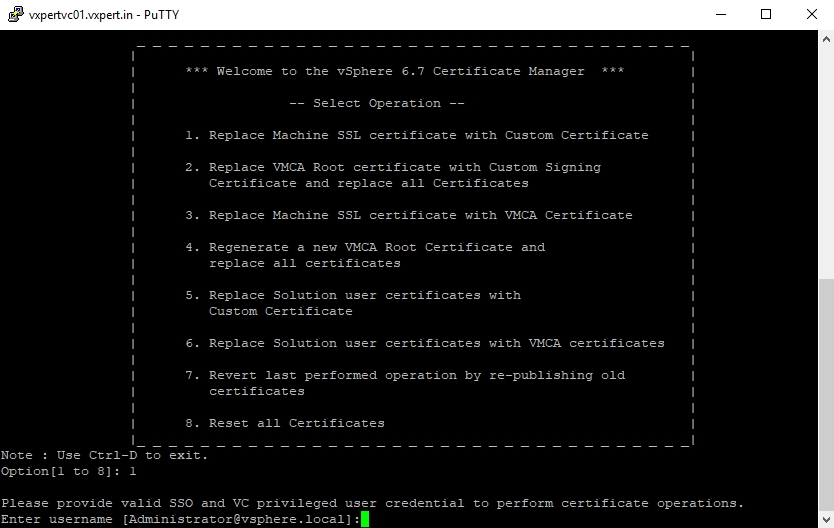
Select the operation option 1 to Replace Machine SSL certificate with Custom Certificate and enter administrator credentials to authenticate.
Press 2 to Import custom certificate and key to replace existing Machine SSL certificate.
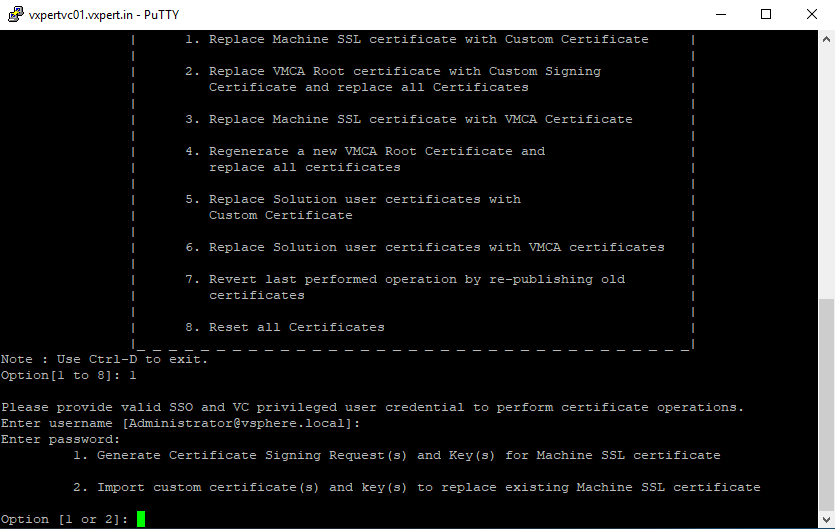
Add the exported certificate and generated key path from previous steps and Press Y to confirm the change
- Custom Certificate for machine SSL: – Path to the chain of certificate (srv.cer here)
- Valid custom key for machine SSL: – Path to the .key file generated earlier.
- Signing Certificate of the machine SSL certificate: – Path to the certificate of the Root CA (root.cer, generated base64 encoded certificate)
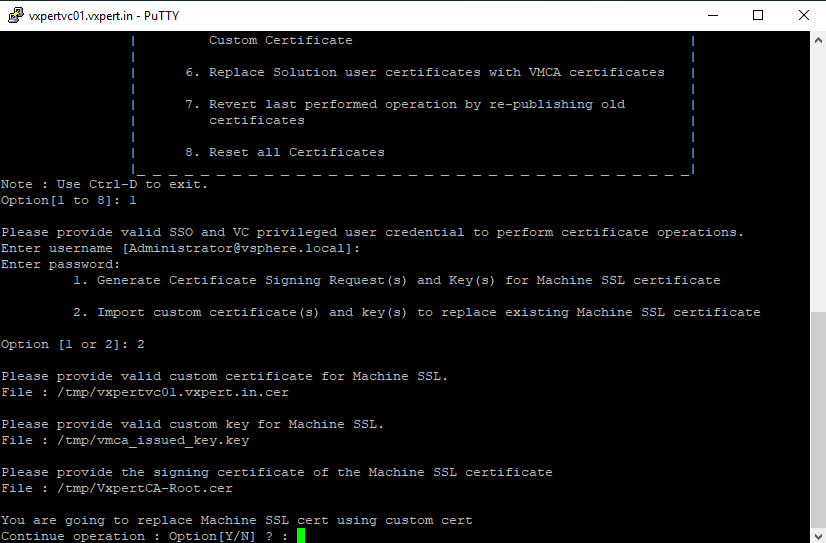
Press Yes to continue the operation
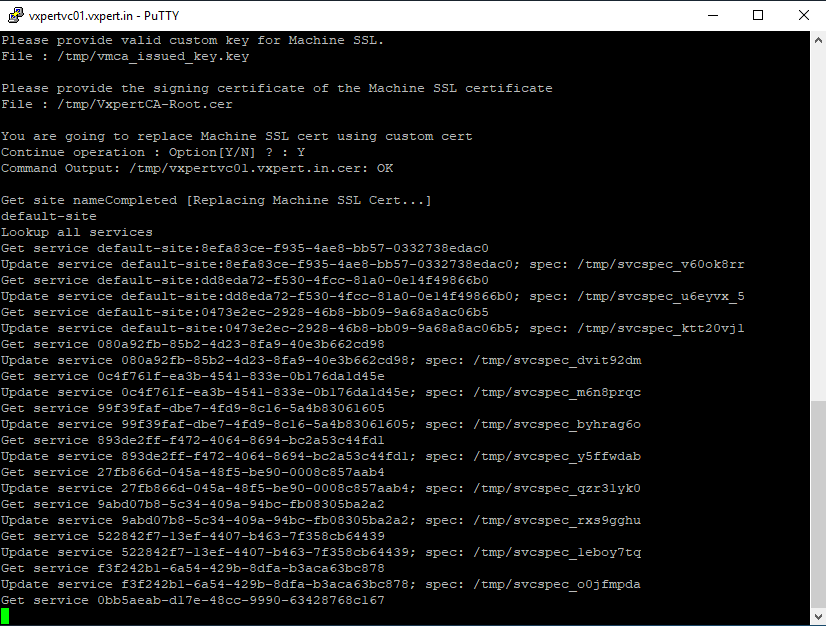
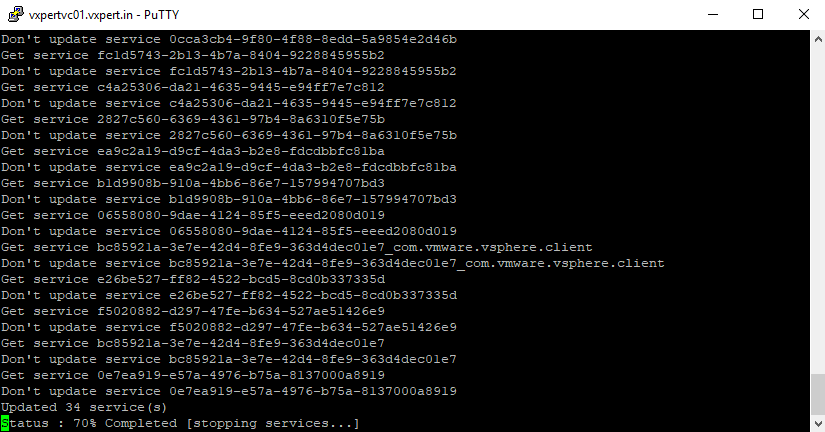
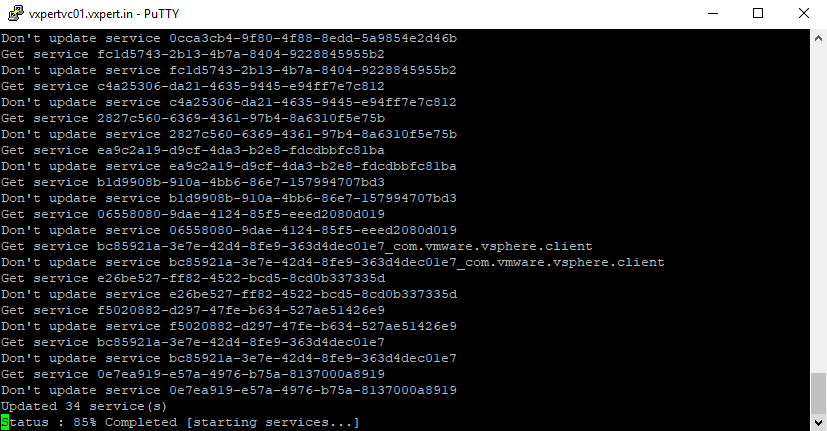
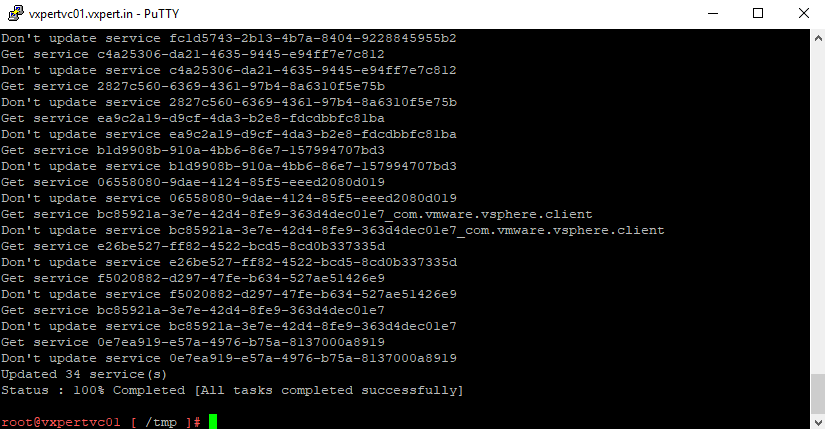
This will stop the vCenter server and start with newly assigned certificate.
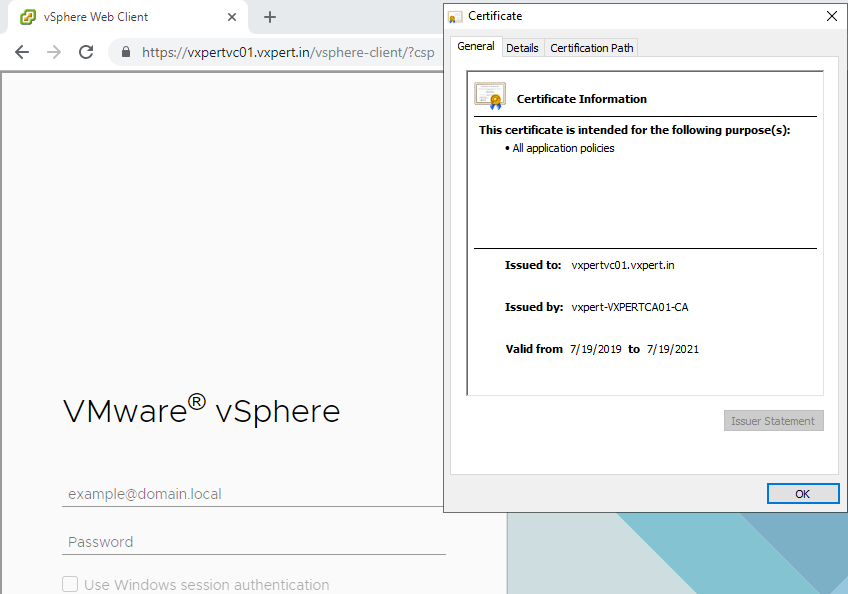
Now Connect to the vCenter using Web Client and Appliance Management URL you can see the new custom certificate
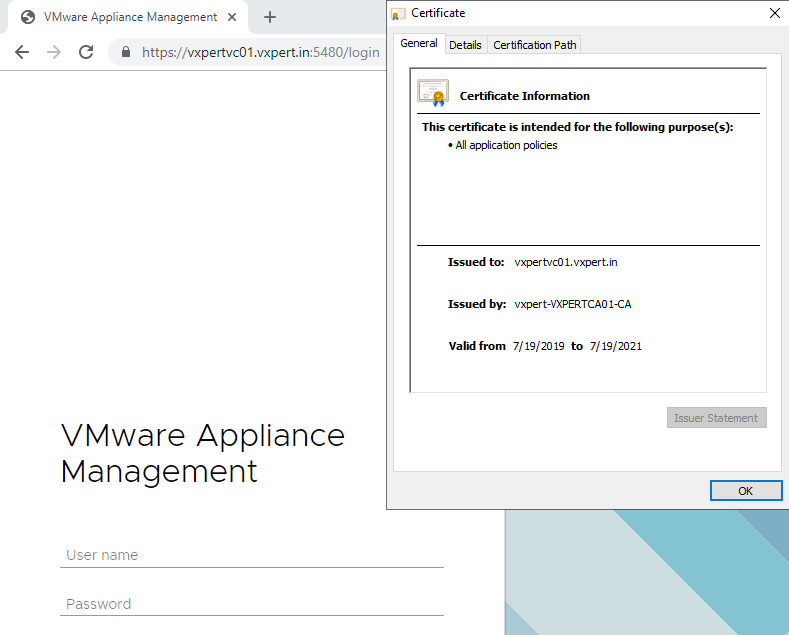
Note :- If it didn’t replace the appliance management URL certificate please run the below command to restart the appliance management light-http service or refer VMware KB.
#/sbin/service vami-lighttp restart
Thanks,
If you have any comments, please drop me a line.
I hope this article was informative, and don’t forget to buy me a coffee if you found this worth reading.


Leave a Reply