After the initial deployment of NSX-T manger it by default comes with self-signed certificates. It is highly recommended to replace these certificates with your internal certificate authority. You can either use individual certificates for nodes and cluster VIP or can have a single certificate with all FQDN as Subject Alternative Names (SAN)
Create CSR and Sign with CA
Create certificate signing requests for the Fully Qualified Domain Names of you NSX Manager Nodes and Cluster and sign with you Organization Internal Certificate Authority. In my Lab environment I am having single NSX Manager node and Cluster VIP.
Note: – The server certificate must contain the Basic Constraints extension
basicConstraints = cA:FALSE
Import Certificates and Verify
Once the signed certificates are downloaded from CA import that in NSX Manager.
Click on System – Certificates
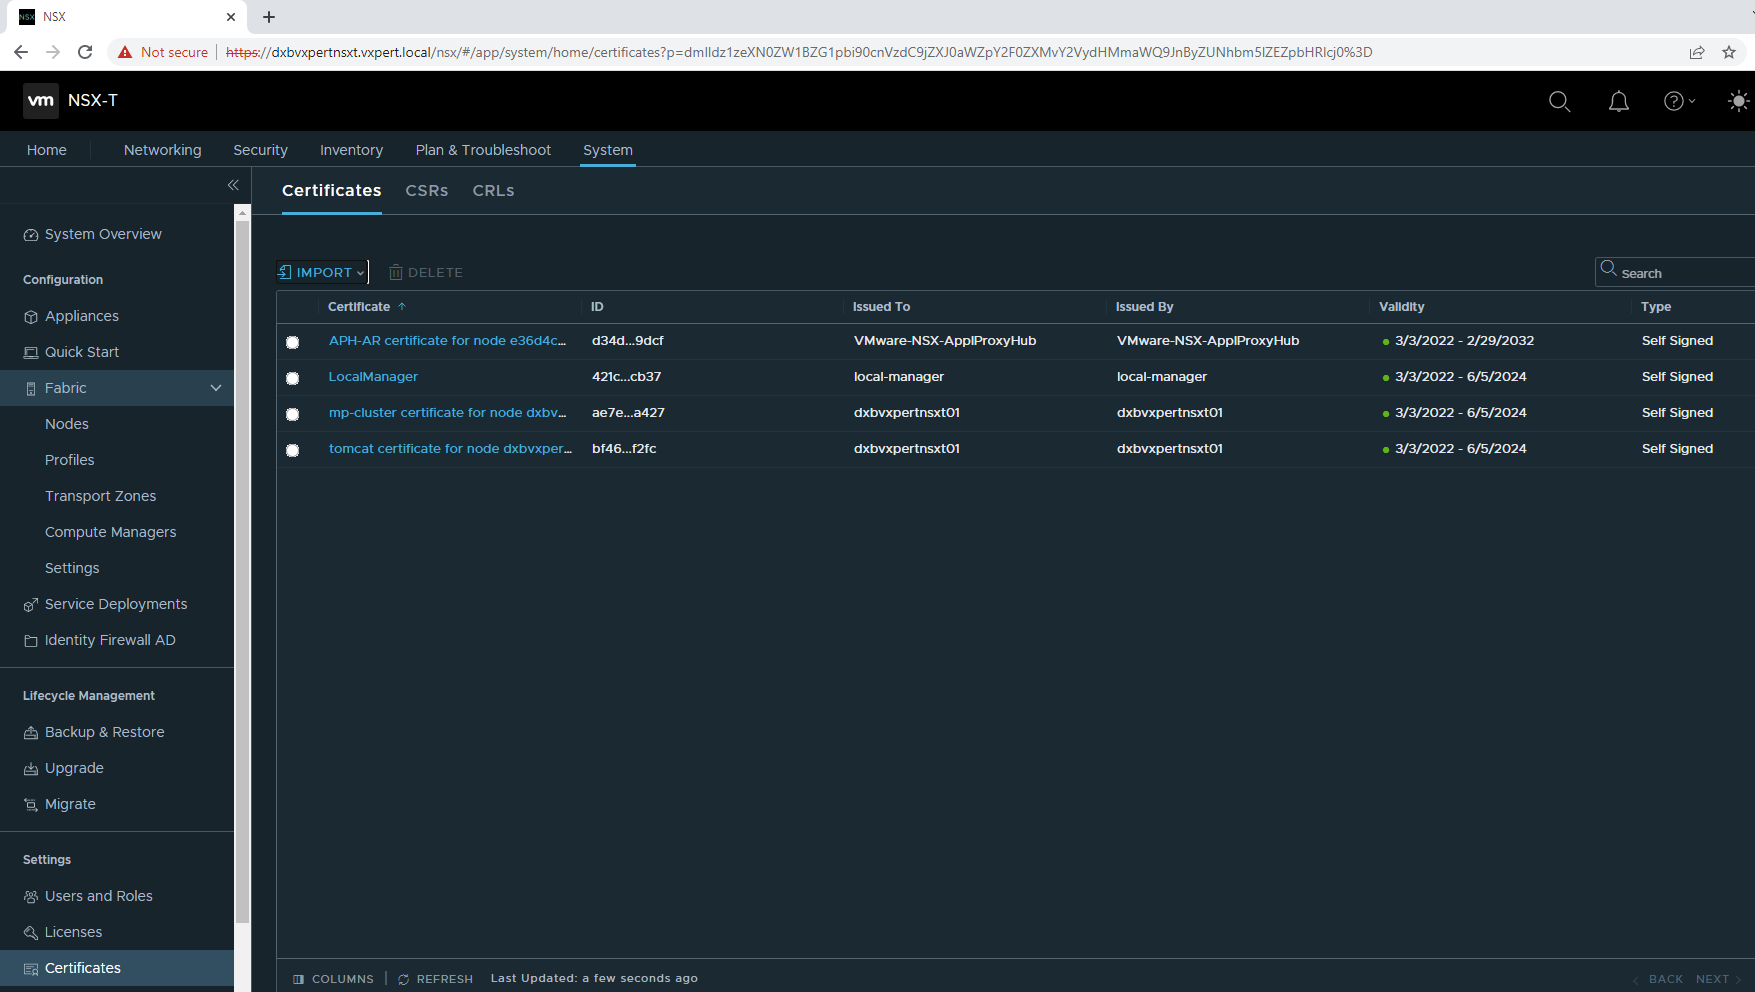
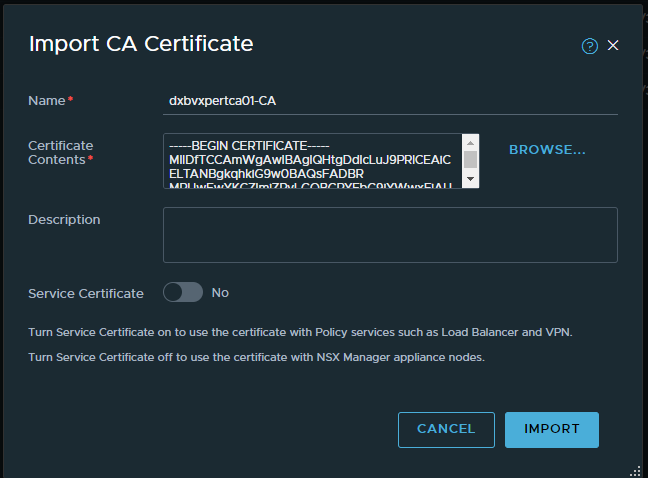
Click on Import – CA certificates to import you Certificate Authority root certificate.
Make sure that when this certificate was imported, the option Service Certificate was set to No.
Note: – The certificate chain must be in the industry standard order of ‘certificate – intermediate – root, else certificate verification and replacement will fail.
Click on Import – Certificates to import your individual NSX Manager nodes and Cluster VIP certificates.
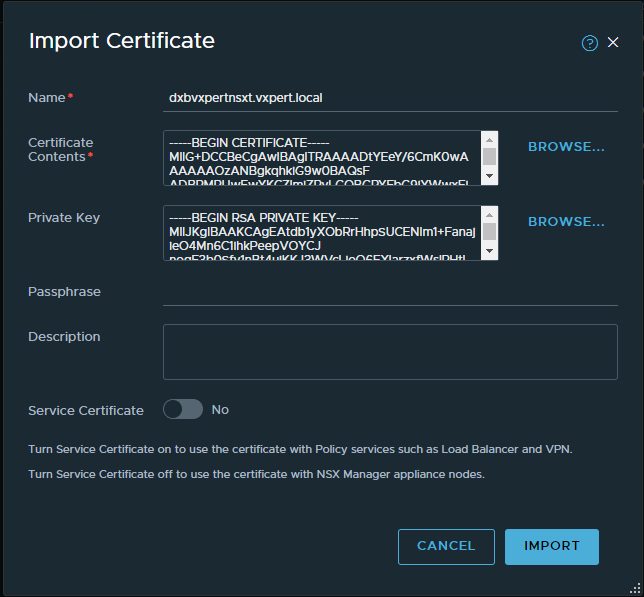
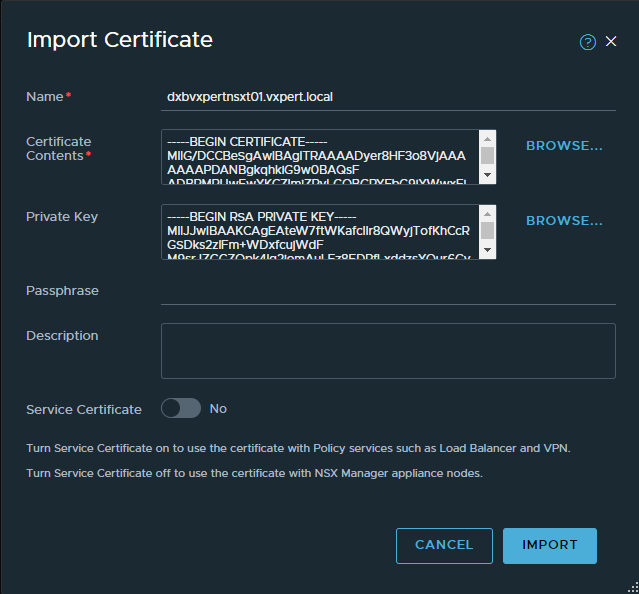
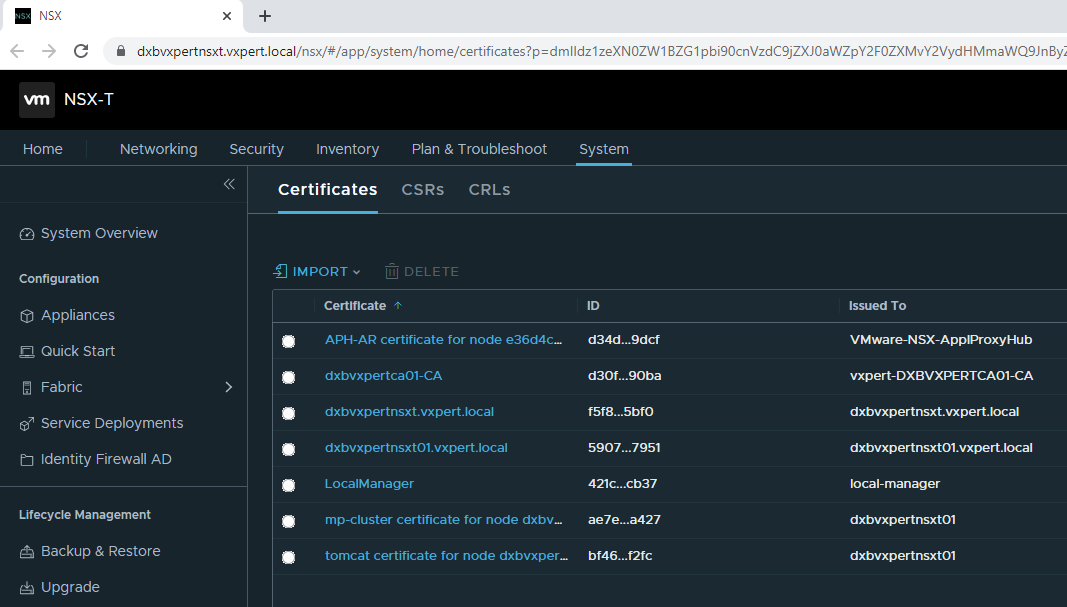
Once you import all your certificates you can see the list of certificates imported in NSX Manager with respective certificate ID.

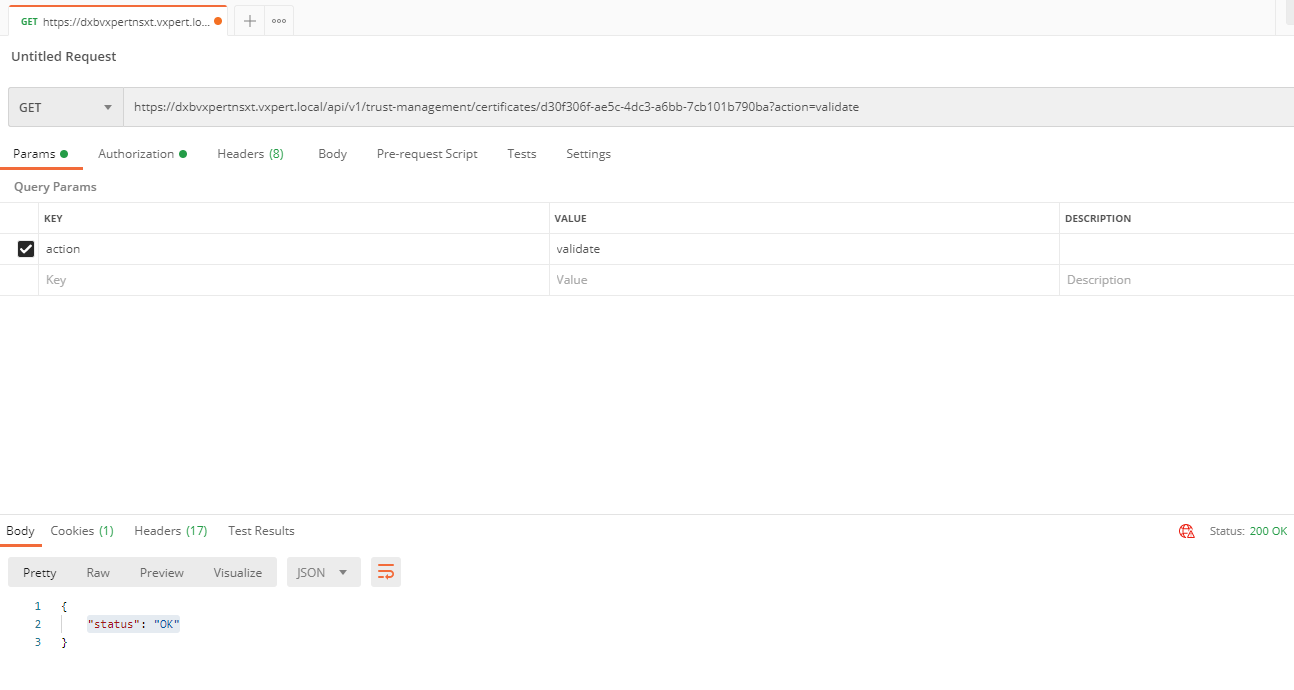
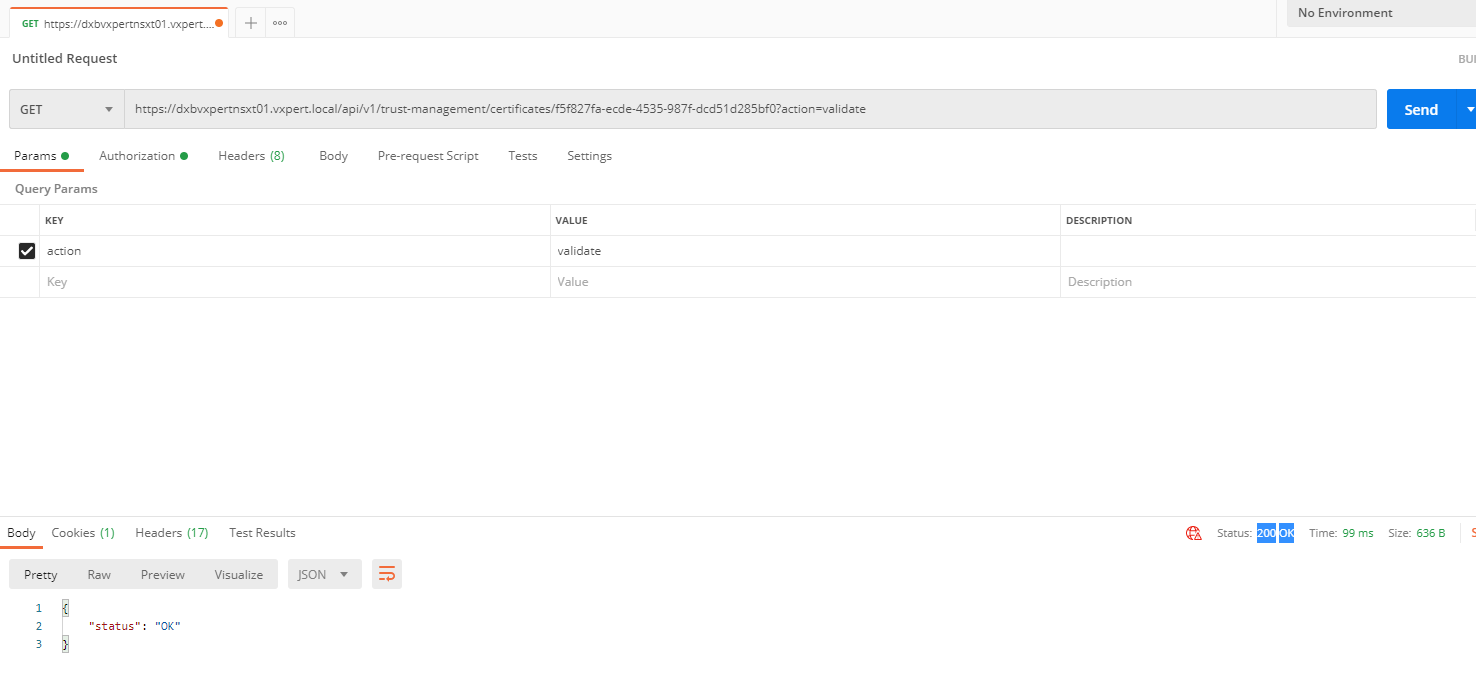
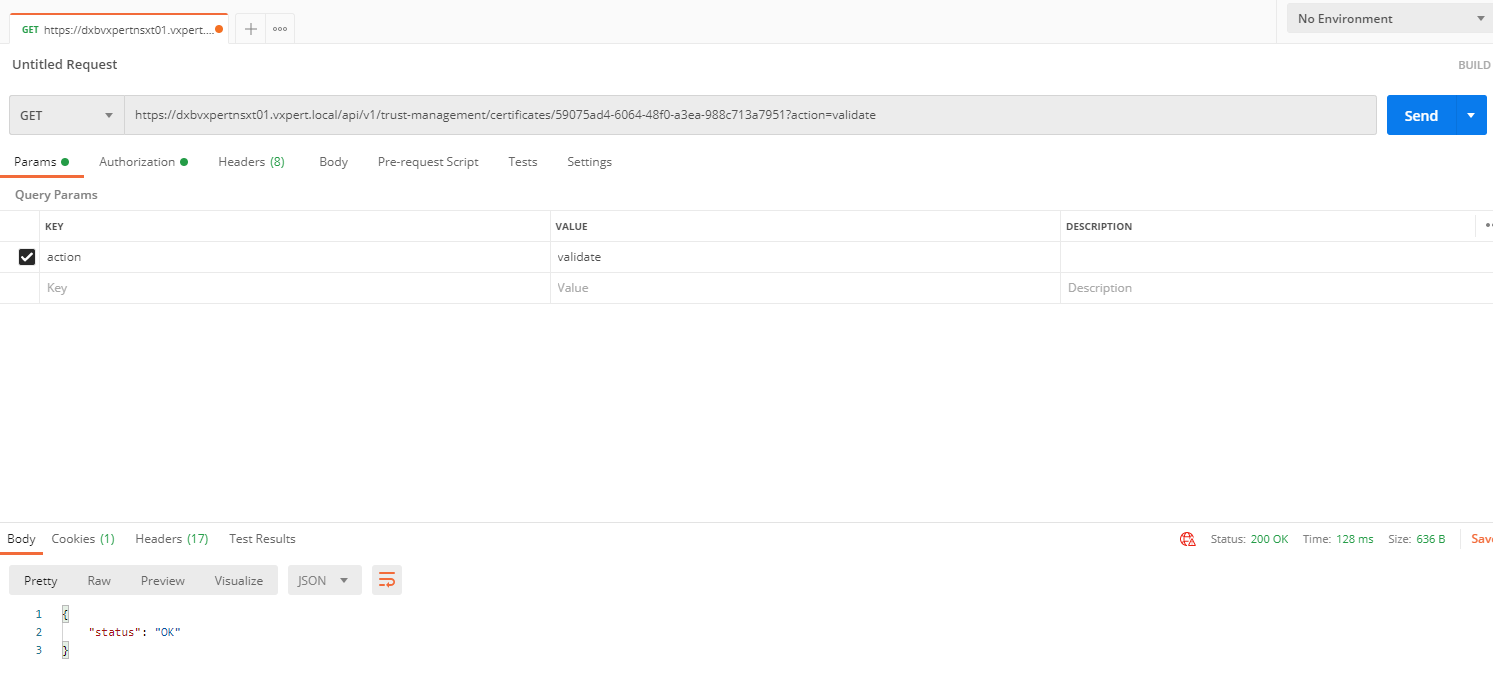
To Verify that the certificate is valid by making the following API call, using Postman for API call.
Note: – API calls may vary depends on the NSX-T versions, I am running my NSX-T version 3.1.1. please make sure to refer the Vmware NSX-T respective version document for more details.
GET https://<nsx-mgr>/api/v1/trust-management/certificates/<cert-id>?action=validate
Replace Certificates
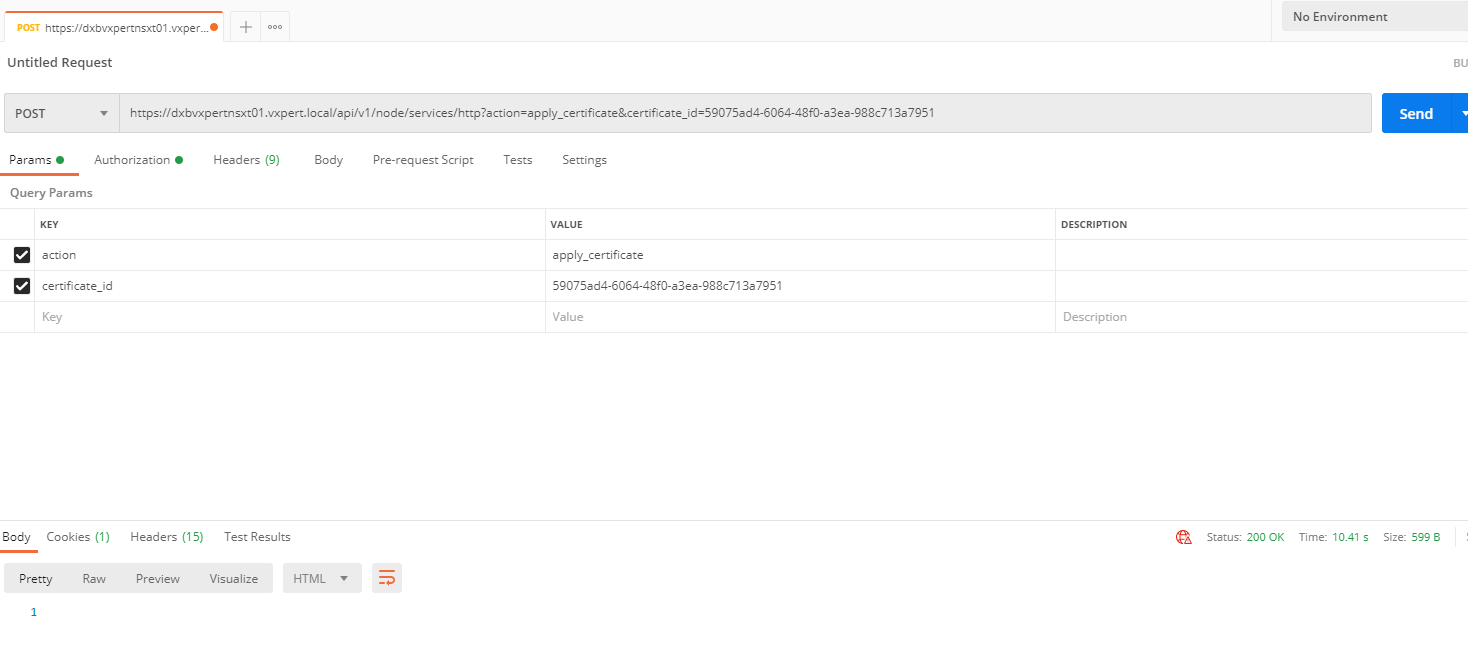
To replace the certificate of a manager node, use the API call:
POST https://<nsx-mgr>/api/v1/node/services/http?action=apply_certificate&certificate_id=e61c7537-3090-4149-b2b6-19915c20504f
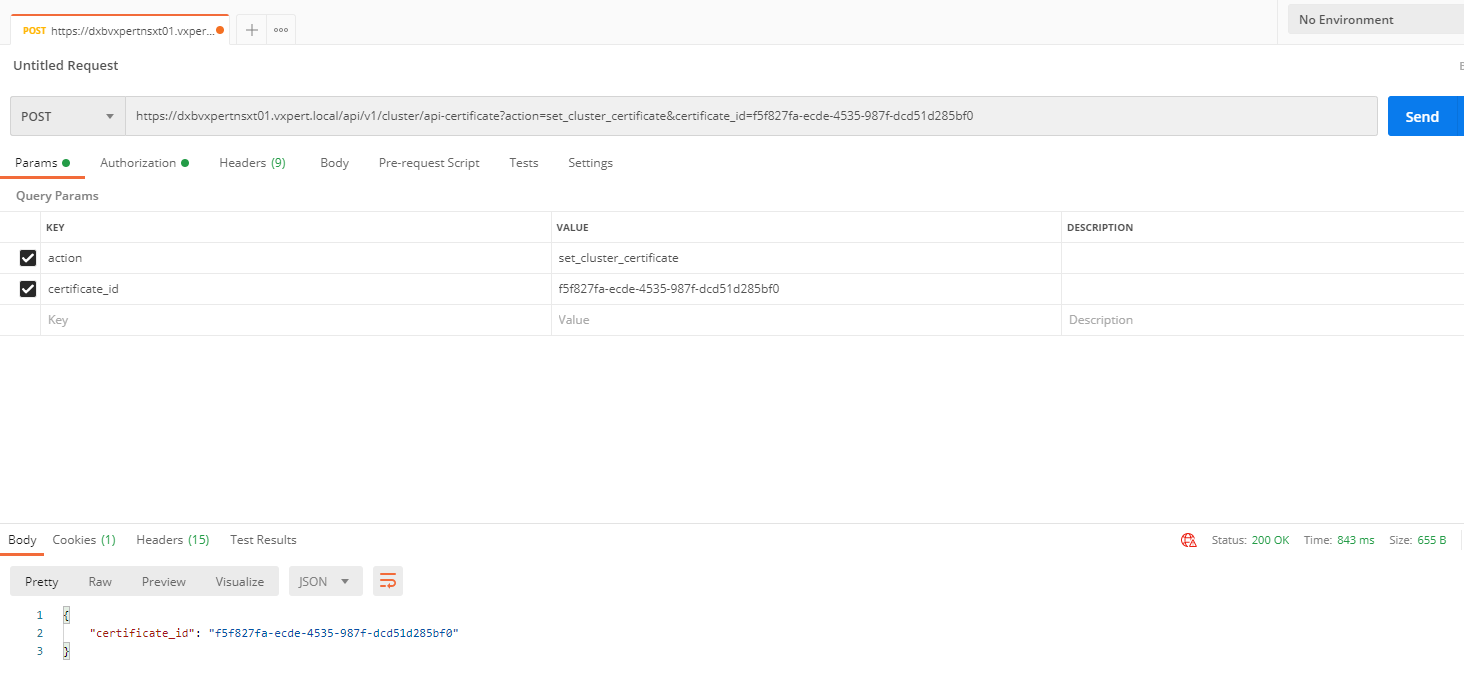
To replace the certificate of the manager cluster VIP, use the
POST https://<nsx-mgr>/api/v1/cluster/api-certificate?action=set_cluster_certificate&certificate_id=d60c6a07-6e59-4873-8edb-339bf75711ac
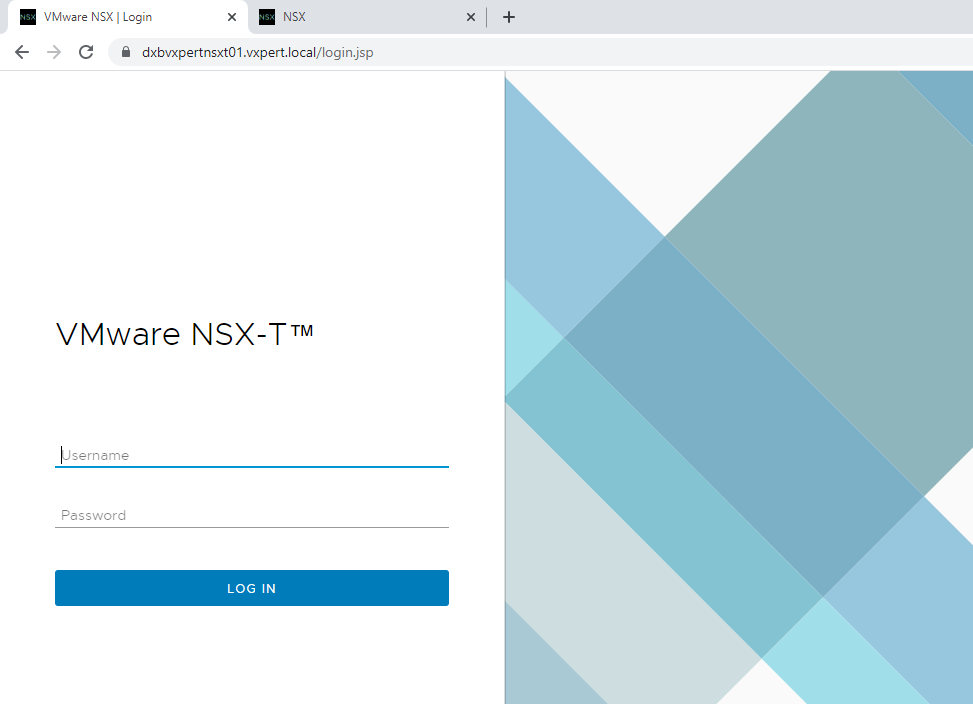
Once certificates are replaced you can browse the NSX-T manager Web UI without any SSL error.
Thanks,
If you have any comments, please drop me a line.
I hope this article was informative, and don’t forget to buy me a coffee if you found this worth reading.


Leave a Reply