Openfiler is an operating system that provides file-based network-attached storage and block-based storage area network. It was created by Xinit Systems and is based on the rPath Linux distribution. It is free software licensed under the GNU General Public License version 2. I wanted to configure HA and DRS on my ESXI cluster in home lab and using Openfiler is a great way to save some money on expensive SANs and for home lab testing and learning. In this scenario I have two ESXi hosts and one Hyper-V host, we will deploy Openfiler in Hyper-V and provision NFS and iSCSi volumes to ESXi host and configure HA and DRS
Openfiler Installation
To get started you need to create a virtual machine and map with Openfiler ISO, below are the detailed steps to install the Openfiler VM on Hyper-V. You can download the ISO from this link
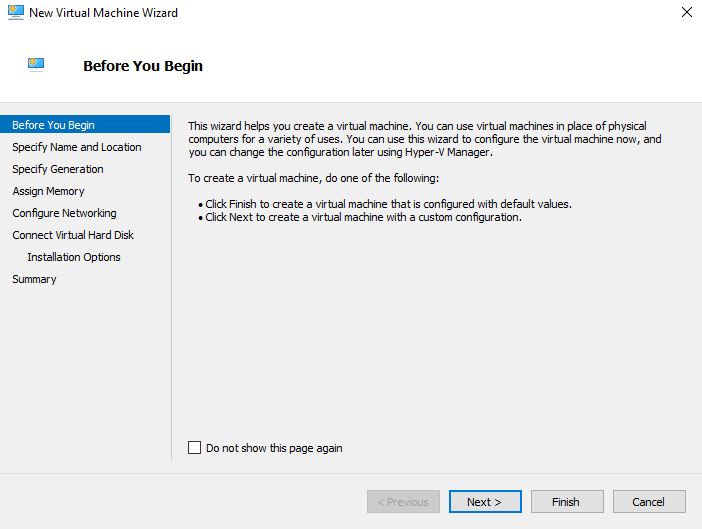
Create a virtual machine
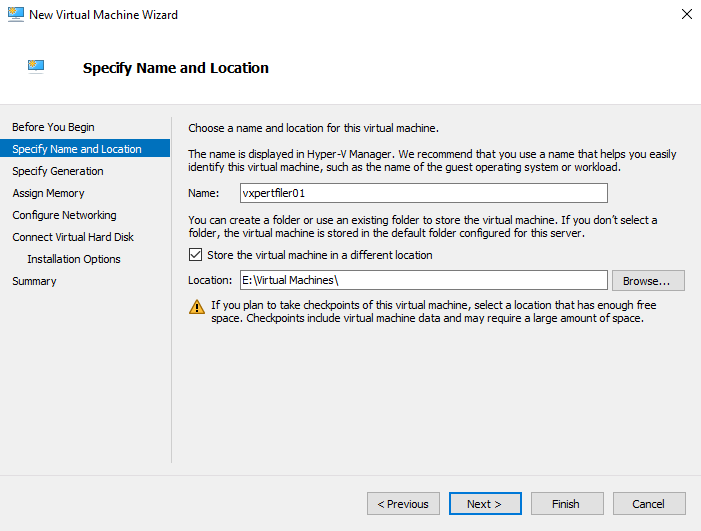
Provide virtual machine name and location
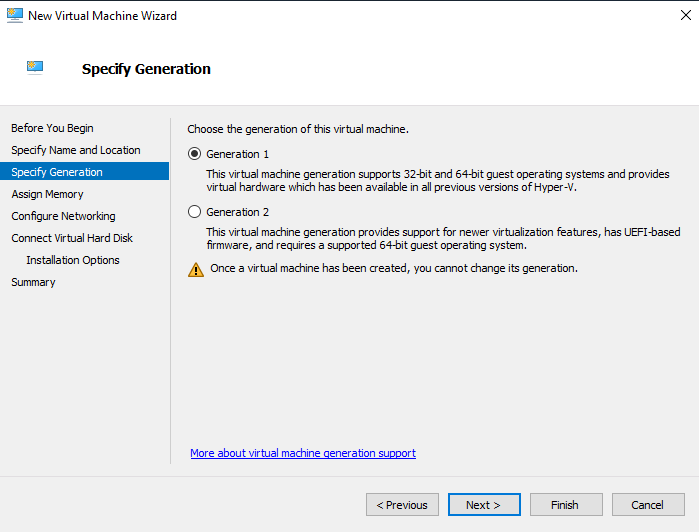
Select the virtual machine Generation as Generation 1
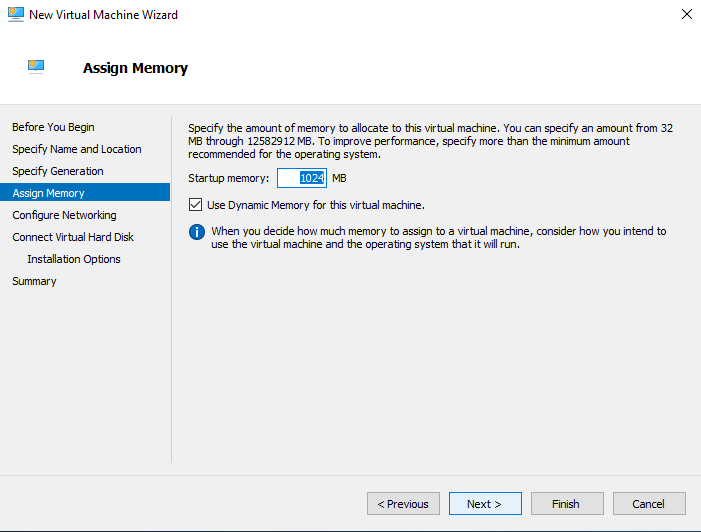
Configure memory 1024 GB as we are creating this for Lab setup
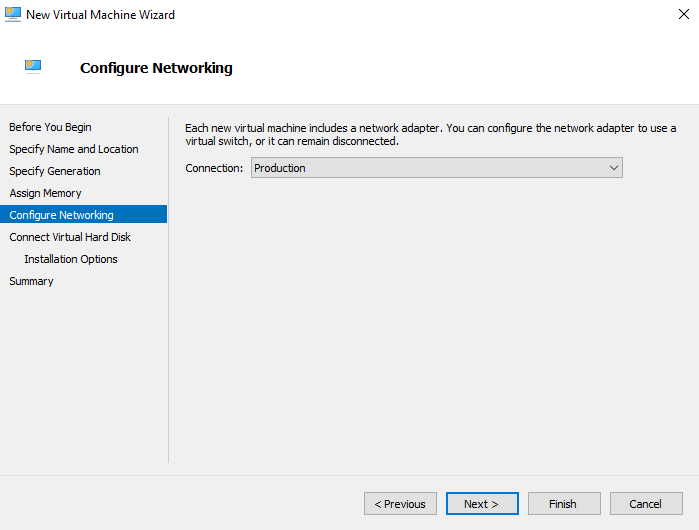
Select Virtual switch adaptor according to your network design
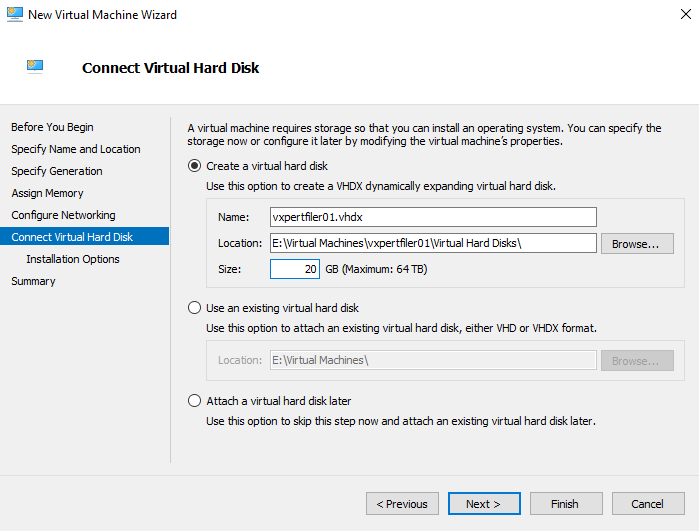
Select 20GB disk for system part ion and we will be adding separate disks for NFS and iSCSi volumes
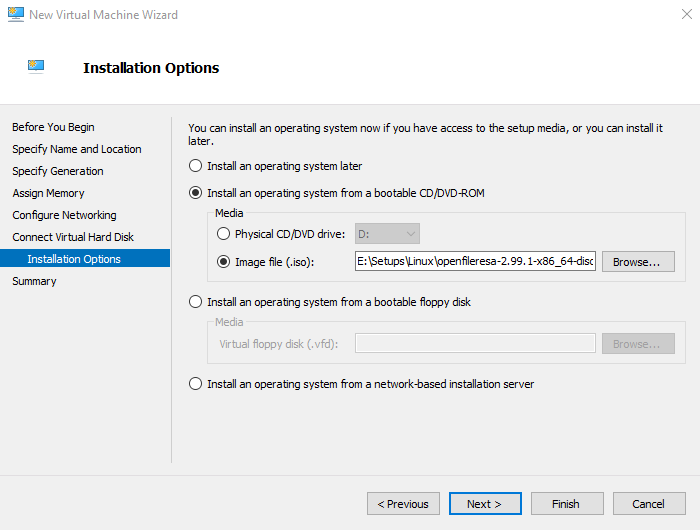
Mount Openfiler ISO
Finish the setup to create the virtual machine

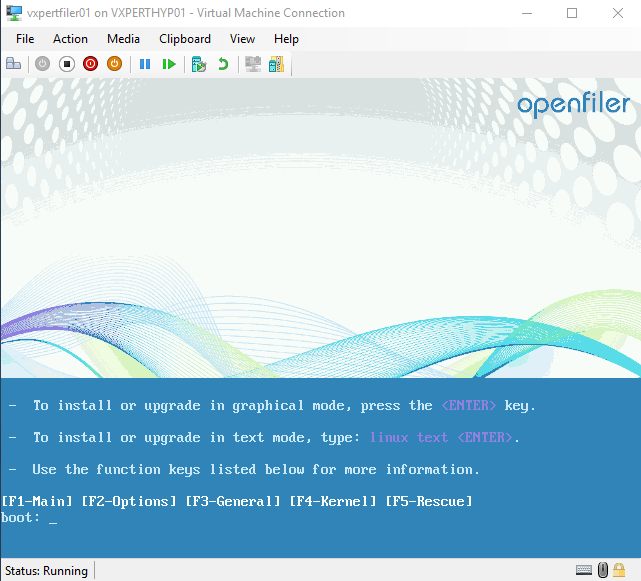
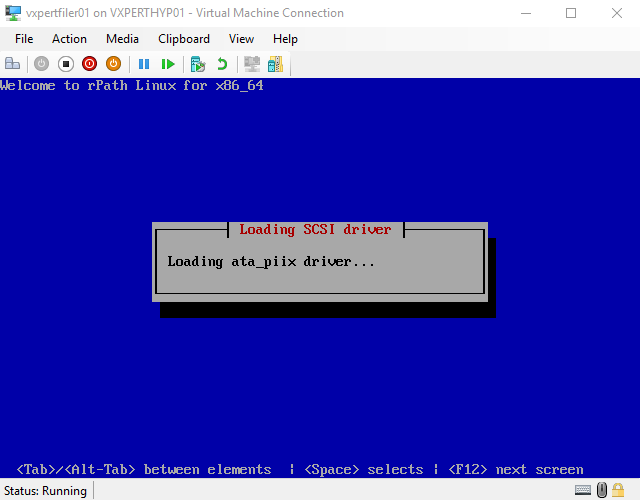
Power On the virtual machine and press enter on below windows to start installation from ISO
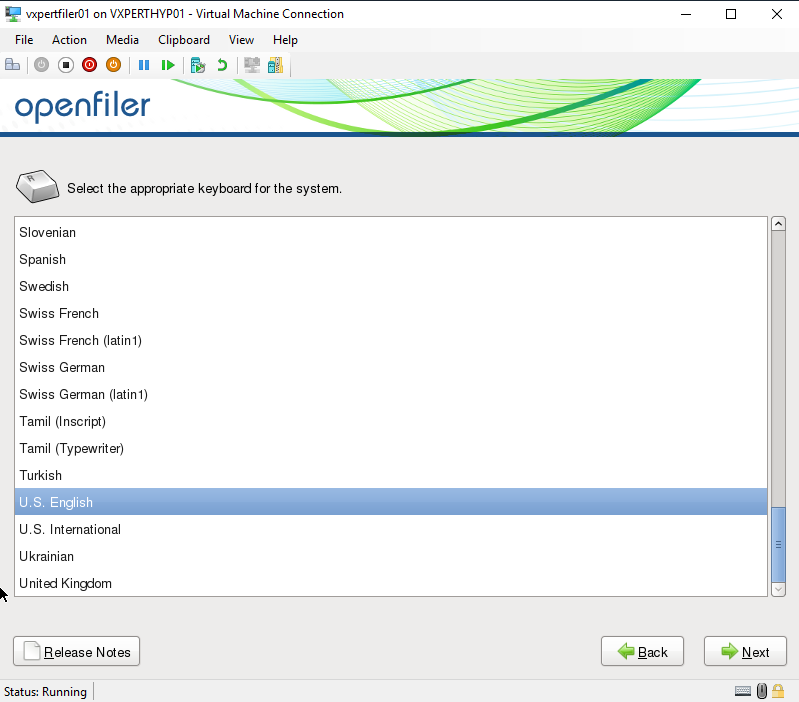
Select language and continue installation
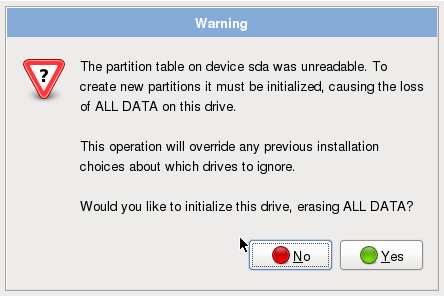
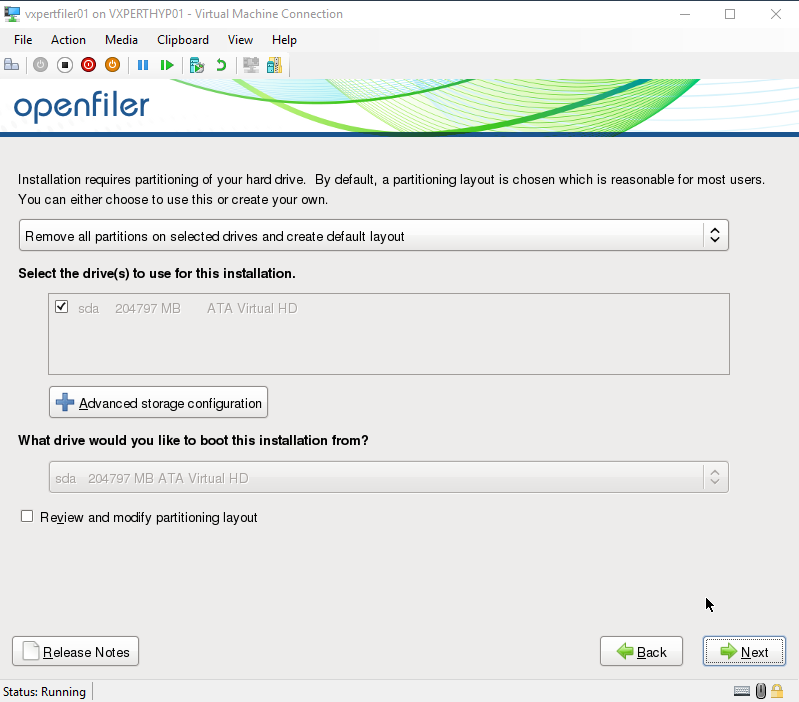
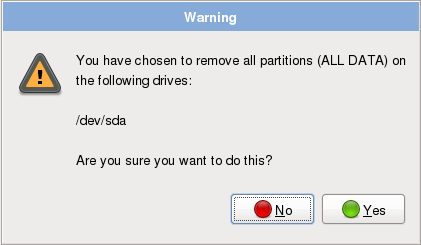
Select the drive for installation and you can create a default or custom partition layout.
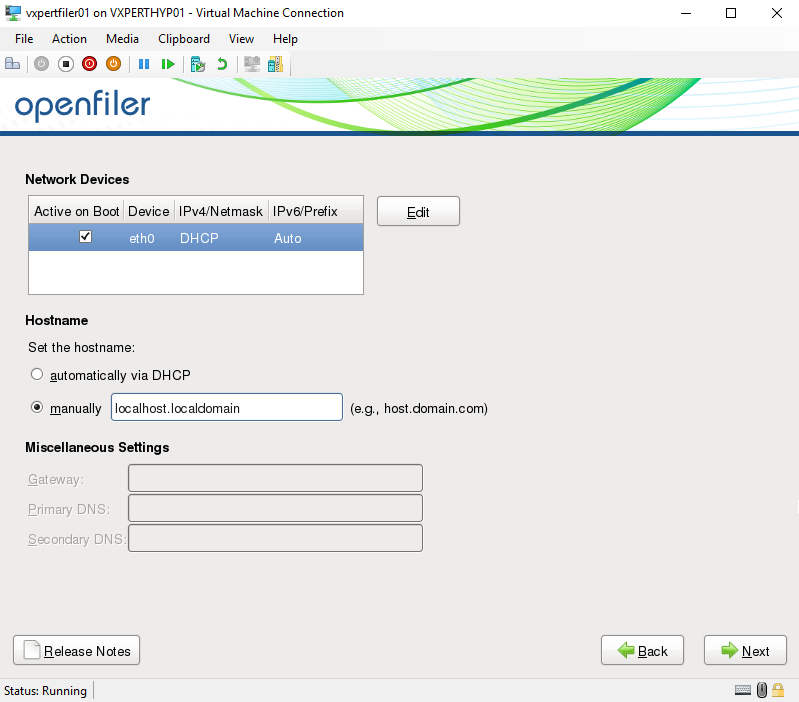
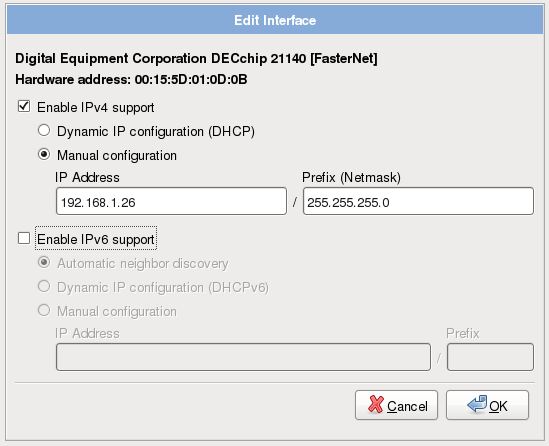
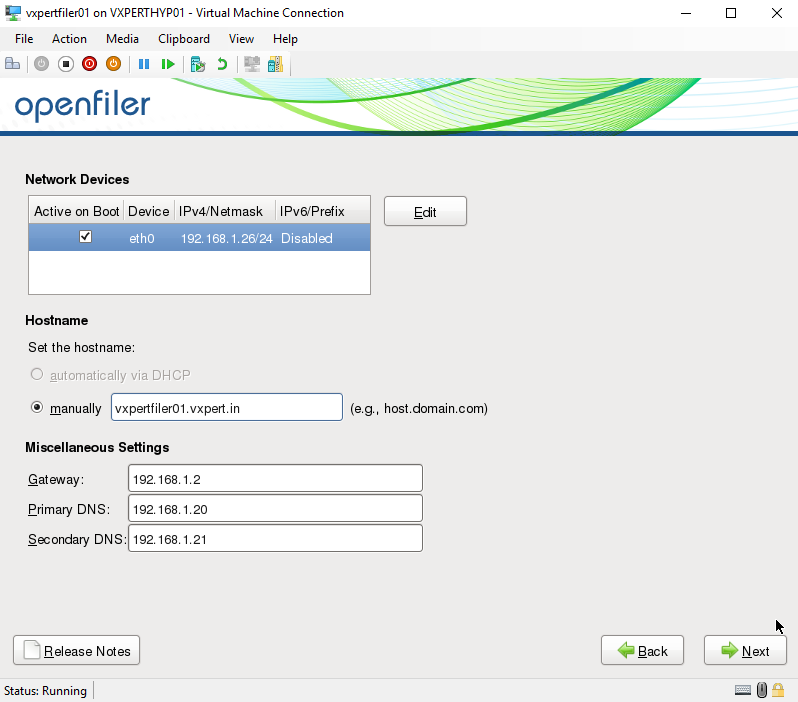
Configure network adapter with IP, Subnet, Gateway and DNS as shown below
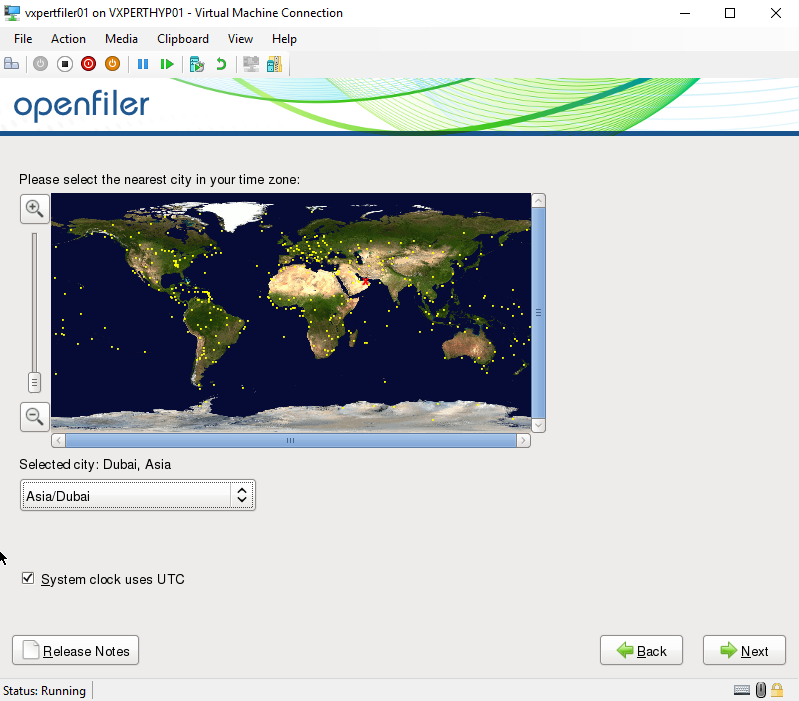
Select Time zone
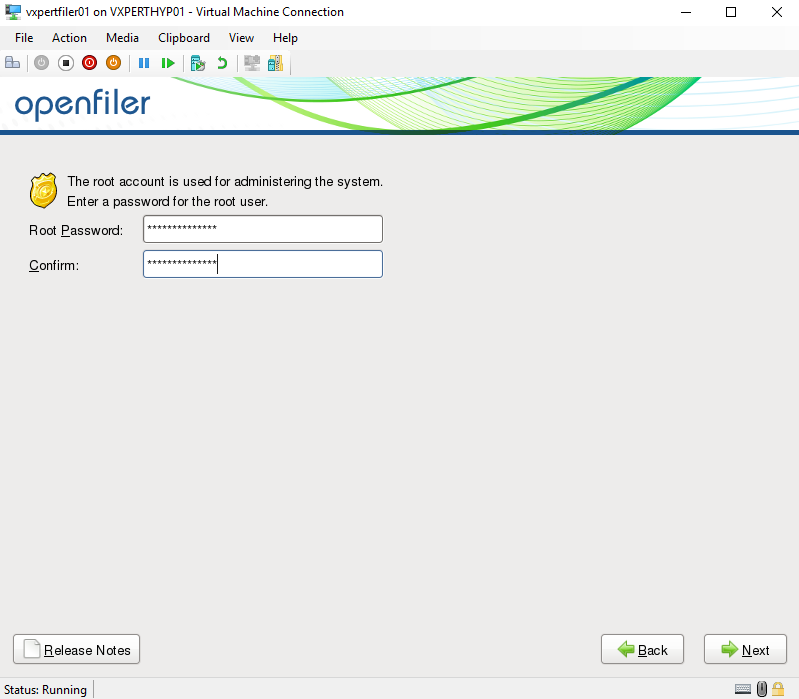
Enter root password
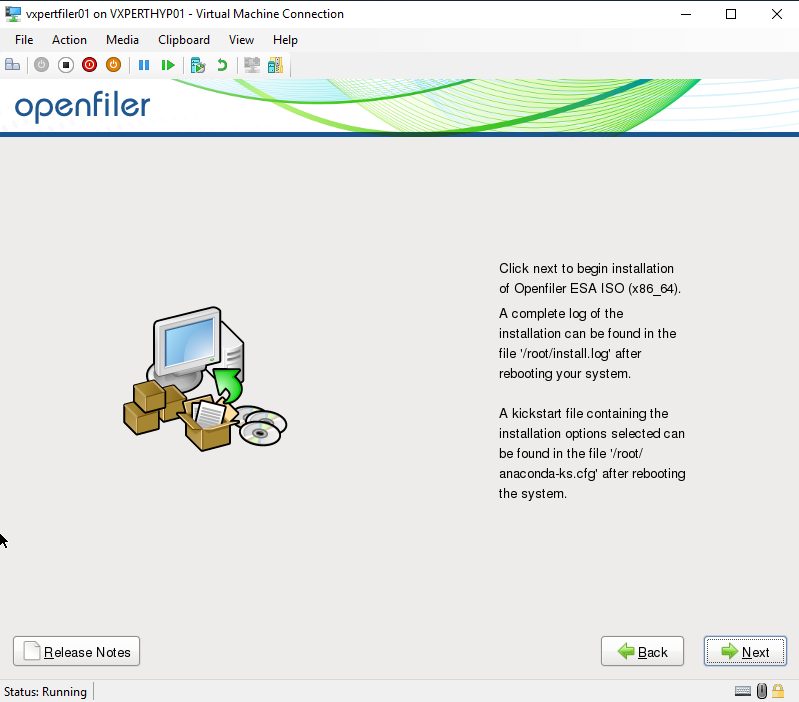
Click Next to continue installation
When the installation is finished you can reboot the virtual machine. Once it is rebooted you will see the URL you can use to manage the appliance on the console.
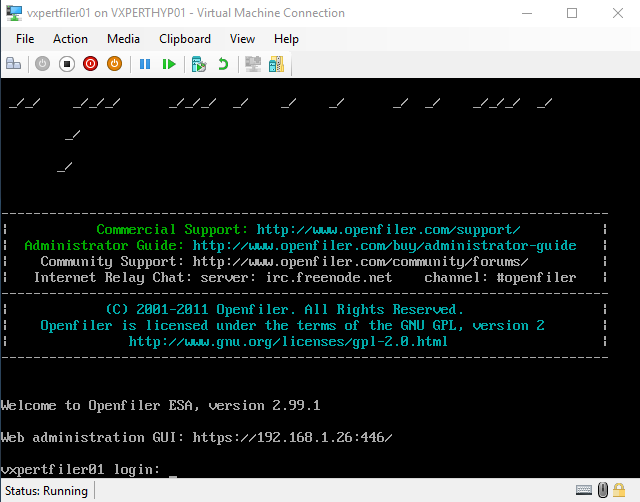
To login to the Openfiler web-based management interface you use the following credentials:
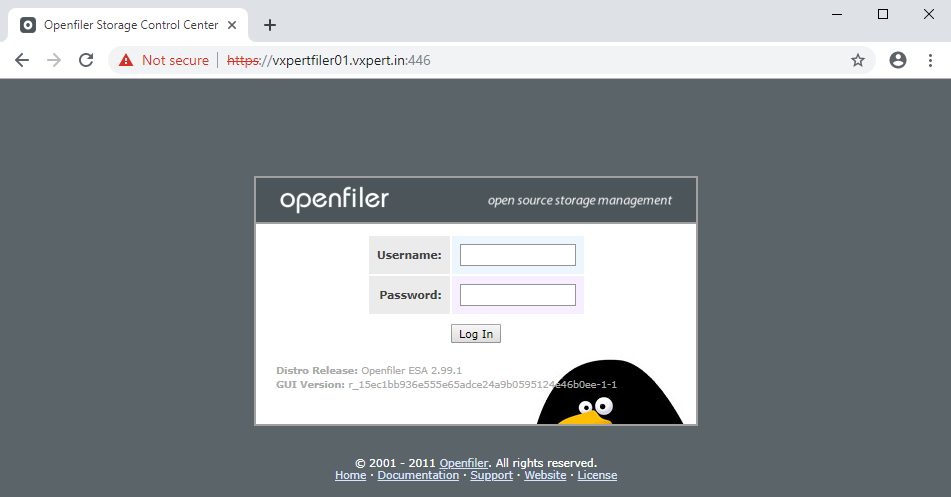
default username: openfiler
default password: password
Openfiler Configuration
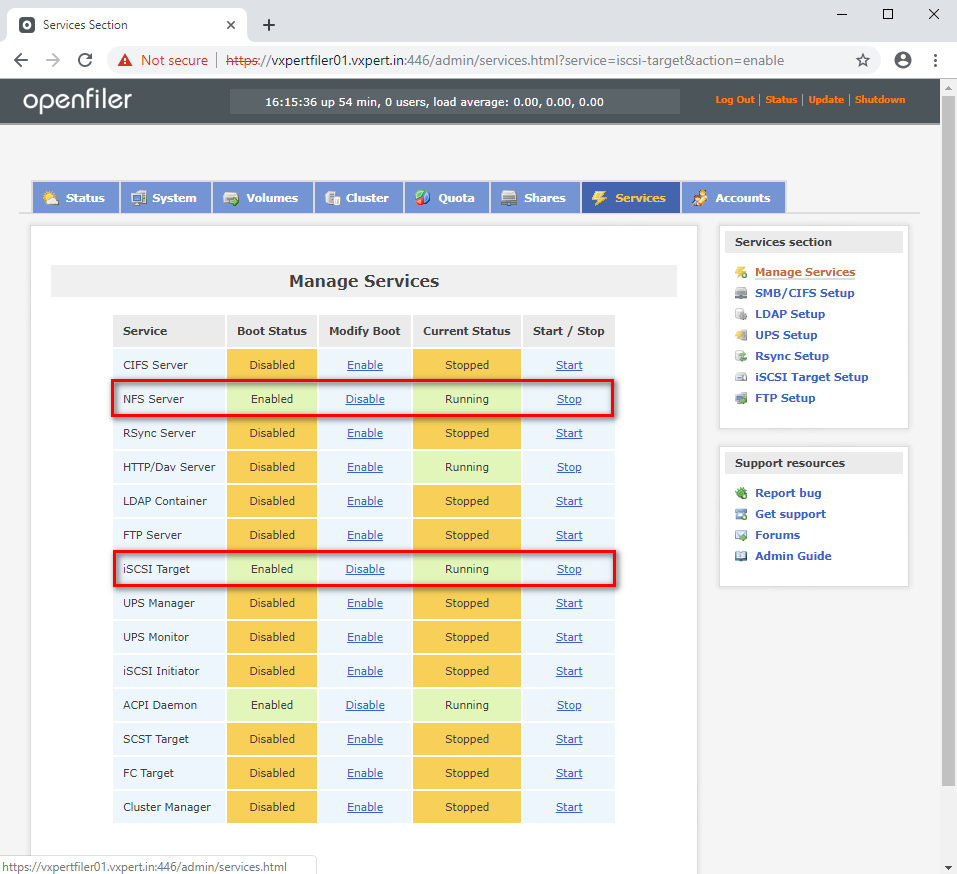
The first task to perform is to enable the services you want to be using. In this article I will explain how to configure NFS and iSCSI for ESXi so those are the services I have enabled and started
Click Services tab to configure same
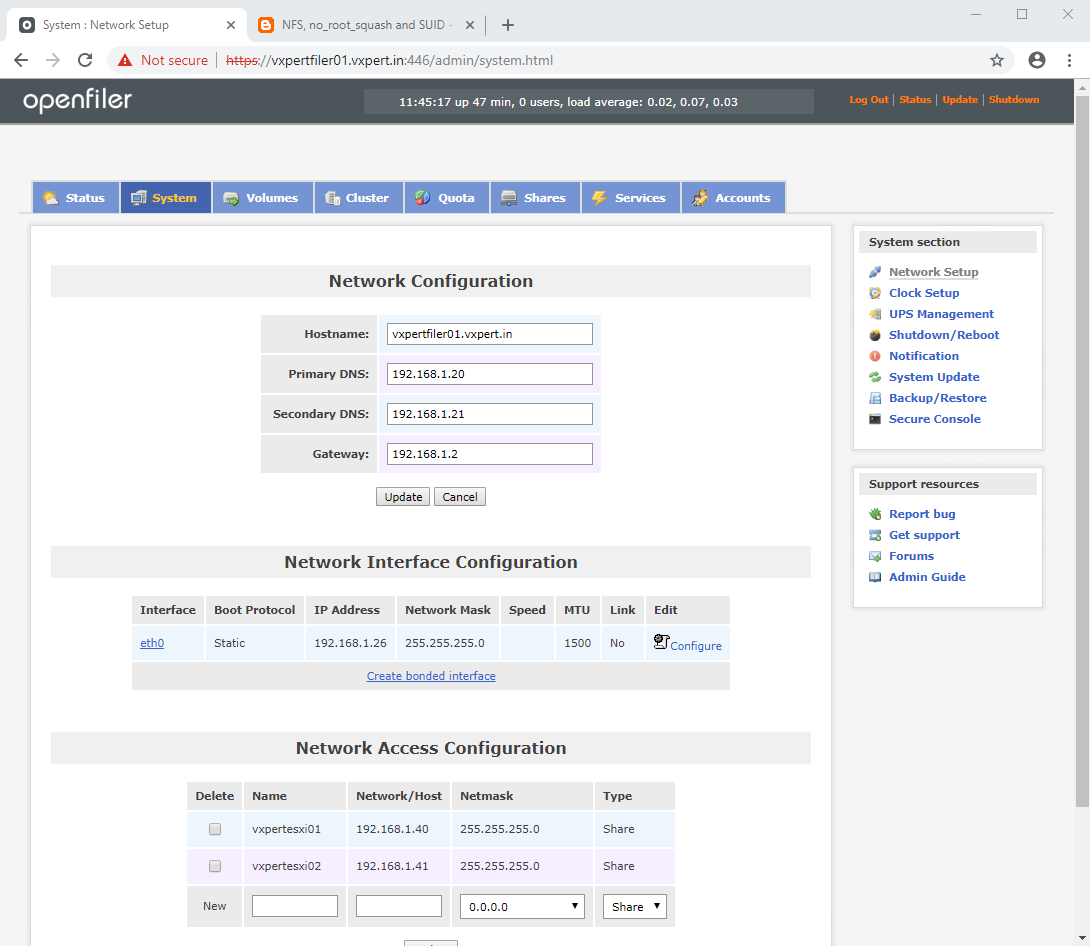
Now we must configure from which hosts or networks your Openfiler resources can be accessed. You can provide individual IP-addresses for your servers or you can specify an entire network. With below configuration specific hosts in network 192.168.1.0/24 will be able to access the storage.
Click System tab to configure same
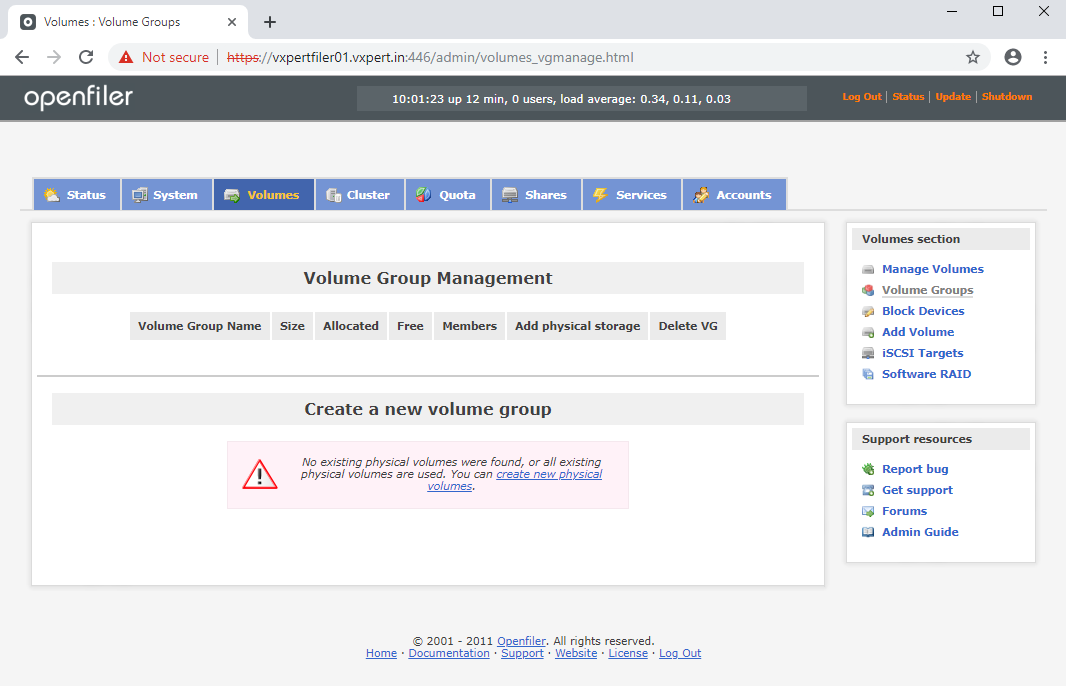
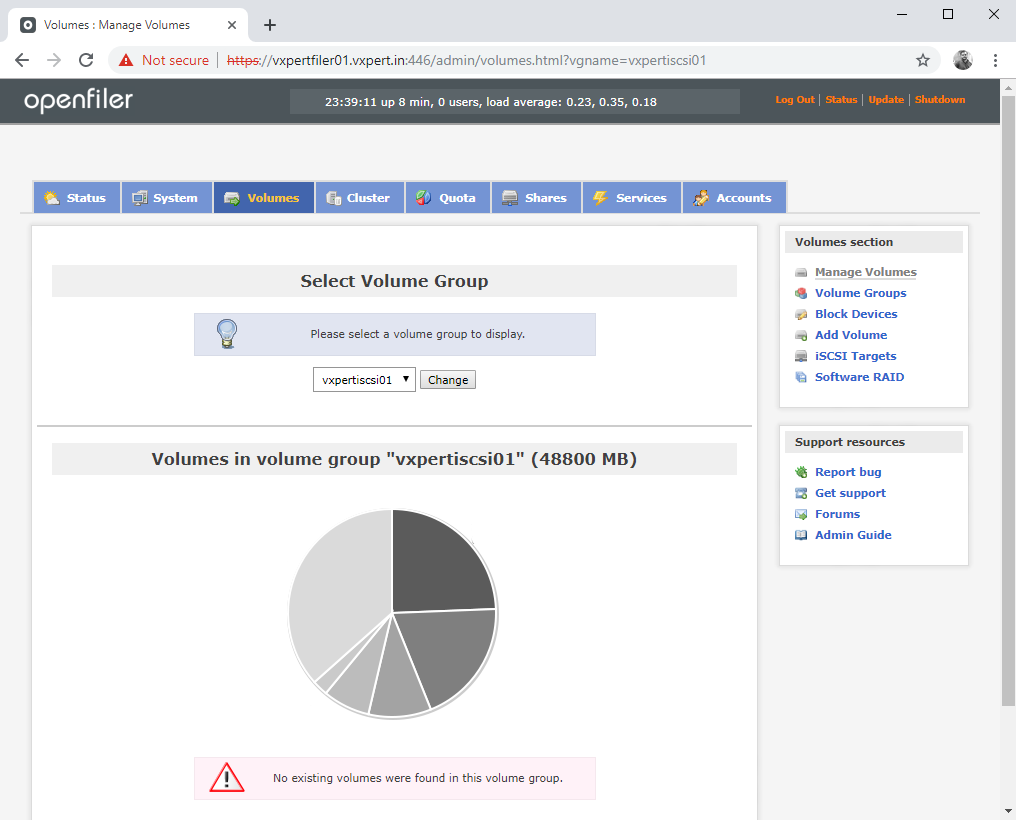
Click on Volumes to see available volume groups
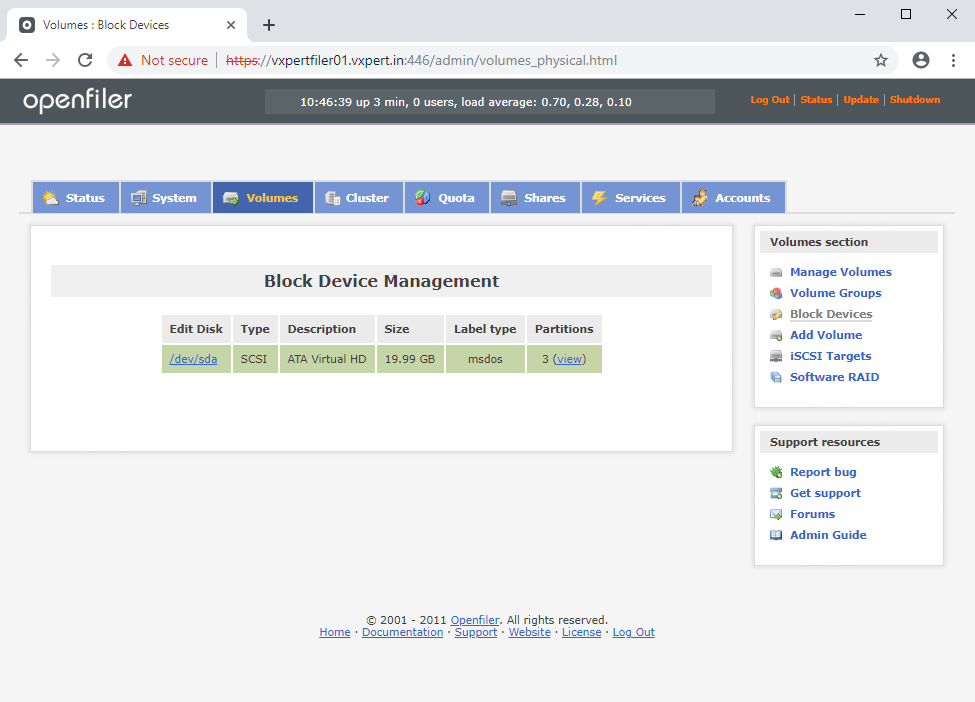
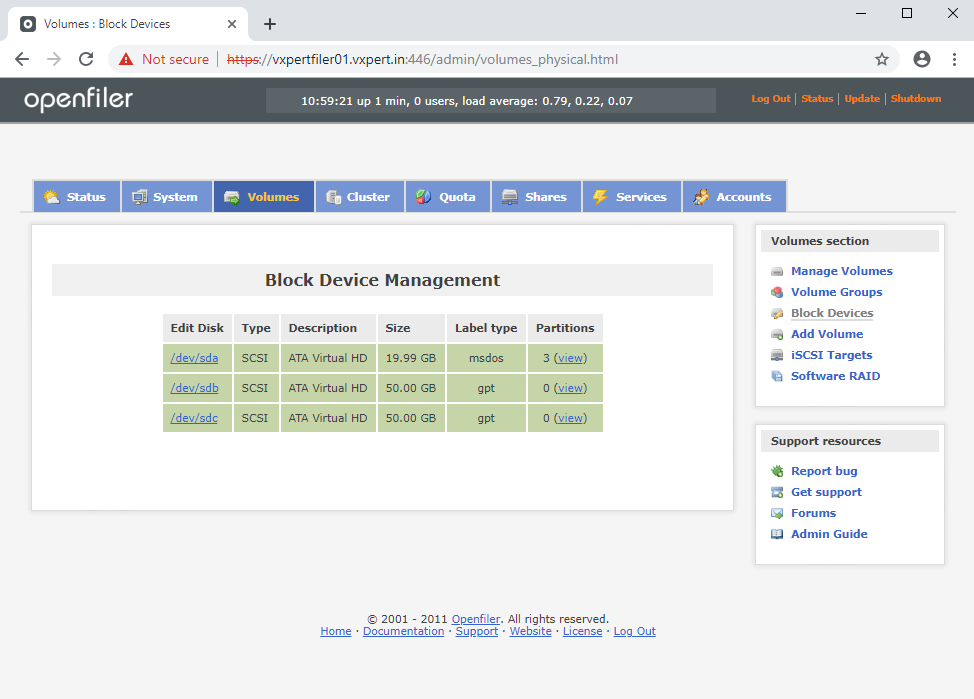
Click on Block devices to see the physical disks
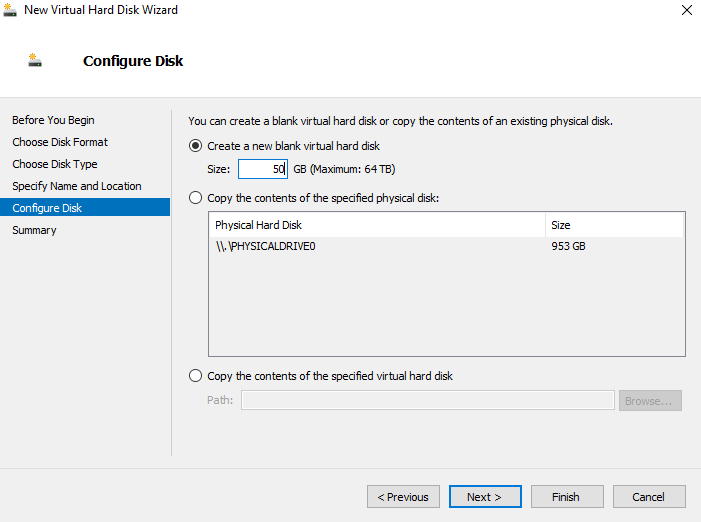
Now you should add the virtual hard disks to your virtual machine that you want to use to store the NFS and iSCSI data, Openfiler will detect them automatically. In our case we are adding two 50GB disks for NFS and iSCSI.
Edit virtual machine and click on IDE controller to add virtual disk
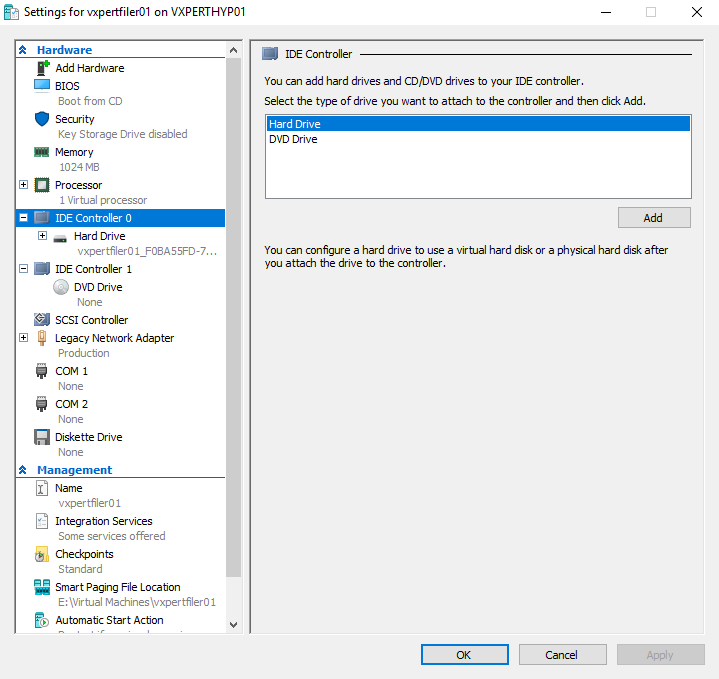
Click on New to add disk
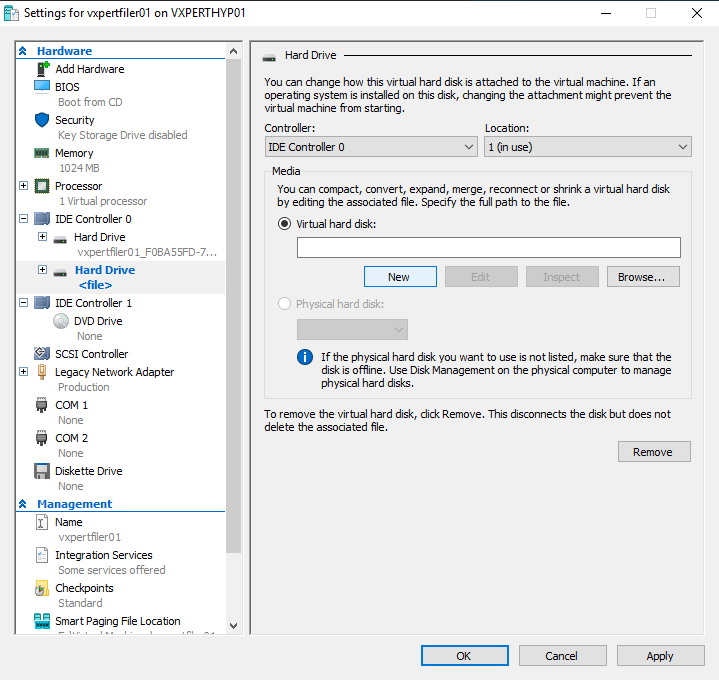
Select virtual disk format

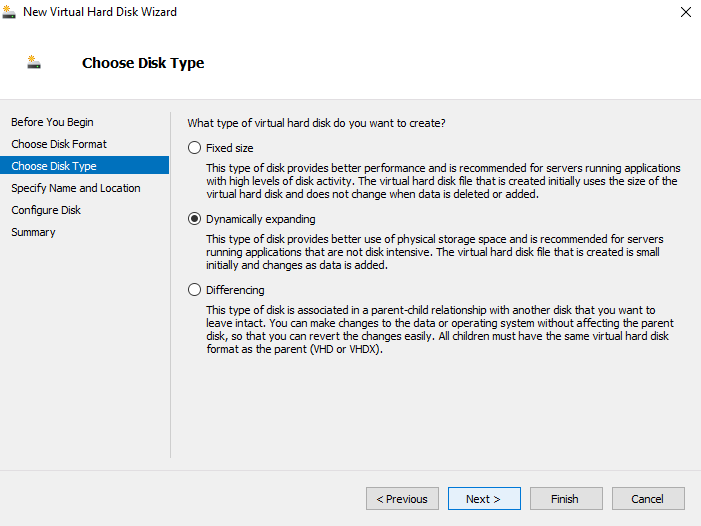
Select the type of virtual hard disk
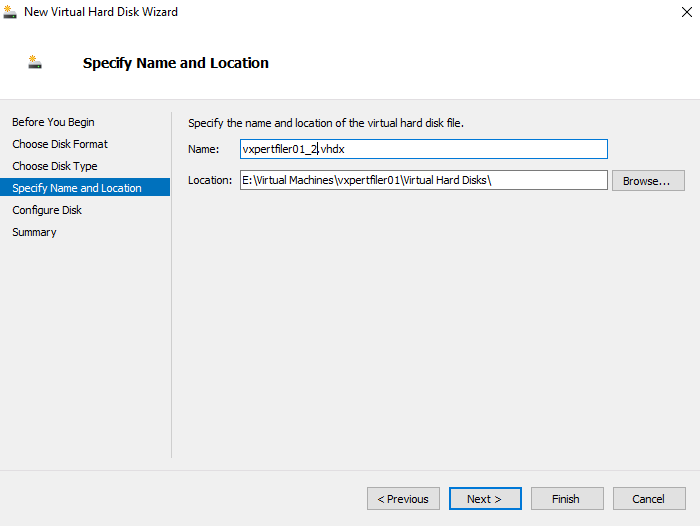
Mention name and location on new virtual hard disk
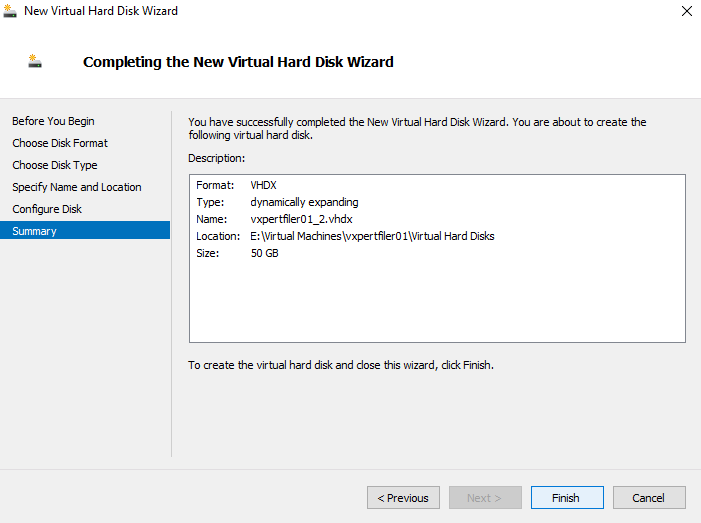
Mention size of new virtual hard disk
Finish to add the new disk to Operfiler virtual machine
Same way add another 50GB disk for iSCSi volume
Add NFS Share to ESXi Host
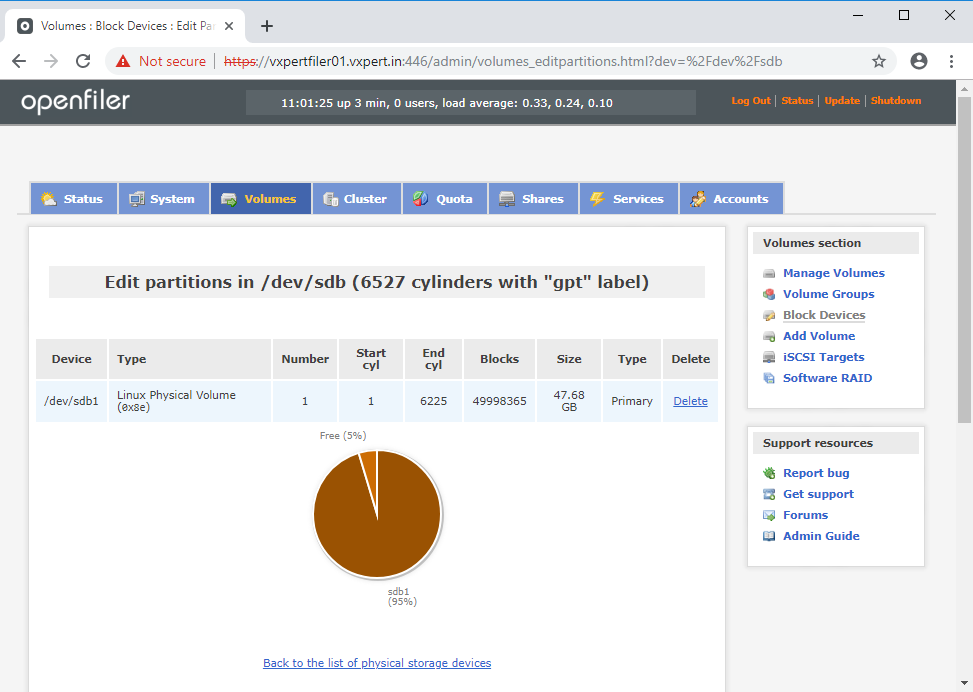
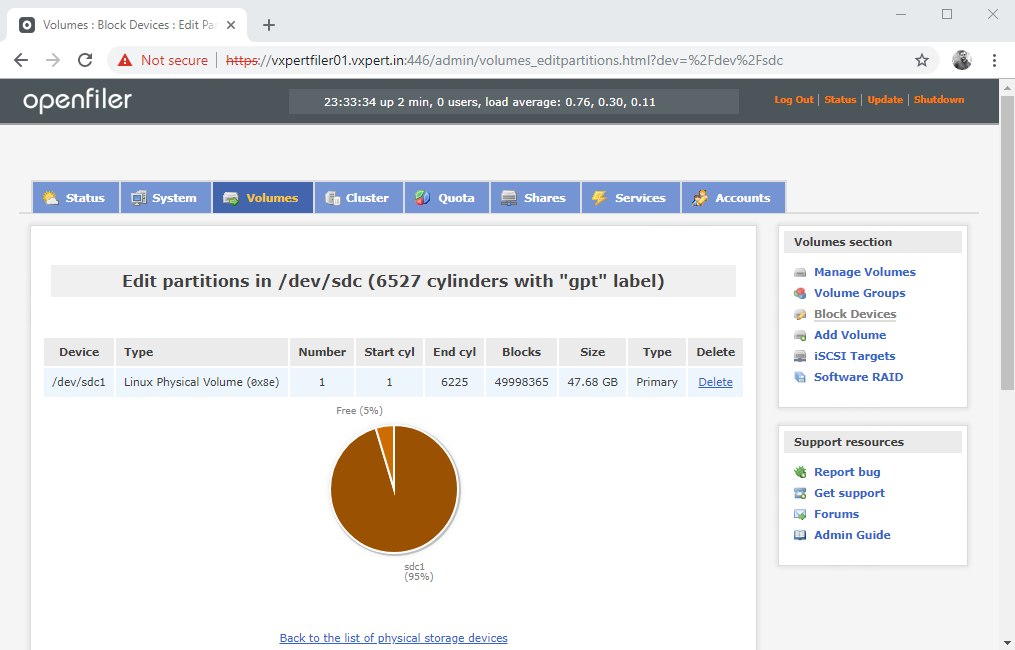
Access the Volumes-tab and select Block Devices from the menu on the right to manage the partitions for your disks. We will start with the first one (/dev/sdb). Click the hyperlink for the device to add a partition.
The image blow shows the information needed to create a new volume on the disk. Perform this action for all the disks you want to use. (In this article the only other disk is /dev/sdc.)

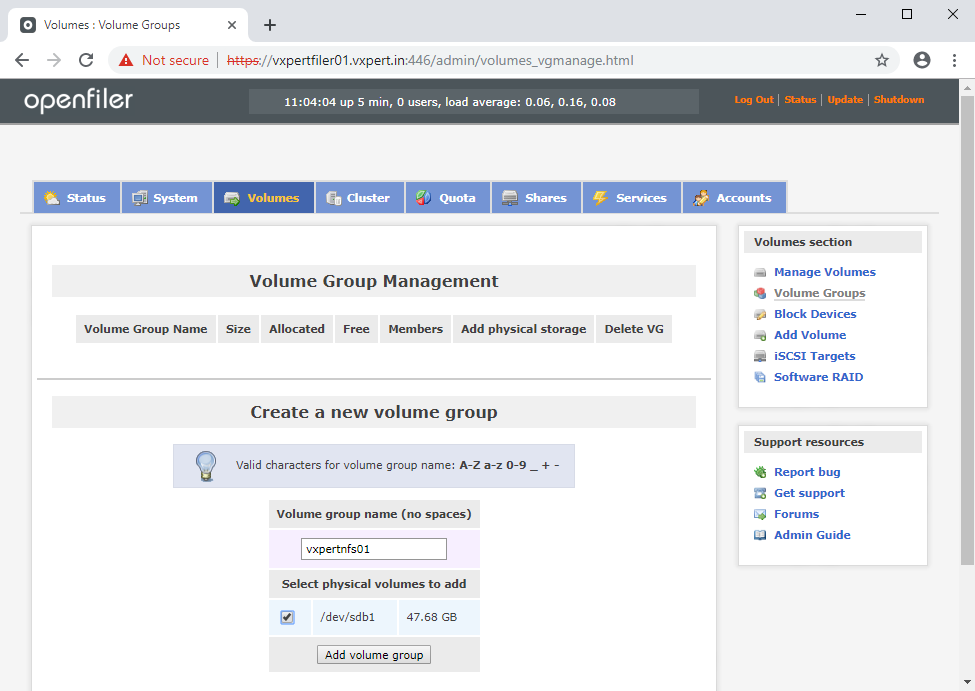
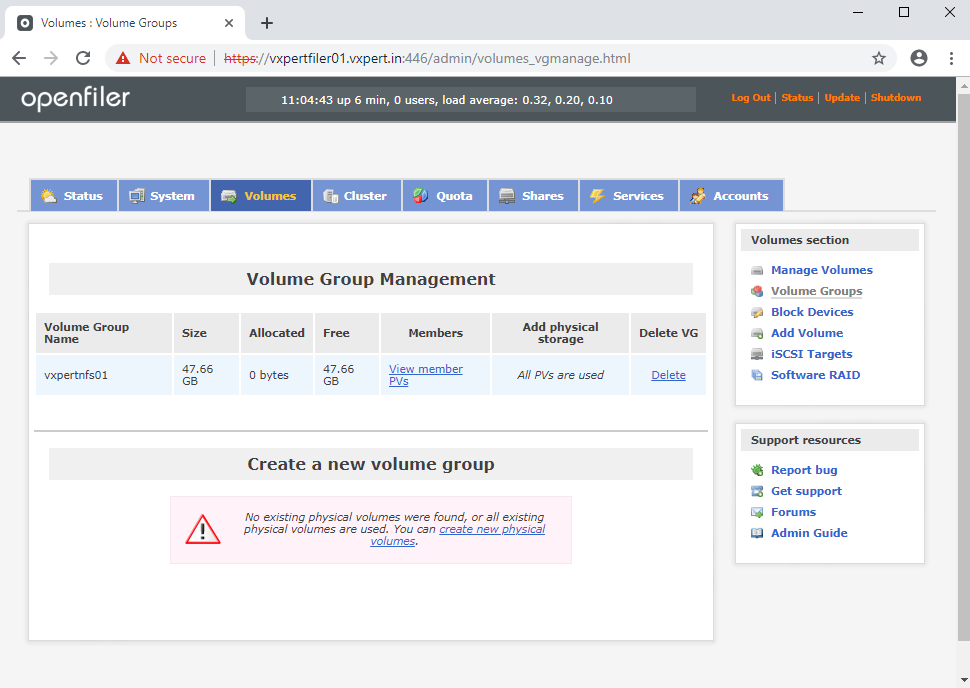
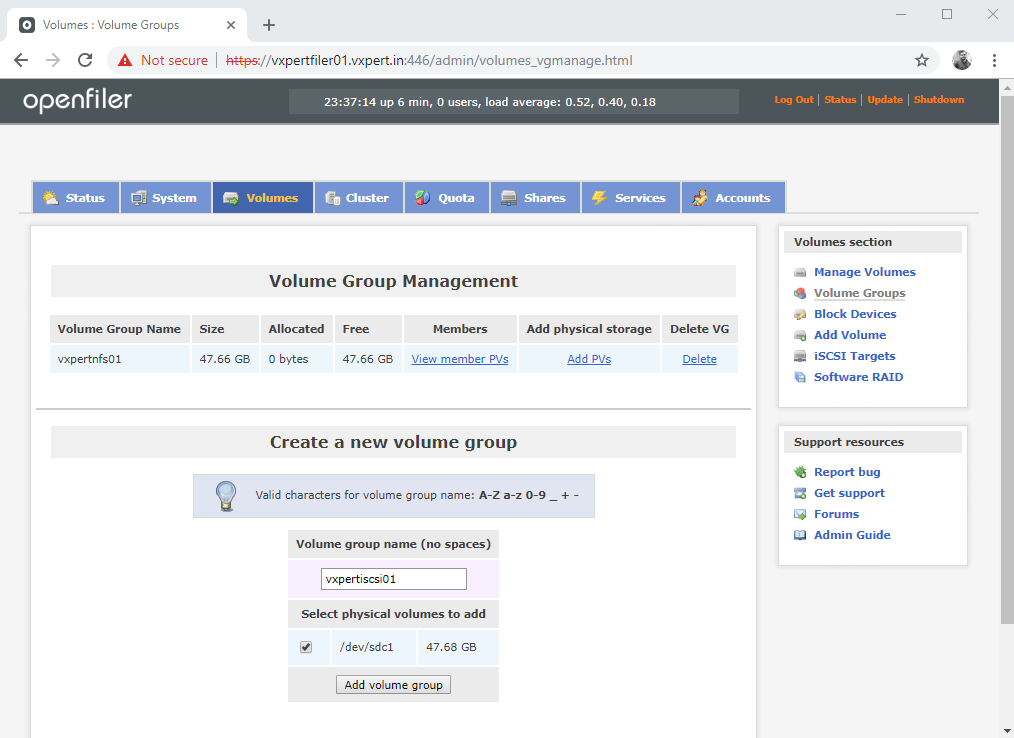
In the Volumes-tab select Volume Groups from the menu on the right. Since there are no volume groups yet the only thing to do here is create a new one. For the name I have used NFS so that it’s easy to identify what it’s going to be used for later.
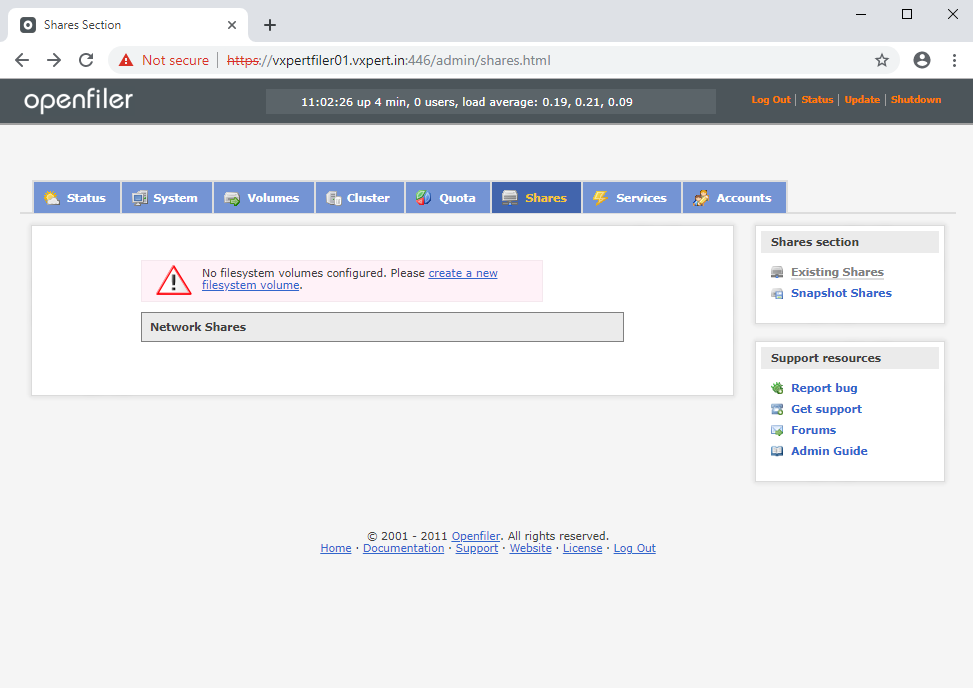
Click on shares and create new file system volume
Provide the volume group name and select physical volume on which you are creating volume group
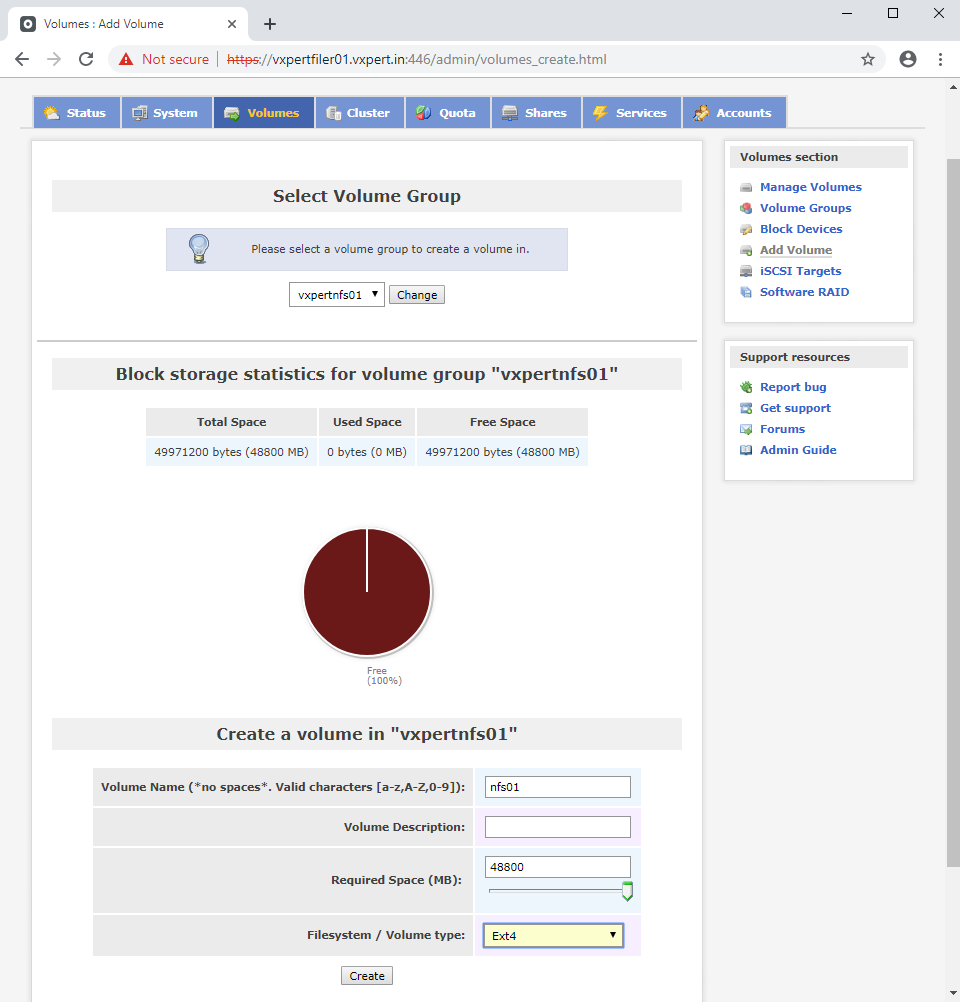
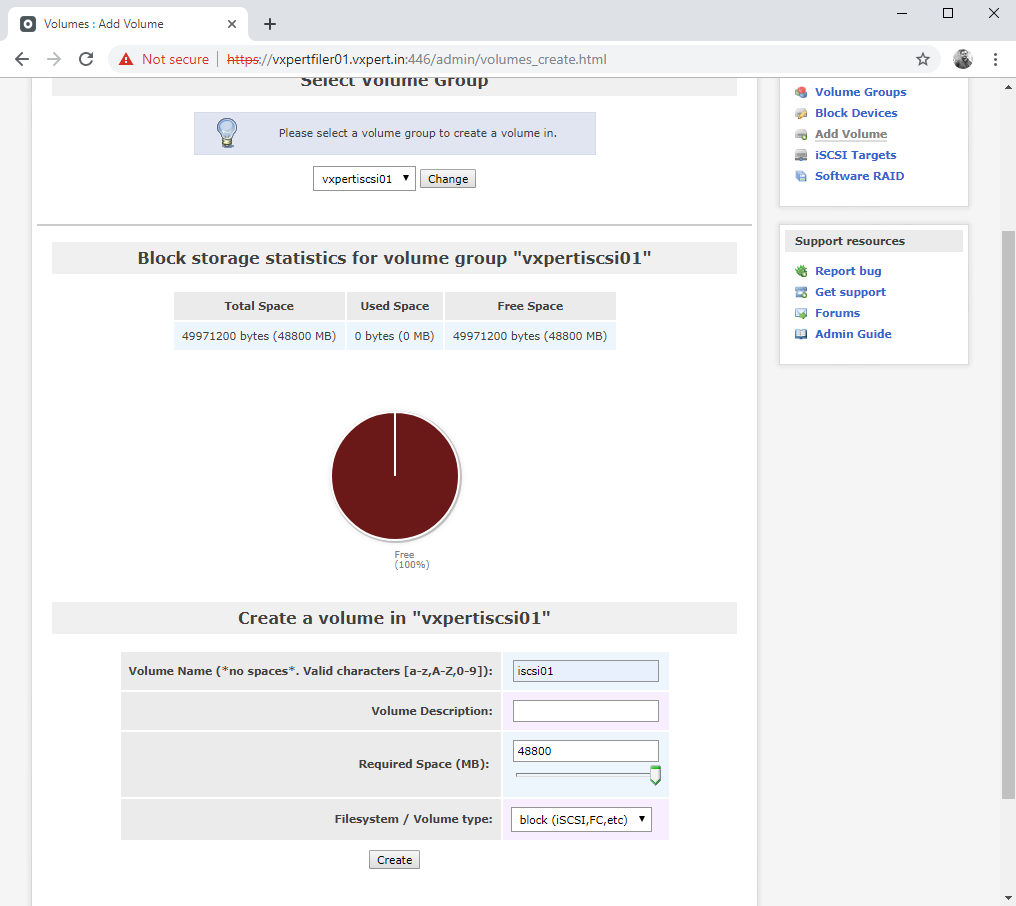
Click on Add volume to create a volume in volume group we created, mention the volume name, size and file system.
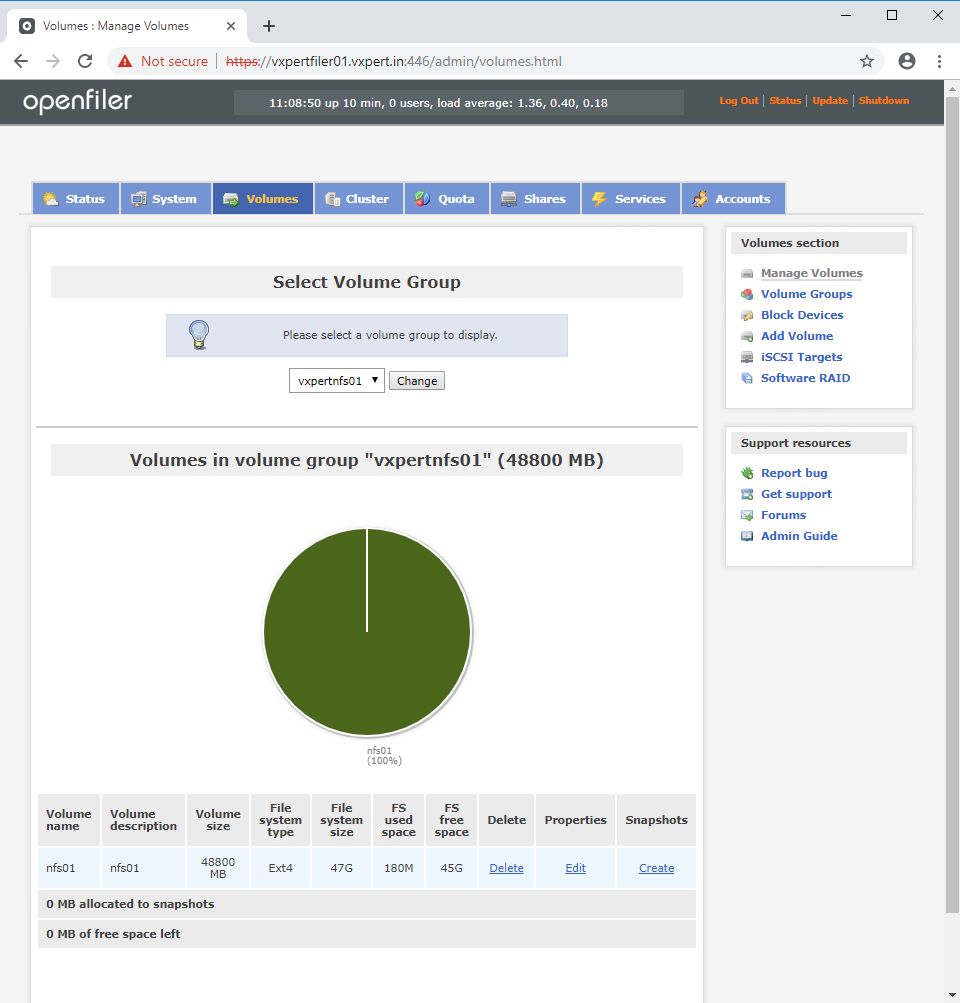
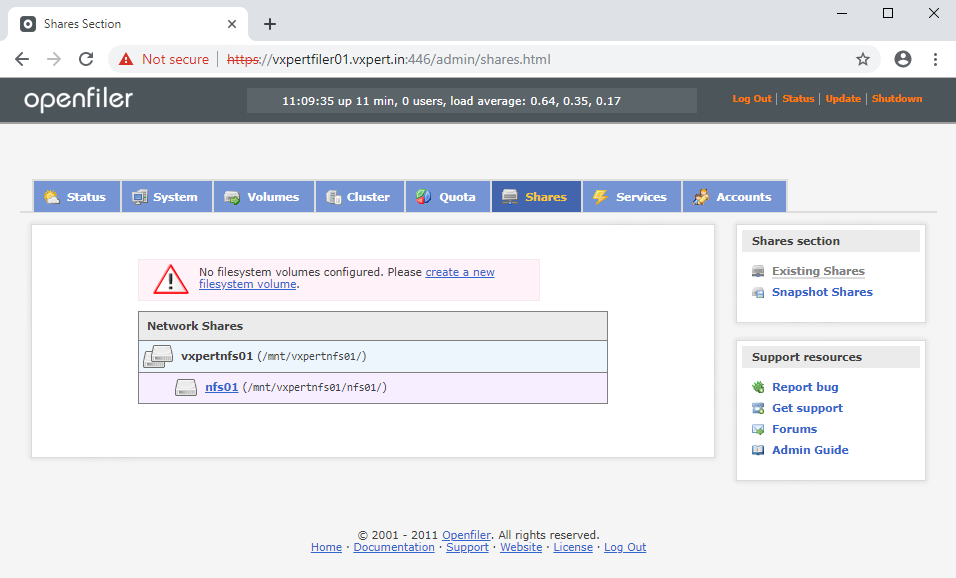
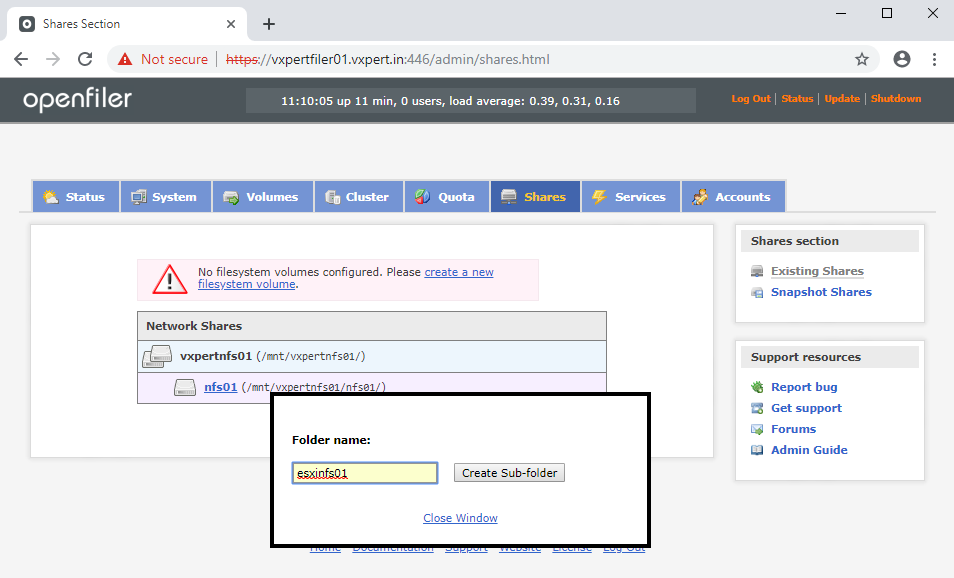
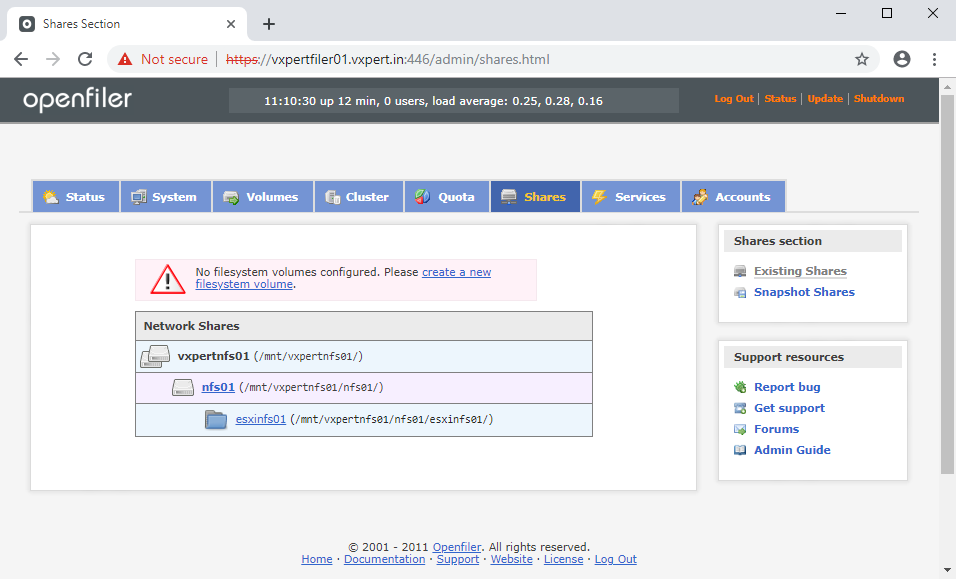
We now have the NFS-volume configured and must create a share that we can make available to our ESXi-servers. Click the Shares-tab and click the link for the NFS-volume you have just created. Enter the name for the folder to create in the volume.
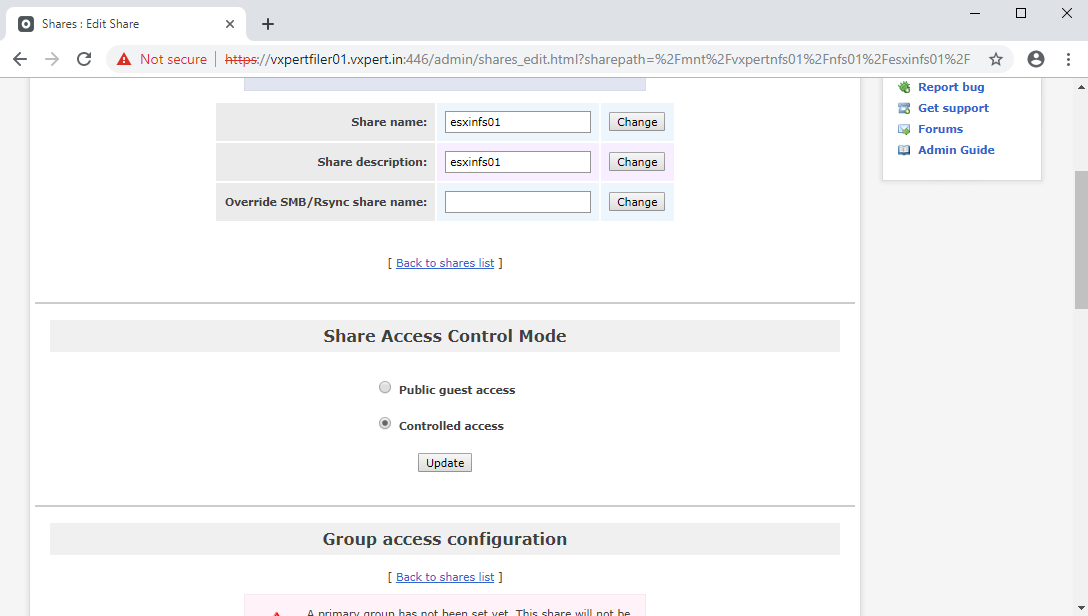
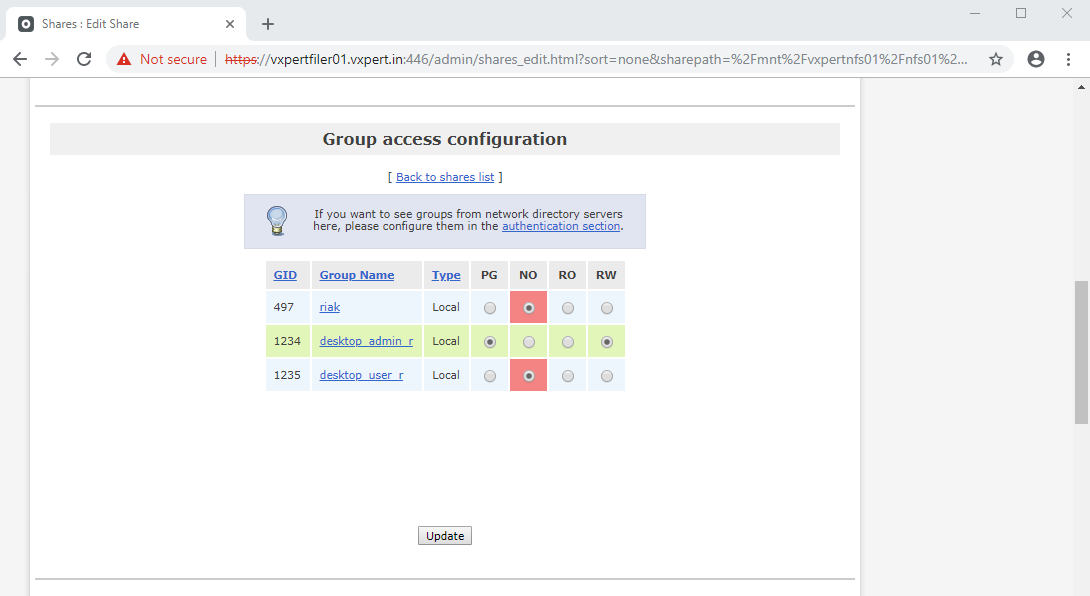
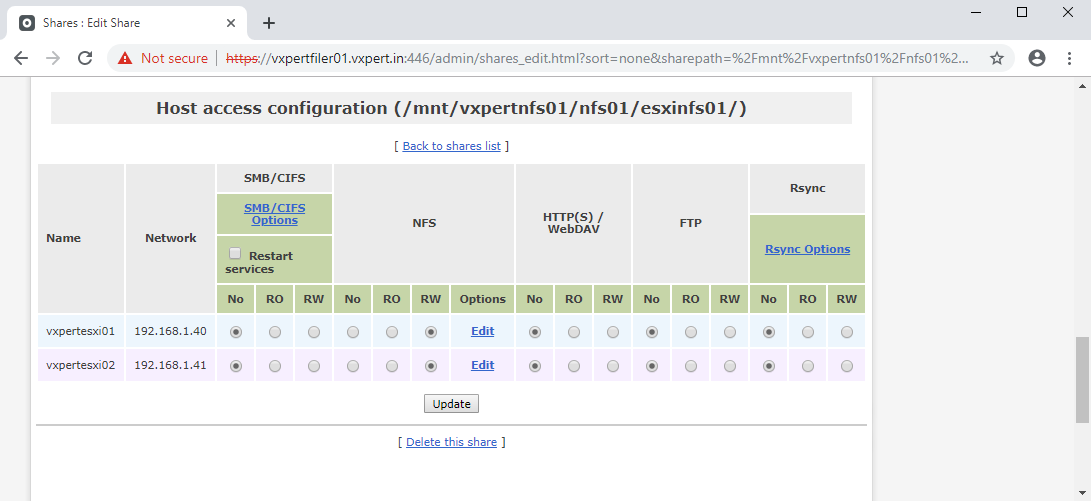
The default for these shares is that are configured for Controlled Access. You could configure it for public access. But it’s better to setup Controlled Access. You can clearly read on the share’s configuration page that it will only be enabled when you setup a primary group for the share. This might not be necessary for NFS but it’s better to always configure it this way. As you can see in the image below you must configure a Primary Group and configure Read Write access for NFS for your servers or the entire subnet.

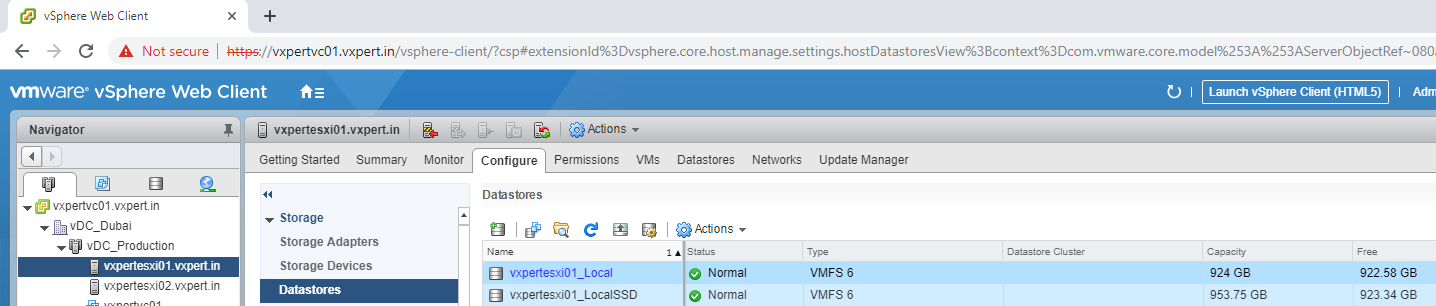
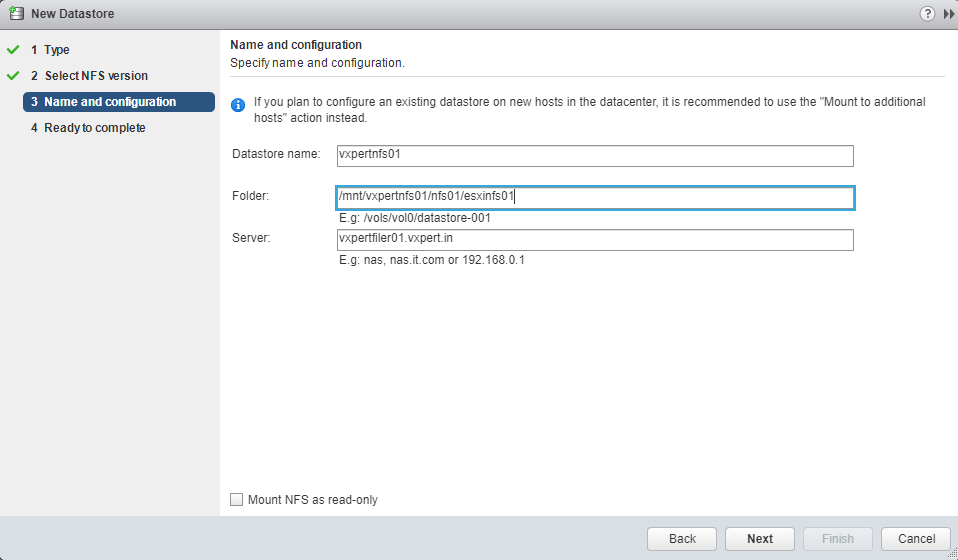
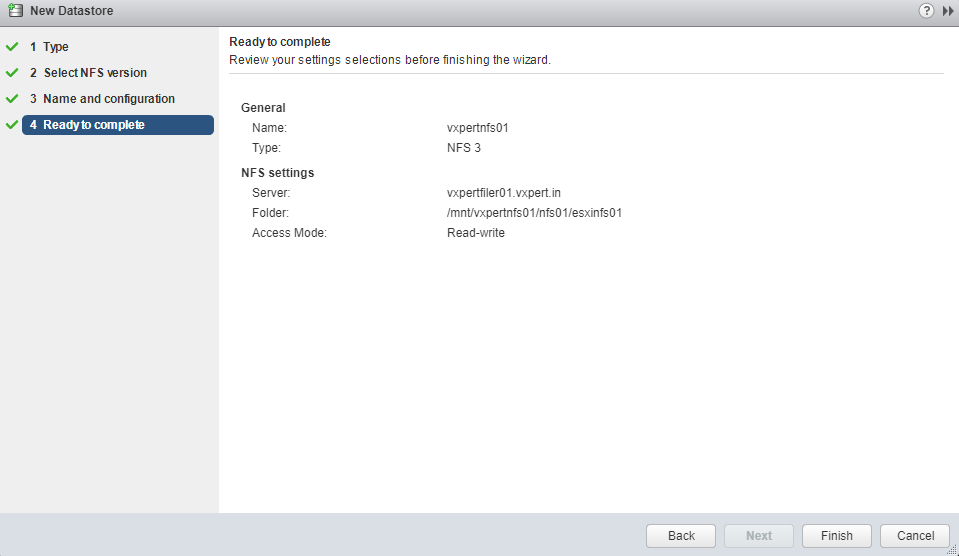
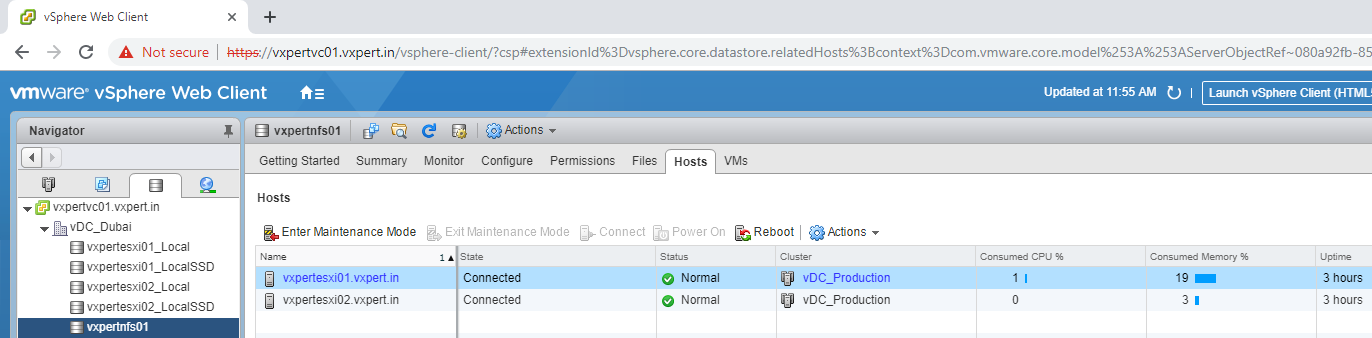
Your NFS-configuration on the Openfiler server is now done so it’s time to connect from the ESXi-host to this new share. You can perform this from the vSphere Client (Configure-tab – Datastore – Add Datastore) or from the vSphere Web Client (select your ESXi host, Related Objects-tab – Datastores and click the create a new datastore-icon). The image below shows how the configuration should look like. You can use the Openfiler’s IP-address or server name if you have DNS configured. The datastore name should be the same on all your ESXi-servers in your cluster so that virtual machines can run on all your hosts for example with vMotion and High Availability.


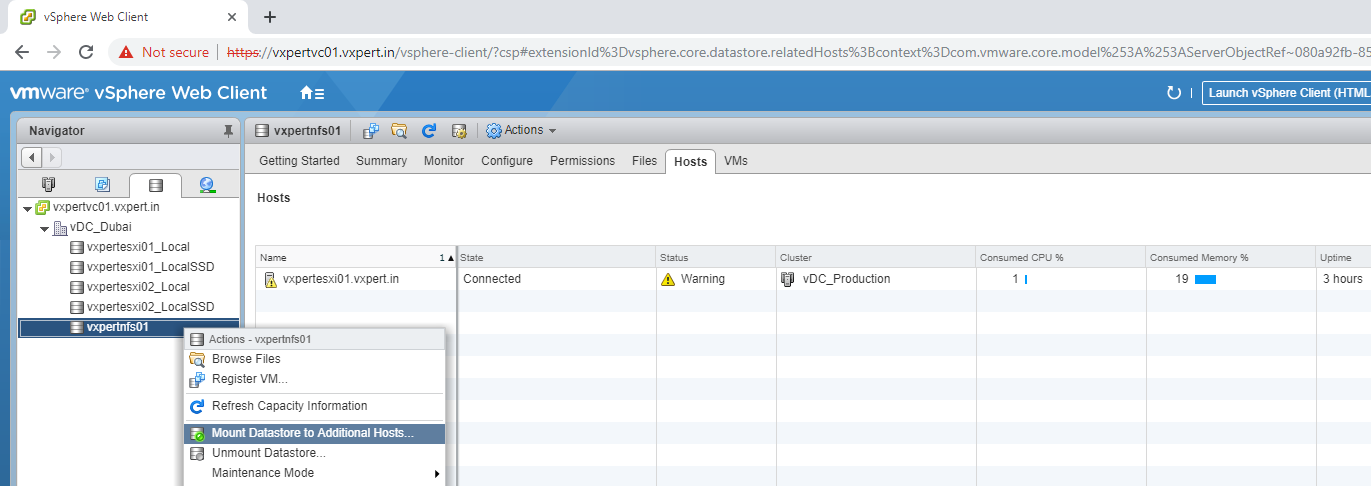
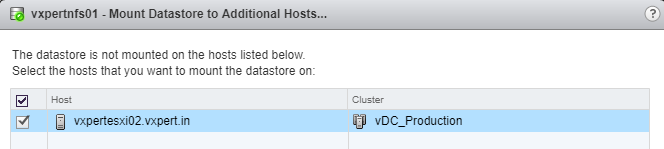
Once you add NFS share on one ESXi host, use below steps to add same share to other ESXi host
Add iSCSI volume to ESXi Host
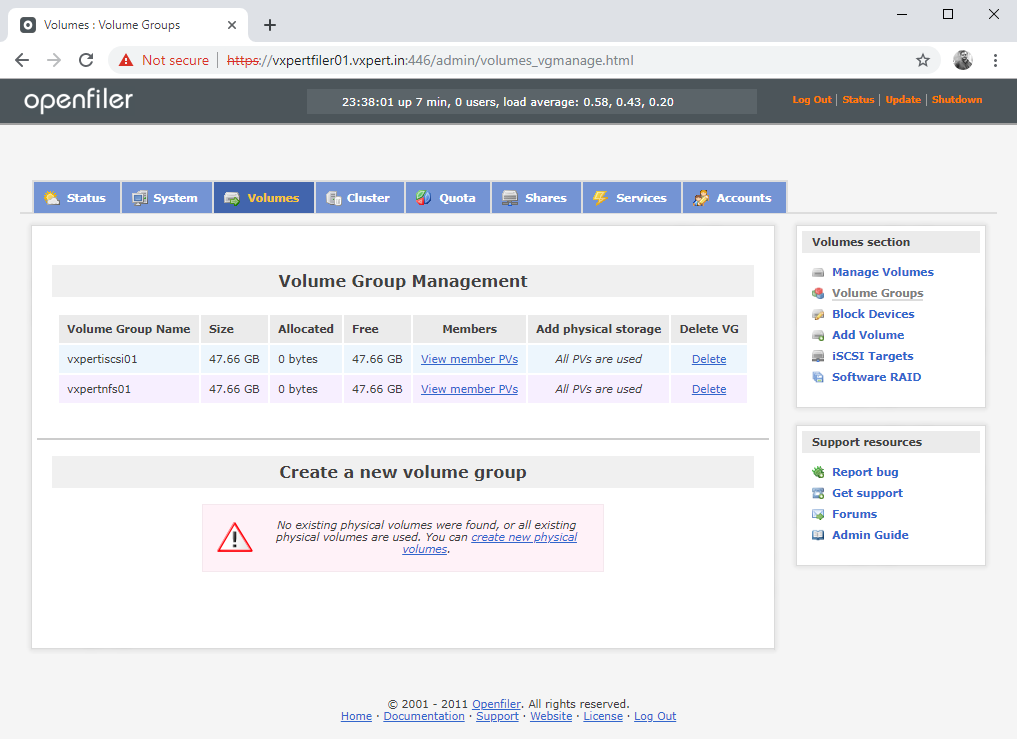
To configure iSCSI we need another volume in a volume group. From the Openfiler web based management interface select the Volumes-tab and from the menu on the right select Volume Groups. You can now create a new volume group on the empty disk (in this example /dev/sdc).

Create partition in iSCSi disk you added

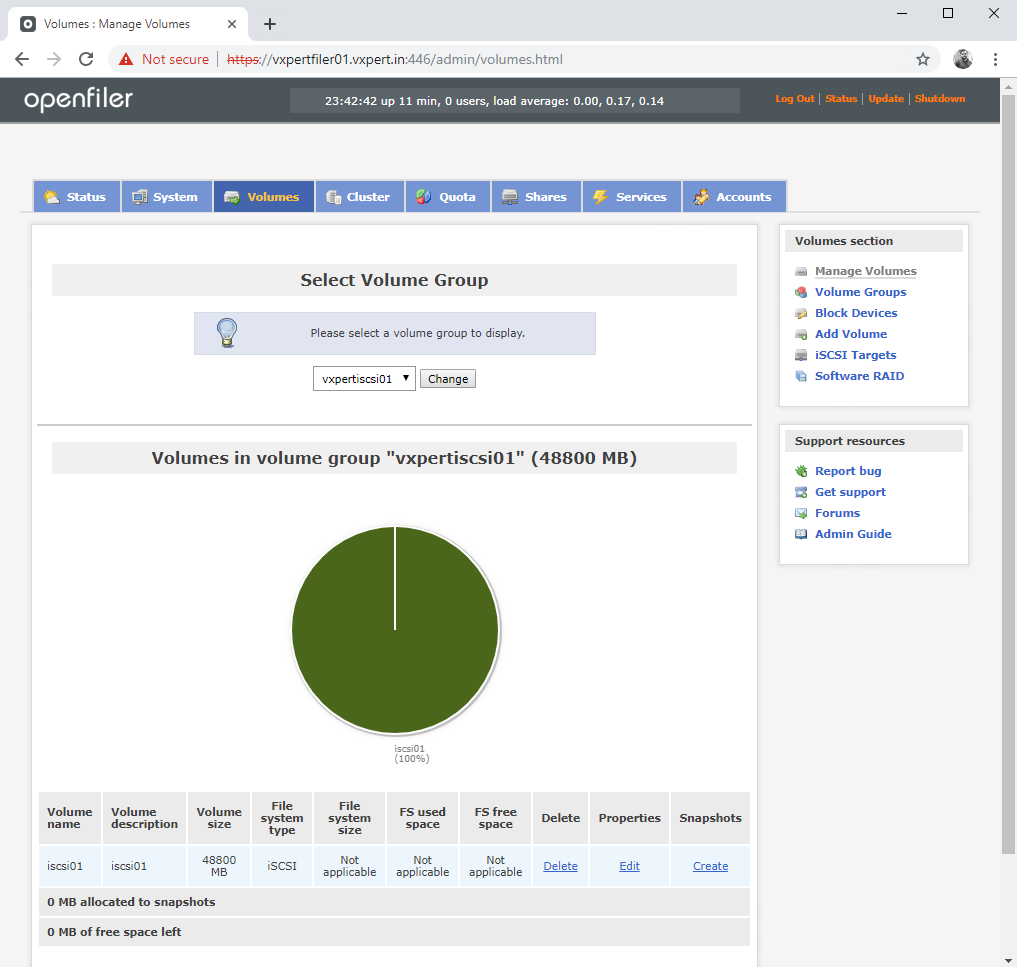
Now add a new volume to this volume group. Most important here is to select the block-type here to be able to use it as an iSCSI-target disk.
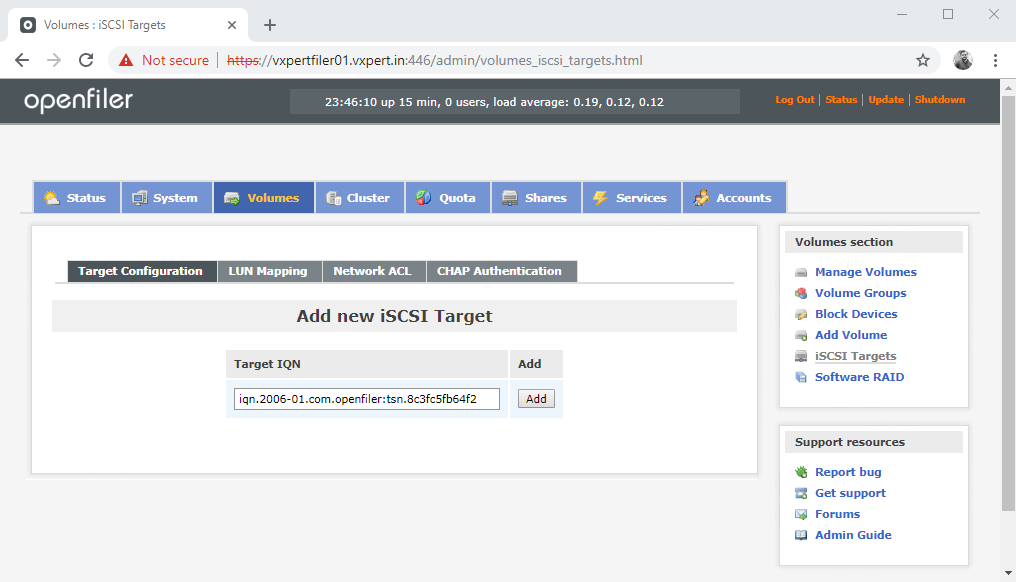
The disk is ready now so it’s time to configure the iSCSI-target. From the Volumes-tab select iSCSI targets from the menu on the right. Since there is no iSCSI target configured you only option is to create a new one
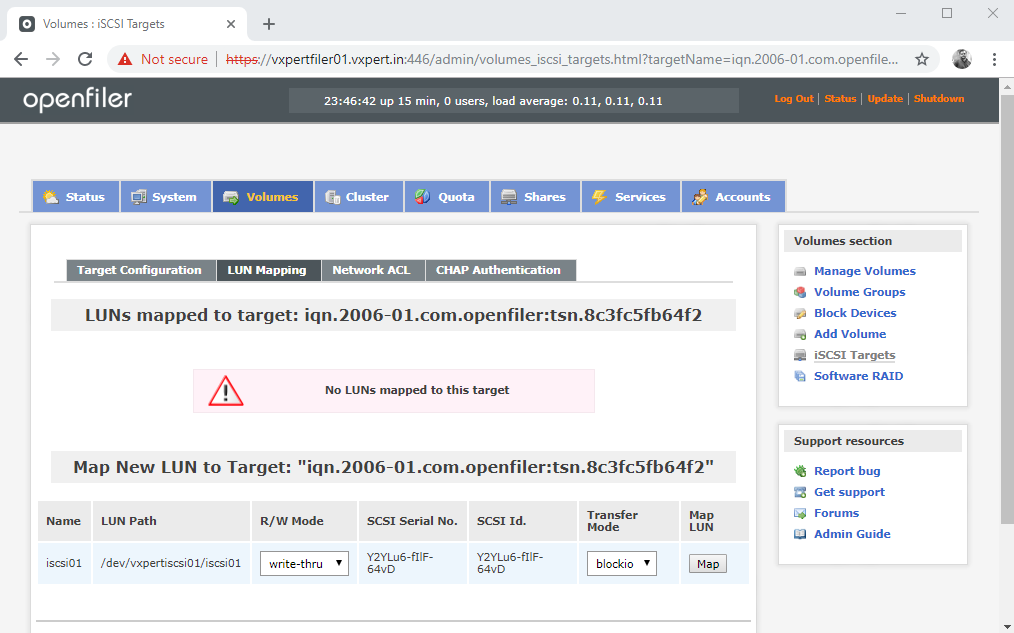
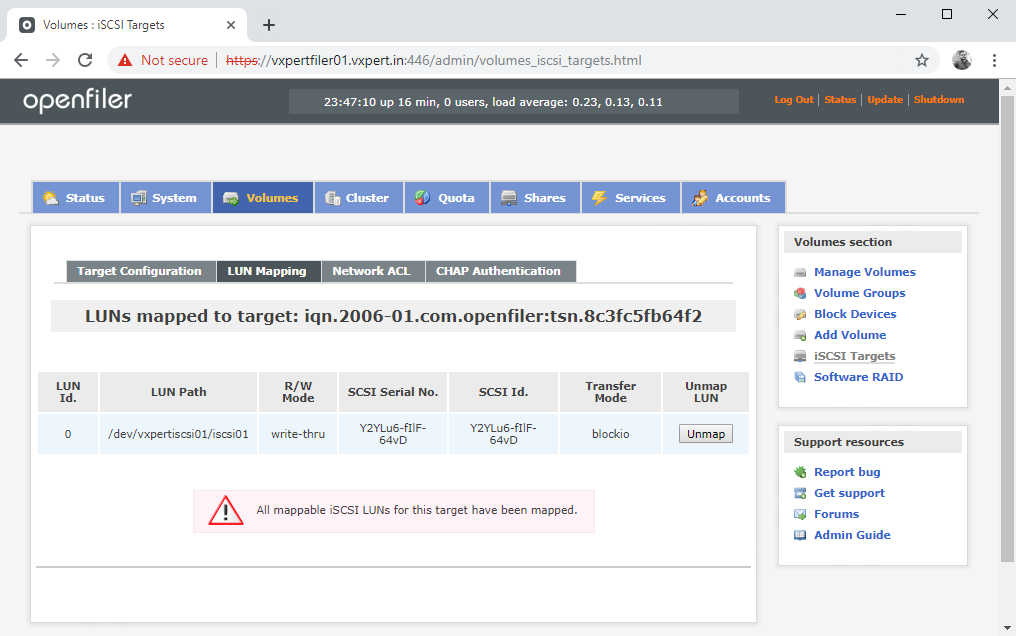
Next you must map a LUN to one of your volumes.
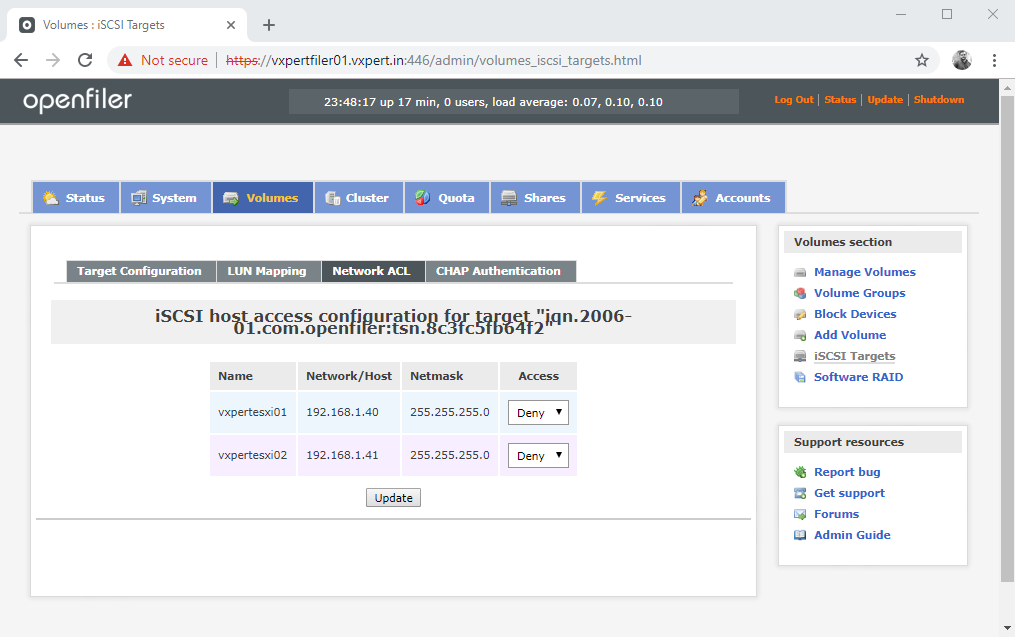
And the last step is to allow access to this target from the network.
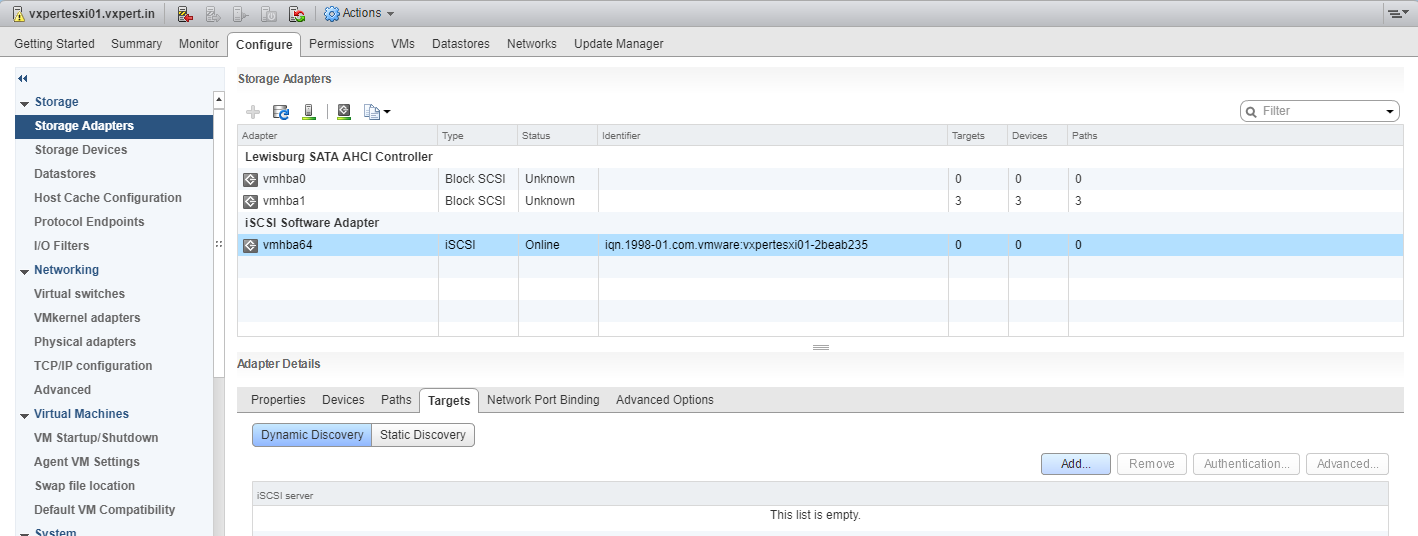
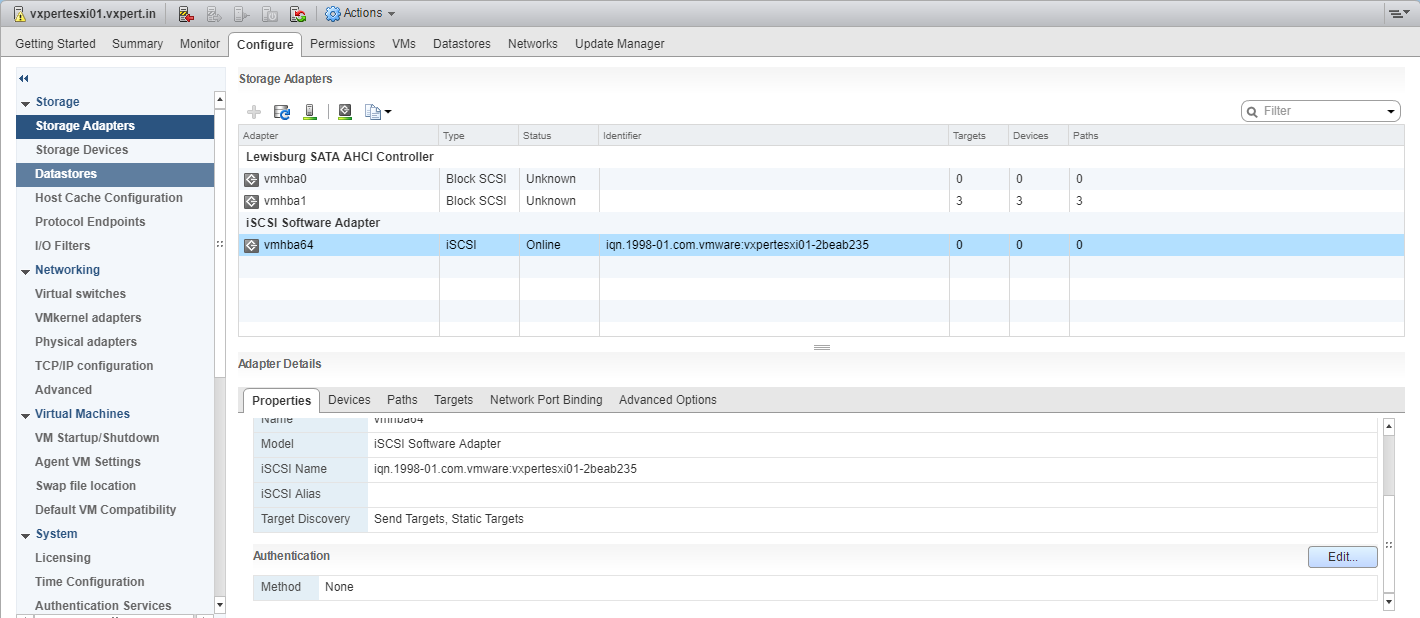
You can now configure access to the iSCSI-target from your ESXi-host. This can be done from the vSphere Web Client (Configure tab – Storage Adapters – Add Software iSCSI Adapter)


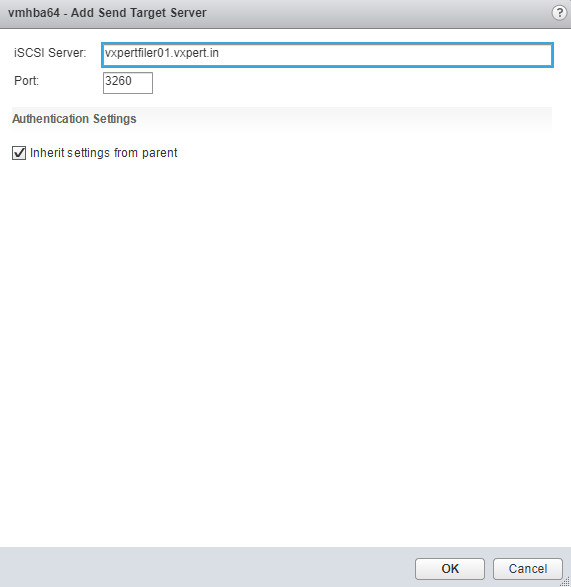
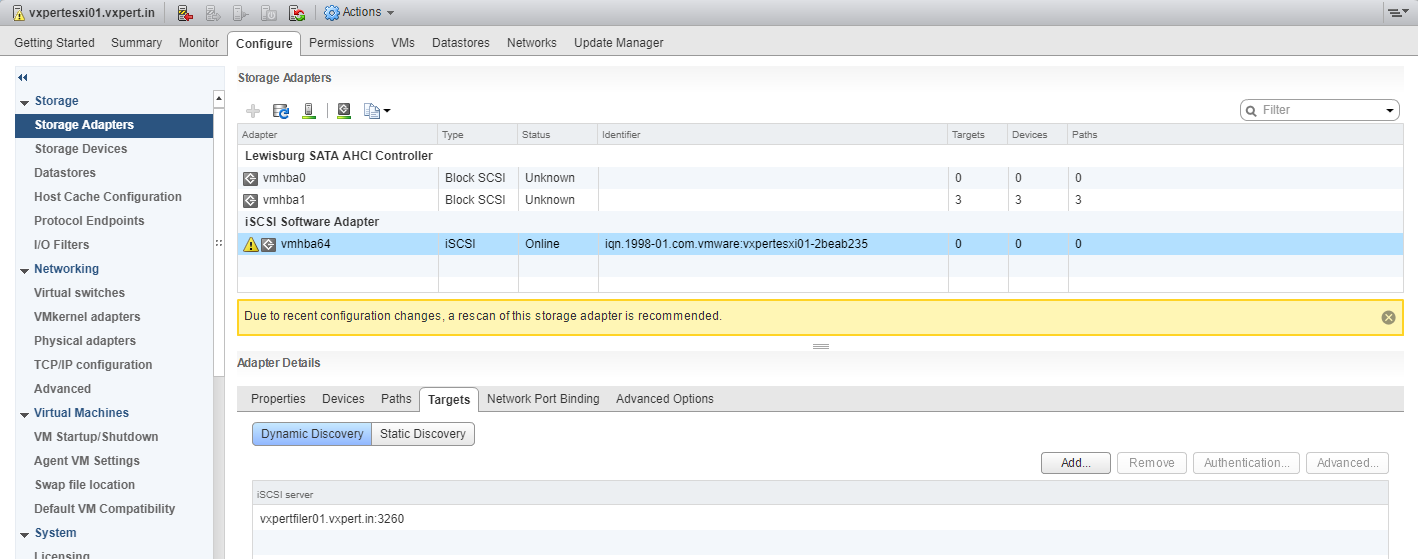
Once you have added the adapter it will show up in the list of storage controllers as VMHBA64. In this example in the image below you can see that it is adapter VMHBA64. In the Targets-tab click Add to add your iSCSI target. You will need to provide the IP-address or server name for your Openfiler server. Leave the port at the default of 3260. Repeat same steps on other hosts also
After adding the target, you will be warned that you must rescan the adapter to be able to see the devices that are available.

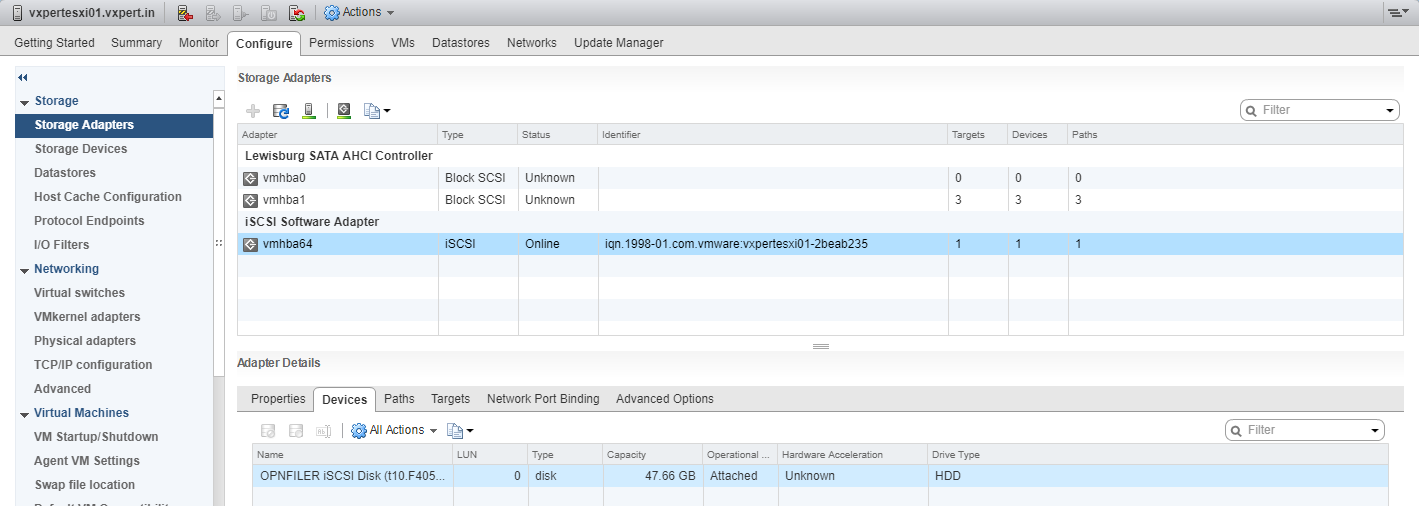
Now if you look at the Devices-tab of the iSCSI software adapter you will see the target that is available through your Openfiler server.
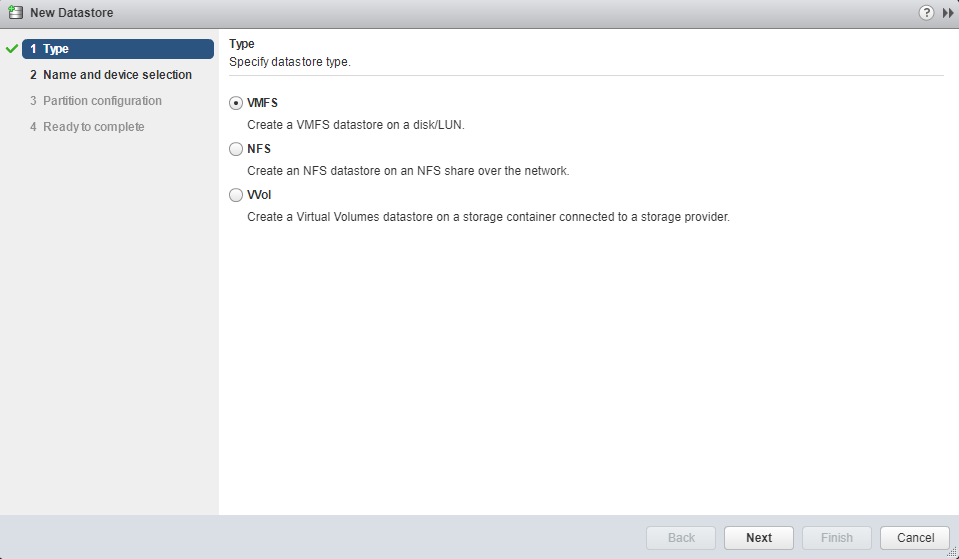
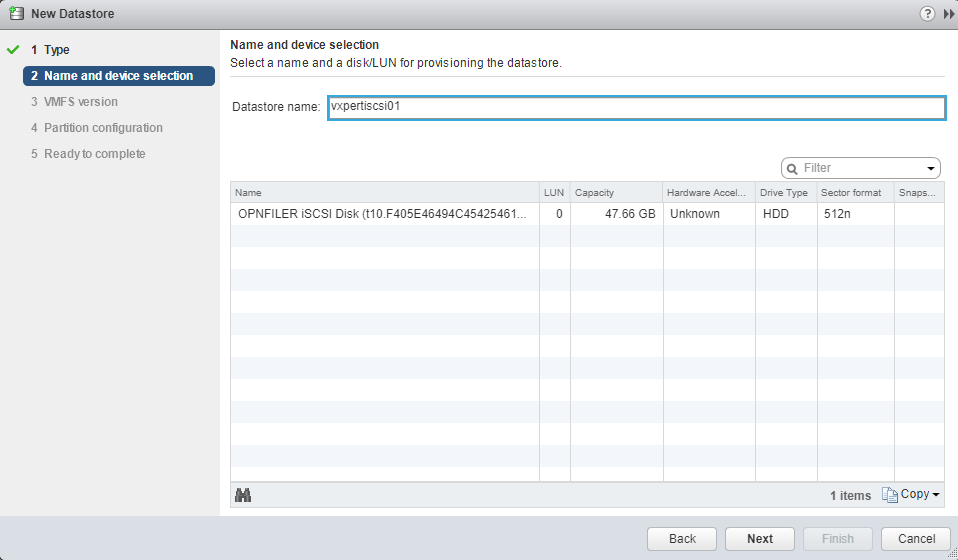
This time you can format the empty disk with the VMFS file system. This can be done from from the vSphere Client (Configure tab – Datastores – Add Storage) or from the vSphere Web Client (select your server, Related Objects-tab – Datastores and click the create a new datastore-icon).

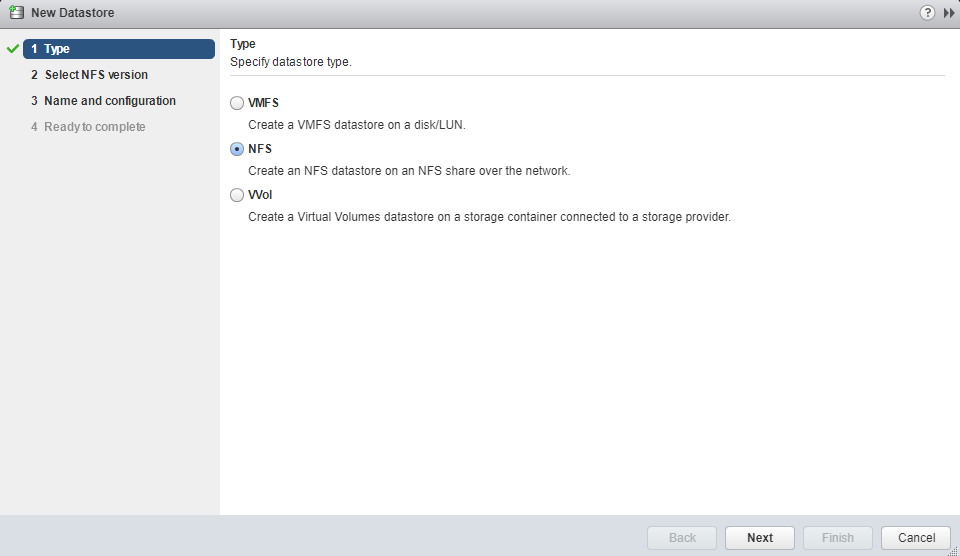
Select datastore type
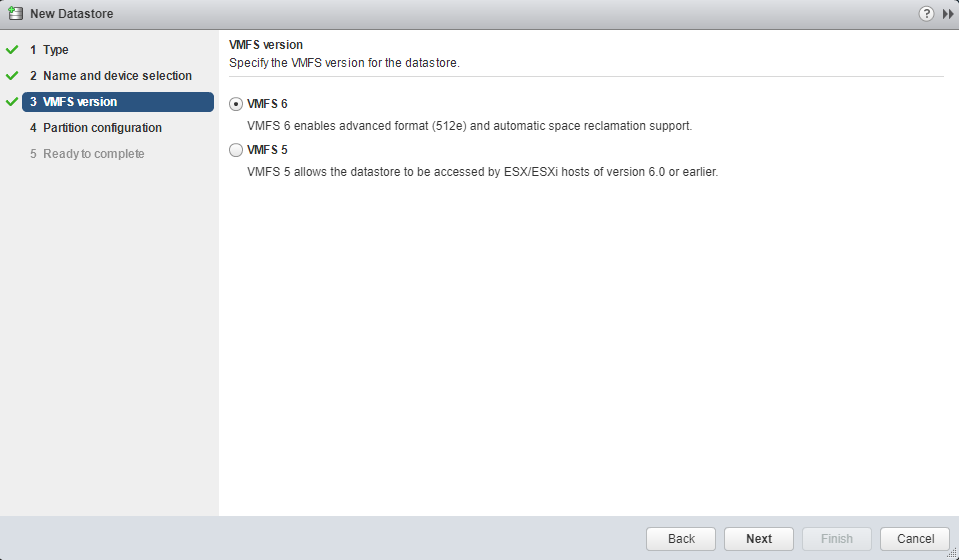
Select VMFS version

Same way add iSCSi target and rescan HBA and VMFS datastore. Same VMFS datastore will detected on new host as both hosts has access to same.
Add iSCSI with CHAP Authentication
In the configuration you have setup there is no additional security so when you connect other machines with iSCSI software to your network, they could access the storage target too. To prevent this, you can add authentication with the Challenge Handshake Authentication Protocol to your iSCSI-setup.
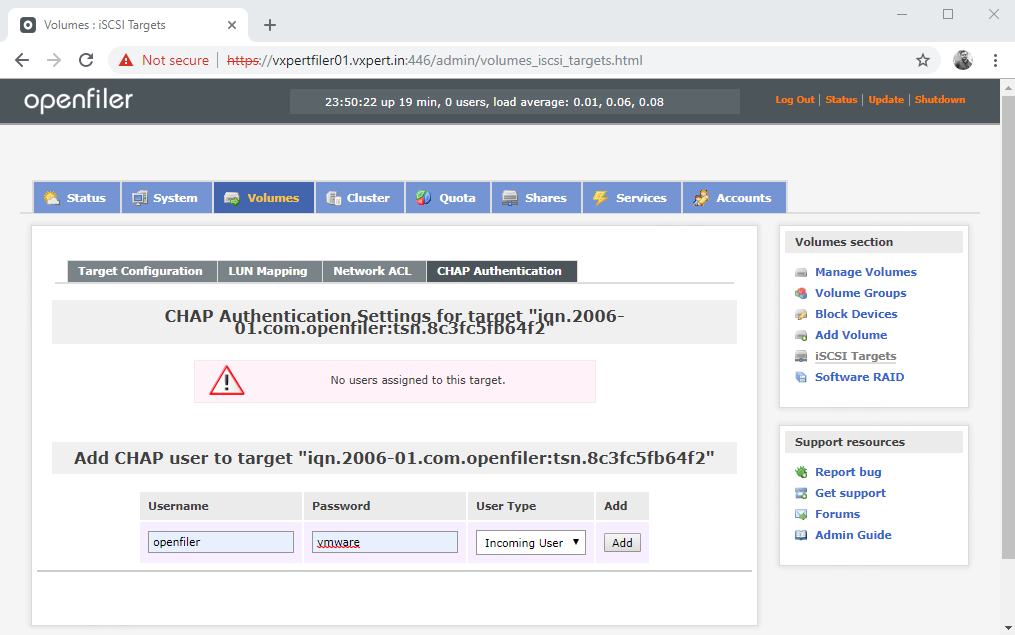
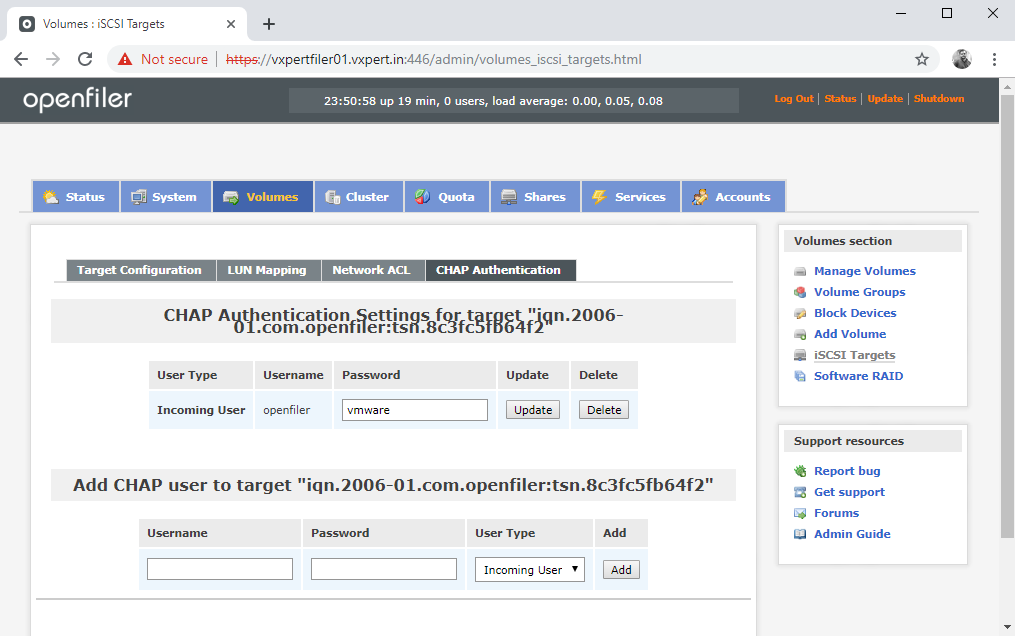
In the Openfiler configuration access the Volumes-tab and select CHAP Authentication. As you can see in the image below it requires a username and a password. The username is going to be the iSCSI initiator name or alias on your ESXi-host.
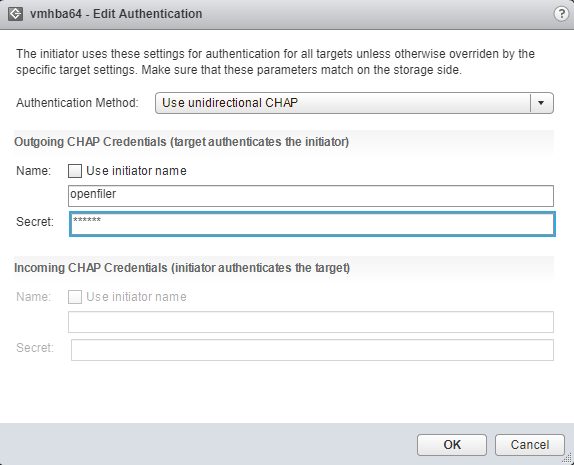
Next you need to add CHAP-authentication to your iSCSI-adapter on ESXi. See the image below.
Select Use unidirectional CHAP from the drop-down list. Next you must decide what to use to identify the server with the iSCSI-target. You could use the iSCSI initiator name if you used that same name in Openfiler. Or for example use the server’s name as an alias as you can see in the image below. And provide the same secret as on the Openfiler server.
Thanks,
If you have any comments, please drop me a line.
I hope this article was informative, and don’t forget to buy me a coffee if you found this worth reading.


Leave a Reply