VyOS is an open source network operating system based on Debian GNU/Linux, that provides software-based network routing, firewall, and VPN functionality. VyOS is primarily based on Debian GNU/Linux and the Quagga routing engine. Its configuration syntax and CLI are loosely derived from Juniper JUNOS as modeled by the XORP project, which was the original routing engine for Vyatta. In the 4.0 release of Vyatta, the routing engine was changed to Quagga. As of VyOS version 1.2, VyOS now uses FRRouting as the routing engine. This will be an ideal solution for small enterprises and for home labs.
Features
- Routing: BGP (IPv4 and IPv6), OSPF (v2 and v3), RIP and RIPng, policy-based routing.
- VPN: IPsec, VTI, VXLAN, L2TPv3, L2TP/IPsec and PPTP servers, tunnel interfaces (GRE, IPIP, SIT), OpenVPN in client, server, or site-to-site mode, wire guard.
- Firewall and NAT: stateful firewalls, zone-based firewall, all types of source and destination NAT (one to one, one to many, many to many).
- Network services: DHCP and DHCPv6 server and relay, IPv6 RA, DNS forwarding, TFTP server, web proxy, PPPoE access concentrator, NetFlow/sFlow sensor, QoS.
- High availability: VRRP for IPv4 and IPv6, ability to execute custom health checks and transition scripts; ECMP, stateful load balancing.
- Perfect for ROBO
Requirements
The recommended system requirements are 512 MiB RAM and 2 GiB storage. Depending on your use you might need additional RAM and CPU resources e.g. when having multiple BGP full tables in your system.
- OVF Download – You can download the VyOS virtual appliance optimized for vSphere from here.
- ISO Download – Registered subscribers can log into this Link to have access to a variety of different downloads via the Downloads link. These downloads include LTS (Long-Term-Support) and associated hot-fix releases. Everyone can download bleeding-edge VyOS rolling images from this link.
In this recipe I will be using ISO image and installing virtual machine running on Hyper-V
Deploy VyOS Virtual Machine
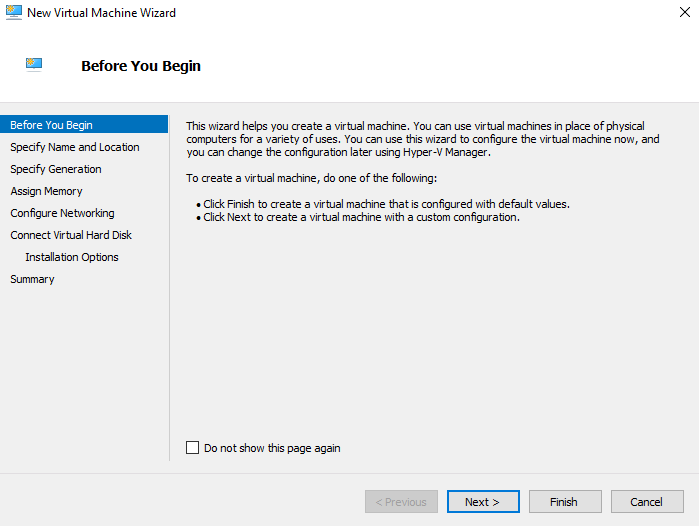
To start the deployment open Hyper-V Manager and create a new virtual machine
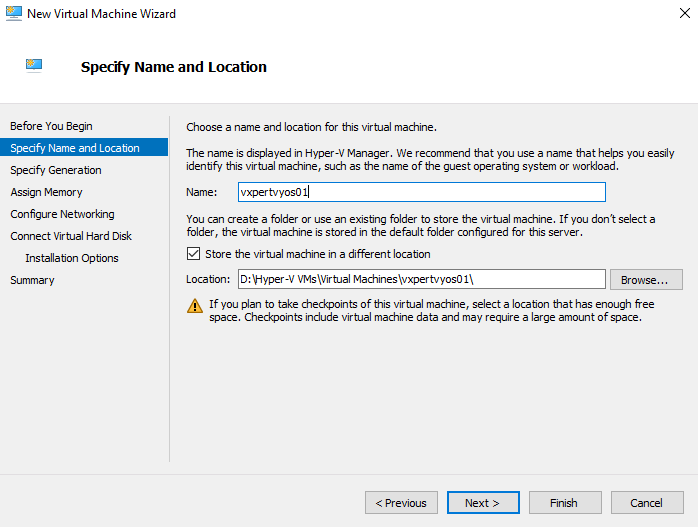
Provide the Virtual Machine name and location to store the files and click Next
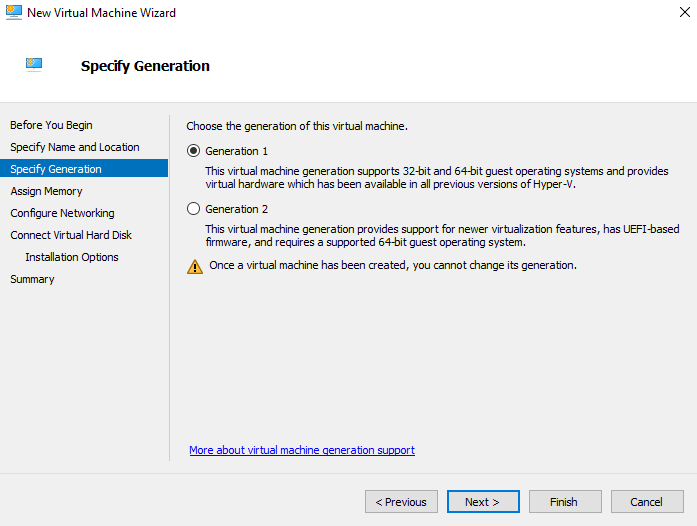
Select the Virtual Machine generation as Generation-1 and click Next
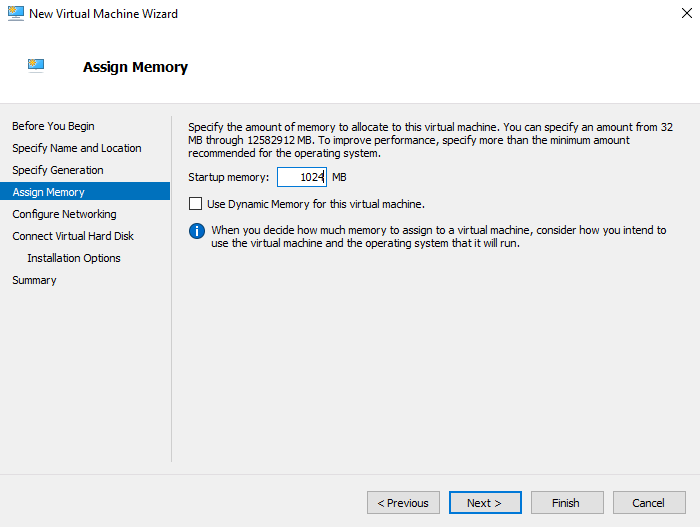
Provide 1GB memory and click Next
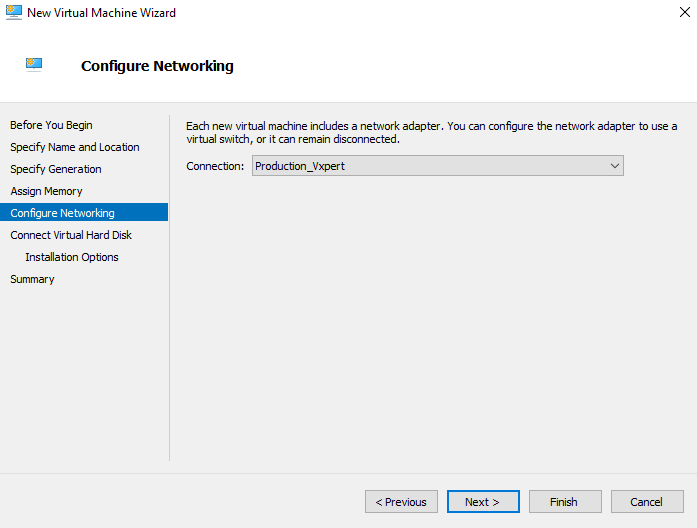
Select the physical network for the management network for this router and click Next
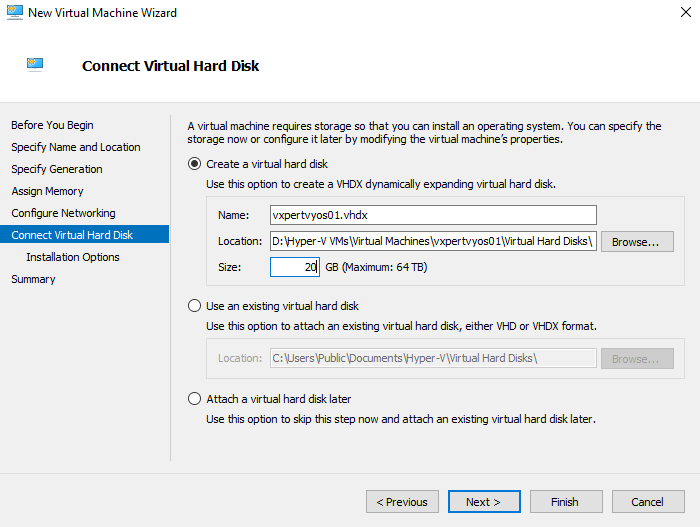
Review the Disk and size of the Storage and click Next
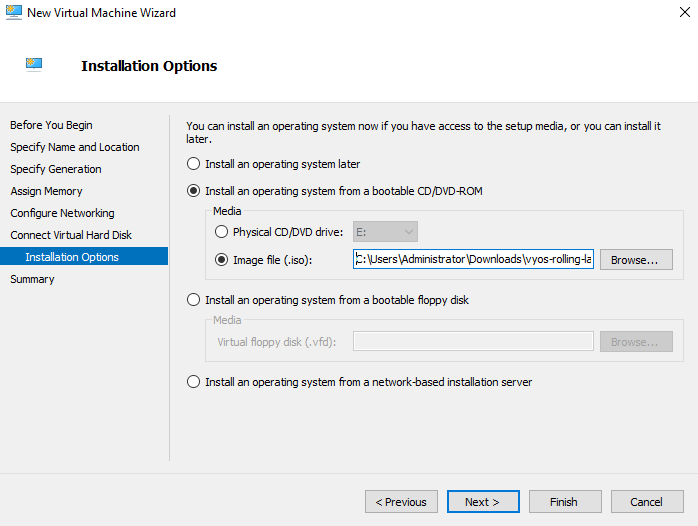
Browse and select the ISO downloaded to boot with and click Next
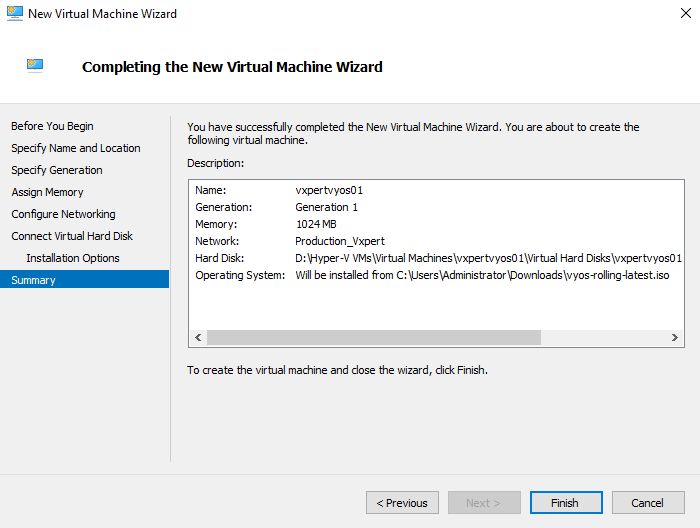
Review and click Finish to create the VM
Power on the VM and Boot from Lice CD option

Unlike general purpose Linux distributions, VyOS uses “image installation” that mimics the user experience of traditional hardware routers and allows keeping multiple VyOS versions installed simultaneously. This makes it possible to switch to a previous version if something breaks or miss-behaves after an image upgrade. Every version is contained in its own squashfs image that is mounted in a union filesystem together with a directory for mutable data such as configurations, keys, or custom scripts.
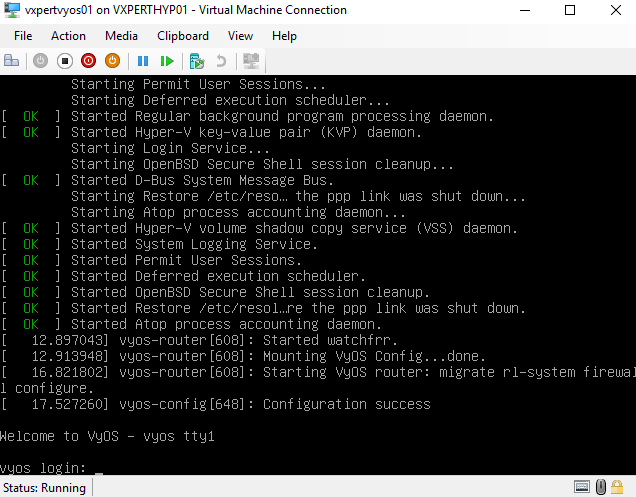
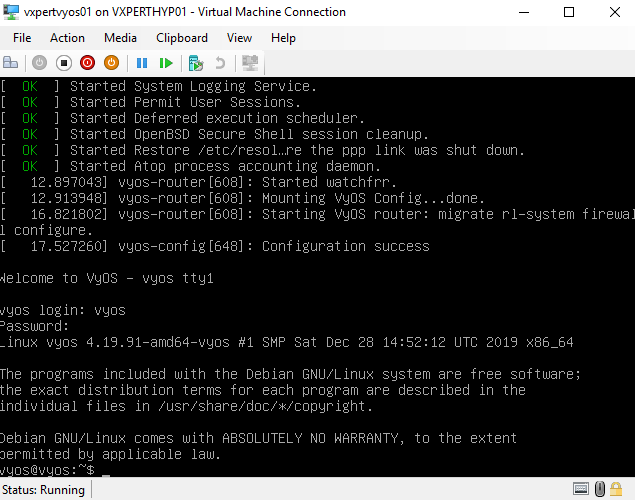
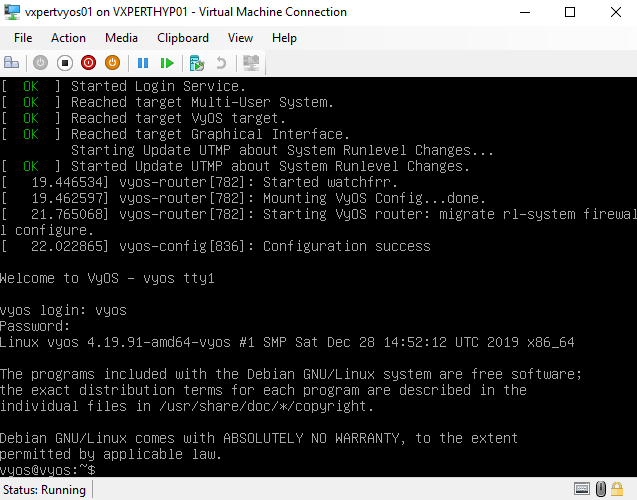
Once boot completes Login to the console with default credentials
Username – vyos
Password – vyos
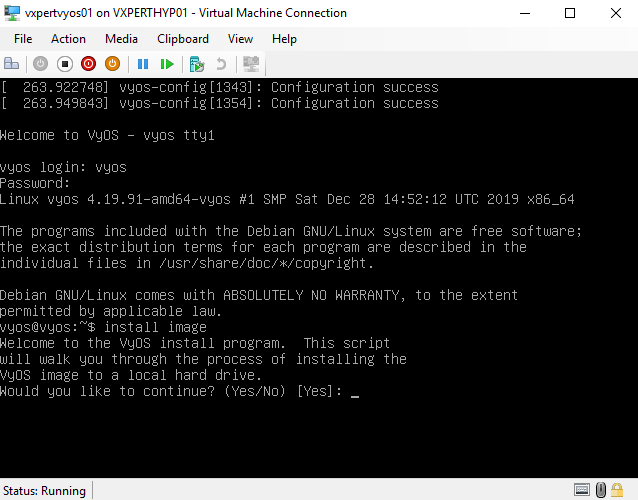
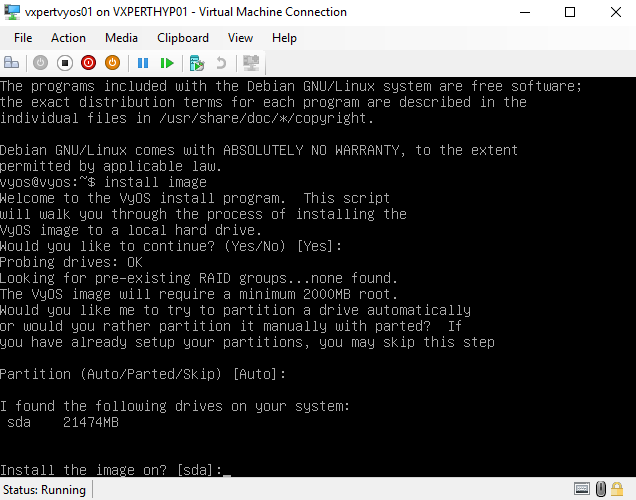
To start the installation on local disk run the below command and press Enter to proceed
$install image
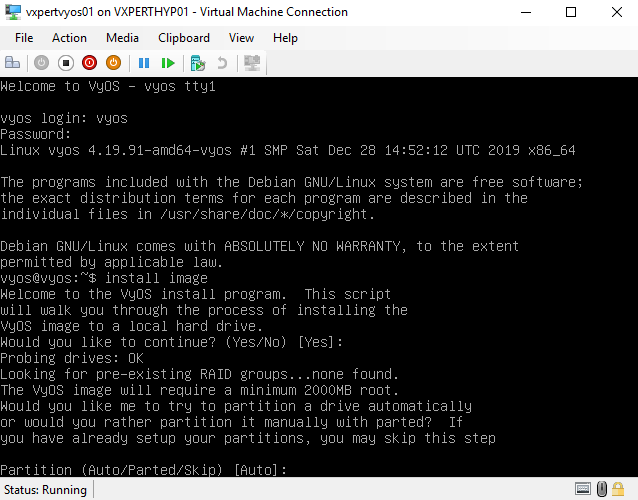
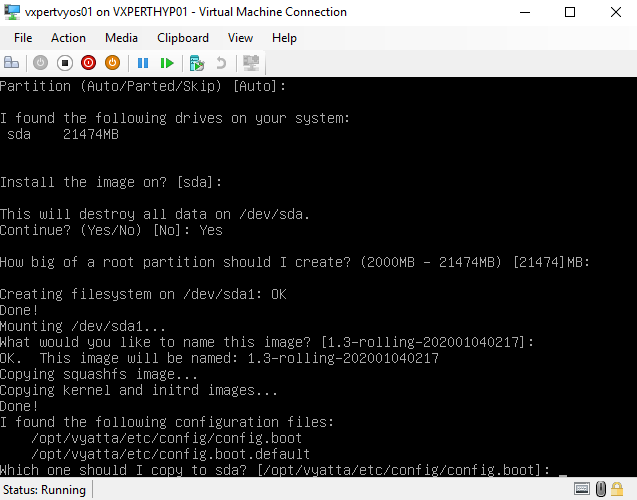
Press Enter to proceed with Automatic Partition
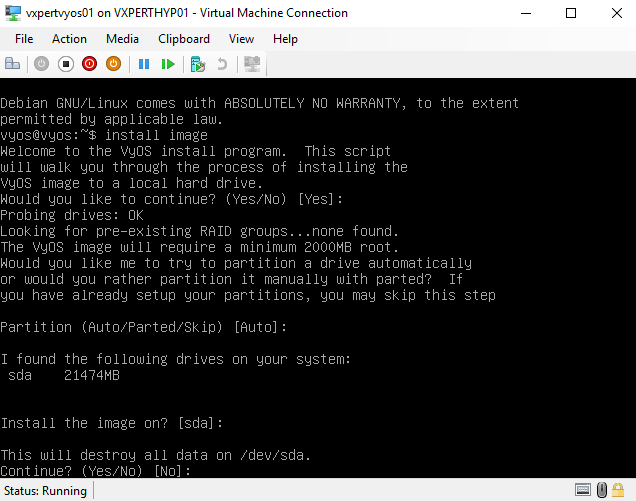
Press Enter to select the disk to install the image, or you can select other if you added multiple disks
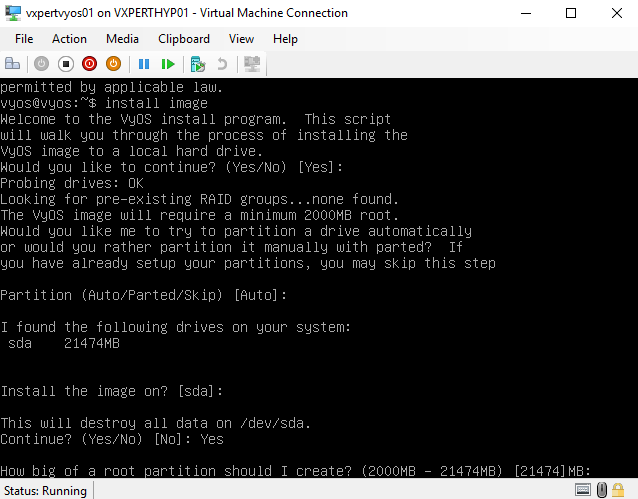
Type Yes and press Enter to overwrite the disk selected
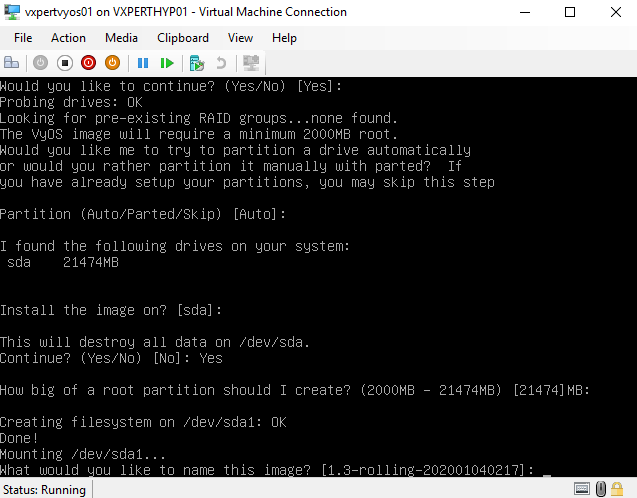
Provide the partition size or press Enter to select all space
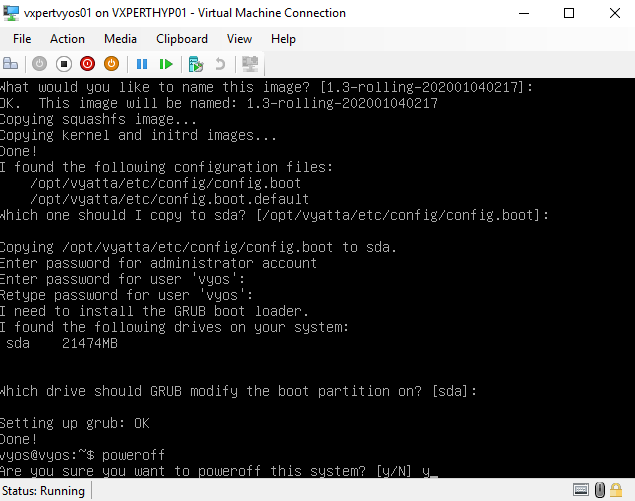
Provide name for the image or press Enter to provide the default one displayed
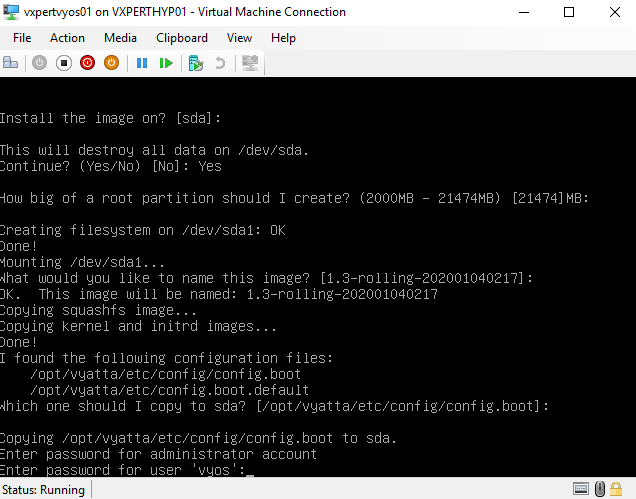
Press Enter to select the default configuration file
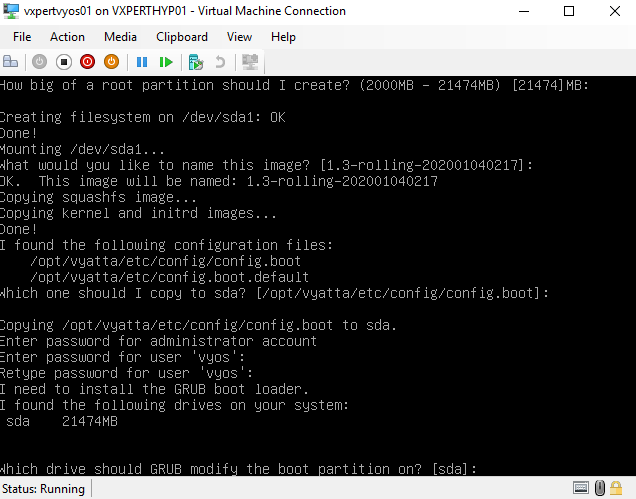
Provide new password for vyos account and reconfirm the password
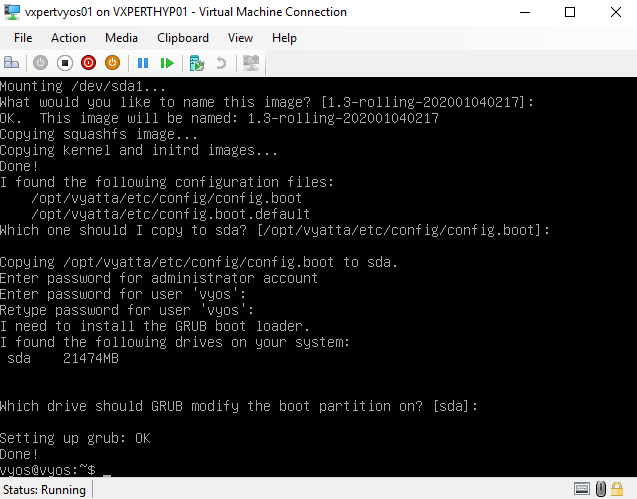
Select the default disk for boot partition and click Enter
Now you have successfully completed the installation
Use below command to Power off the virtual machine and remove the ISO attached.
$poweroff
Provide Yes and press enter to confirm power off
Configure VyOS Virtual Machine
Once boot from local disk, login with vyos username and password provided during installation
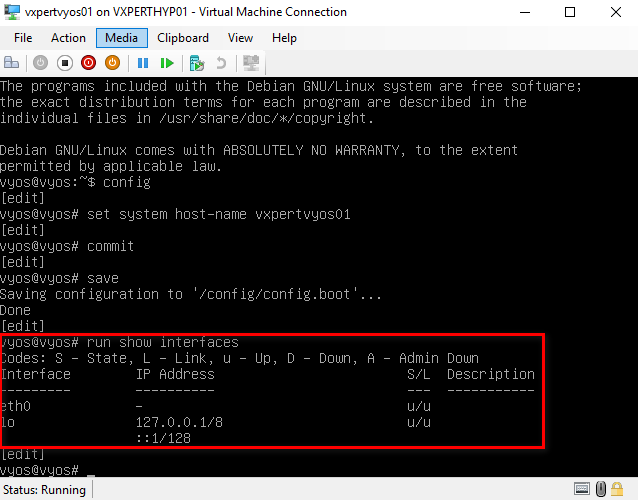
Now we will set the Hostname and IP address for the appliance, for that type below command to shift config mode
$config

Type below command to set and save new hostname
#set system host-name vxpertvyos01
#commit
#save

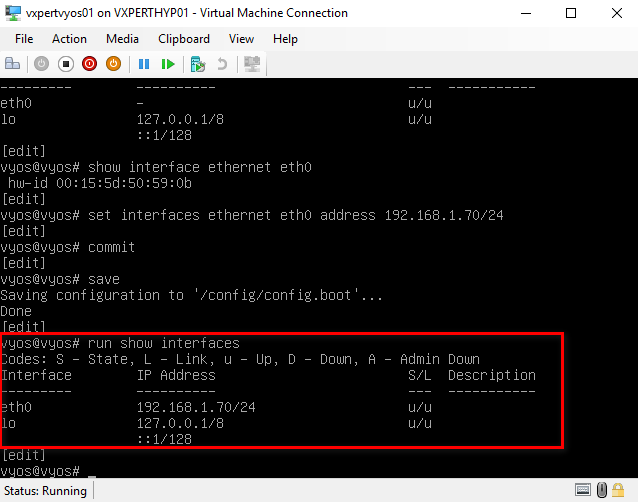
To provide IP address run below command to see the interface details
#run show interfaces
Run below command to assign IP address for eth0 interface
#set interfaces ethernet eth0 address 192.168.1.70/24
#commit
#save
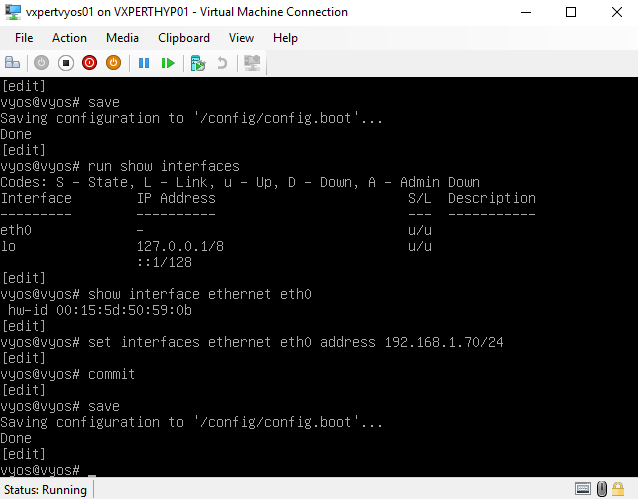
Now you can see the eth0 is configured with external interface.
Now you will able to ping this router from external network, to allow SSH access outside run below command
#set service ssh
#commit
#save
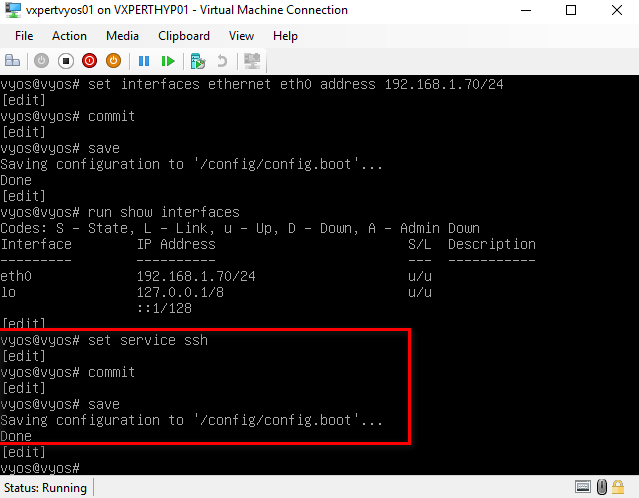
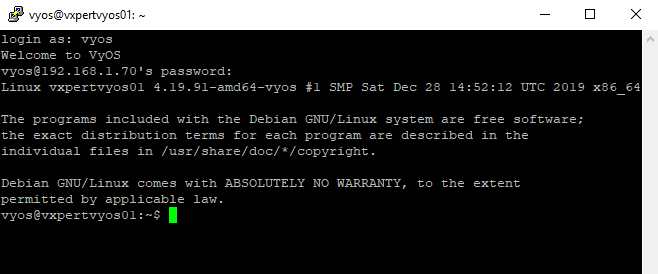
Now try to access the VyOS Router by using the assigned IP address
Additional Network Configuration
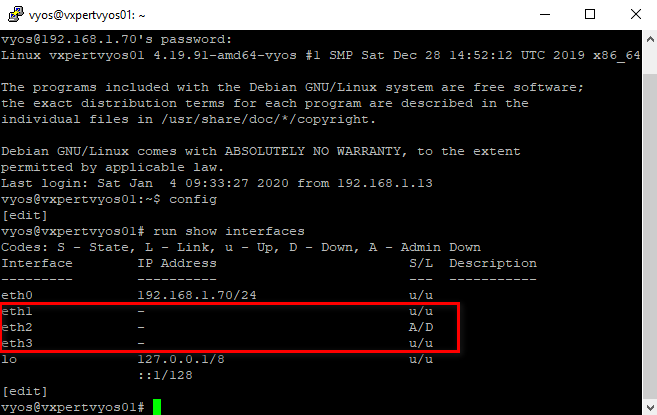
To add additional networks, power off the virtual machine and add required number of interfaces. As you can see, I have added three more interfaces to the VyOS VM and powered on.
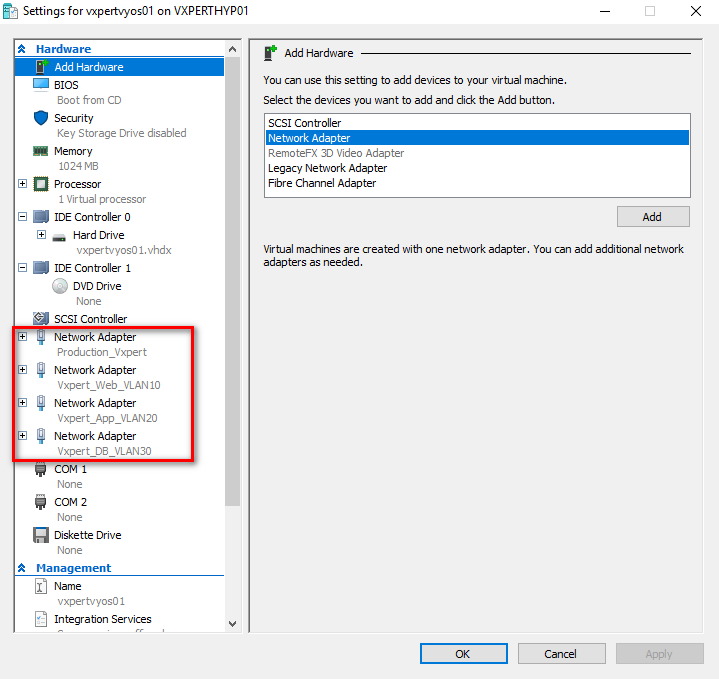
Once powered on run below command to see the new interfaces
#run show interfaces
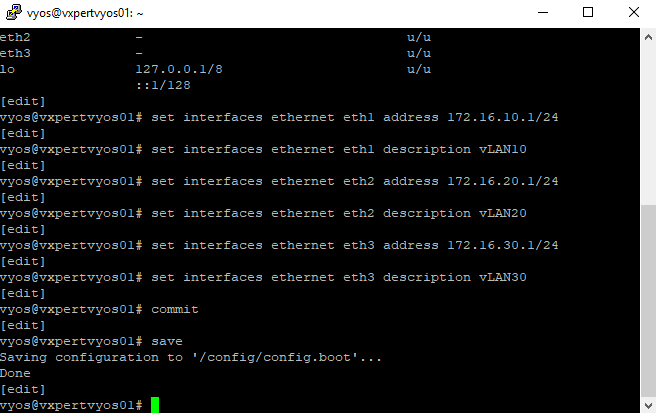
Now to assign IP address and description to each interface run below command
#set interfaces ethernet eth1 address 172.16.10.1/24
#set interfaces ethernet eth1 description vLAN10
#set interfaces ethernet eth2 address 172.16.20.1/24
#set interfaces ethernet eth2 description vLAN20
#set interfaces ethernet eth3 address 172.16.30.1/24
#set interfaces ethernet eth3 description vLAN30
#commit
#save
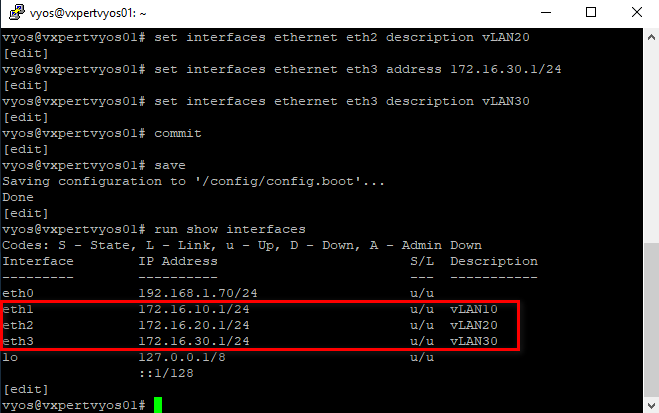
To see the interface details again run below command
#run show interfaces
To check the routing between the interfaces, use below command
#ping 192.168.1.1 interface 192.168.1.70
#ping 192.168.1.1 interface 172.16.10.1
#ping 172.16.10.1 interface 172.16.30.1

Configure Static Route for External Access
We need to add a static route on your machine or Internet router to reach the network we configured in VyOS
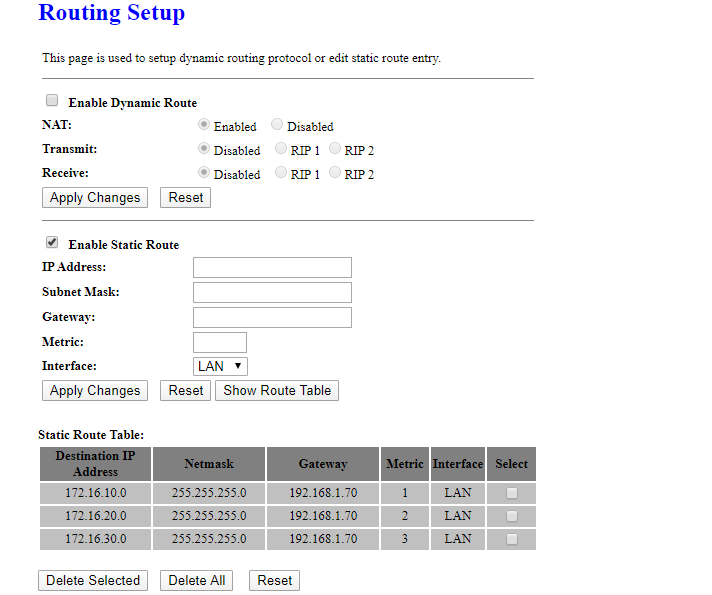
Login to your Internet Router and click on Routing (This may vary with different products), As you can see there is no static routes added apart from the default
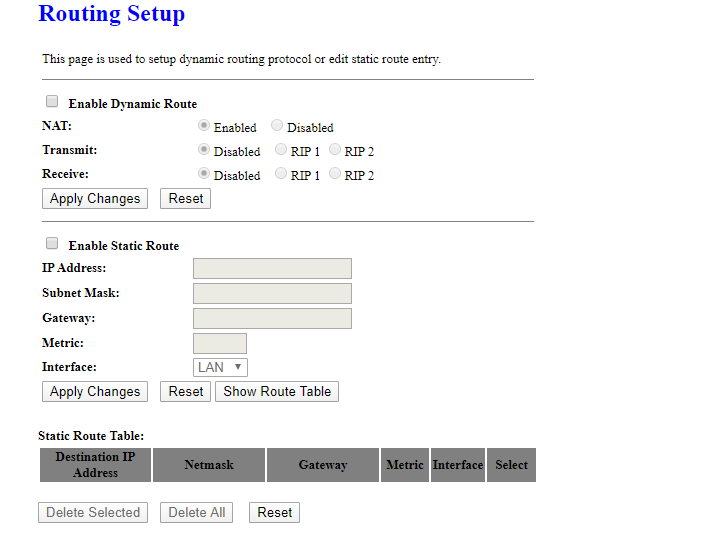
Click on Enable Static Route and provide the network values like below and click Apply Changes

Same way add all the three networks which we configured in VyOS Router
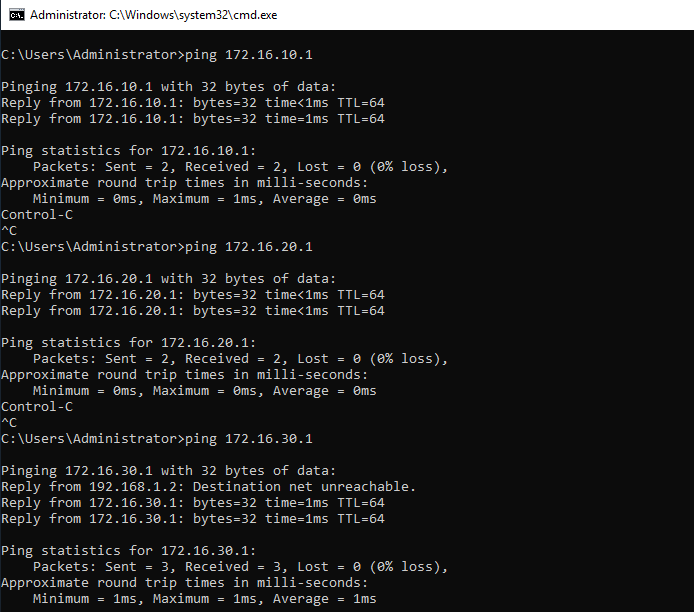
After adding these static routes, you can reach the new network interfaces we configured from your machine.
Now if you try to reach external network from VyOS router it can’t
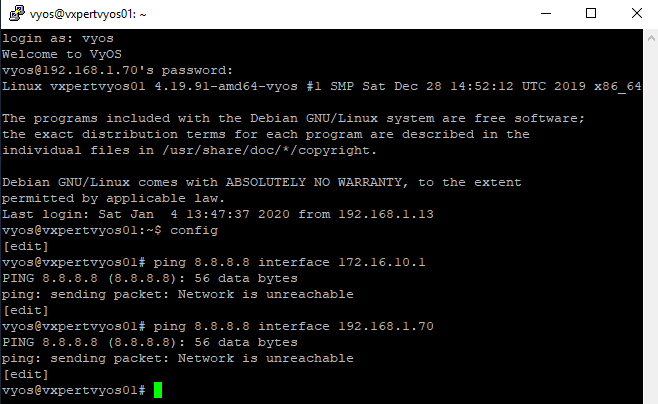
To reach external networks from router, you need to add static route in VyOS router with below command
#set protocols static route 0.0.0.0/0 next-hop 192.168.1.1
#commit
#save

Run below command to see the static ip routes and external network reachability
#run show ip route
#ping 8.8.8.8 interface 192.168.1.70
#ping 8.8.8.8 interface 172.16.10.1

For more configuration details please use this Link
Thanks,
If you have any comments, please drop me a line.
I hope this article was informative, and don’t forget to buy me a coffee if you found this worth reading.


Leave a Reply