VMware NSX is the network virtualization platform that enables the implementation of virtual networks on your physical network and within your virtual server infrastructure. VMware NSX Data Center delivers virtualized networking and security entirely in software, completing a key pillar of the Software-defined Data Center (SDDC), and enabling the virtual cloud network to connect and protect across data centers, clouds, and applications.
In this blog we will help you to do the configuration for NSX 6.4.x. We will be covering below configuration tasks
Creating Distributed vSwitch & Add Hosts
In an NSX domain, VMware NSX® Virtual Switch™ is the software that operates in server hypervisors to form a software abstraction layer between servers and the physical network. NSX Virtual Switch is based on vSphere distributed switches (VDSs), which provide uplinks for host connectivity to the top-of-rack (ToR) physical switches. As a best practice, VMware recommends that you plan and prepare your vSphere Distributed Switches before installing NSX Data Center for vSphere.
NSX services are not supported on vSphere Standard Switch. VM workloads must be connected to vSphere Distributed Switches to use NSX services and features. A single host can be attached to multiple VDSs. A single VDS can span multiple hosts across multiple clusters. For each host cluster that will participate in NSX, all hosts within the cluster must be attached to a common VDS
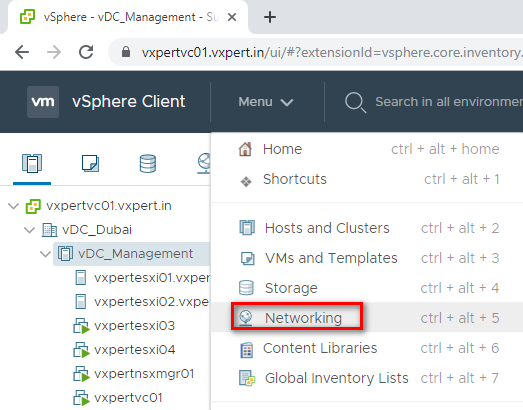
Login to VMware vCenter server Web Client – Menu – Networking
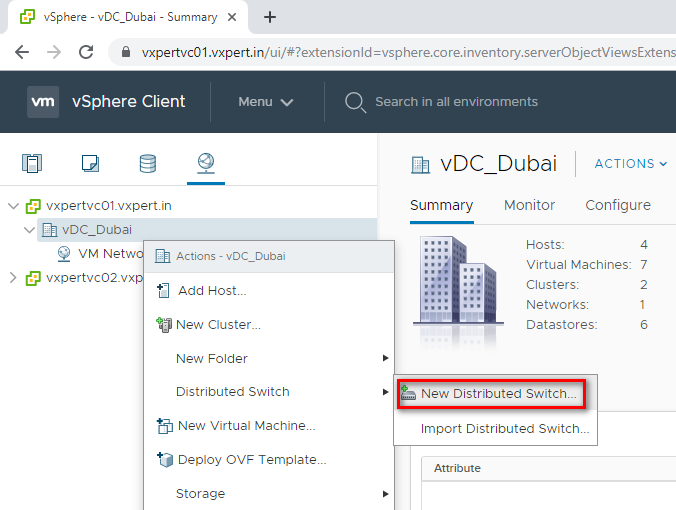
Create a new Distributed Virtual Switch as below
Right Click on the Data Center – Distributed Switch – New Distributed Switch
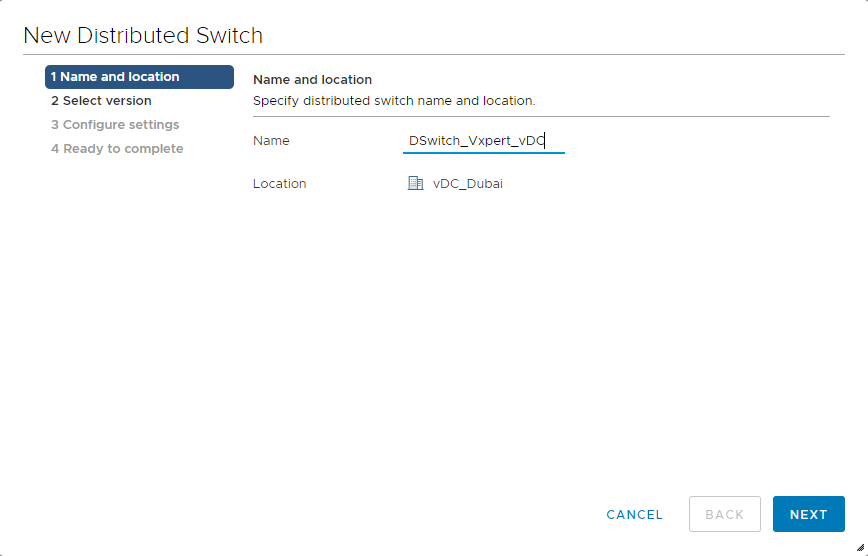
Provide Distributed Virtual Switch Name and click Next
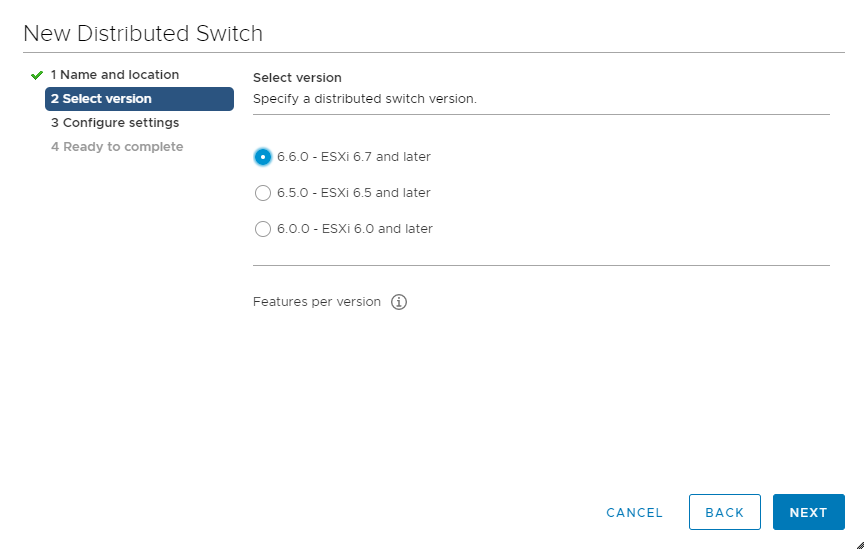
Select distributed switch version, as I am running all host with 6.7 version selected switch version as 6.6.0
Click Next
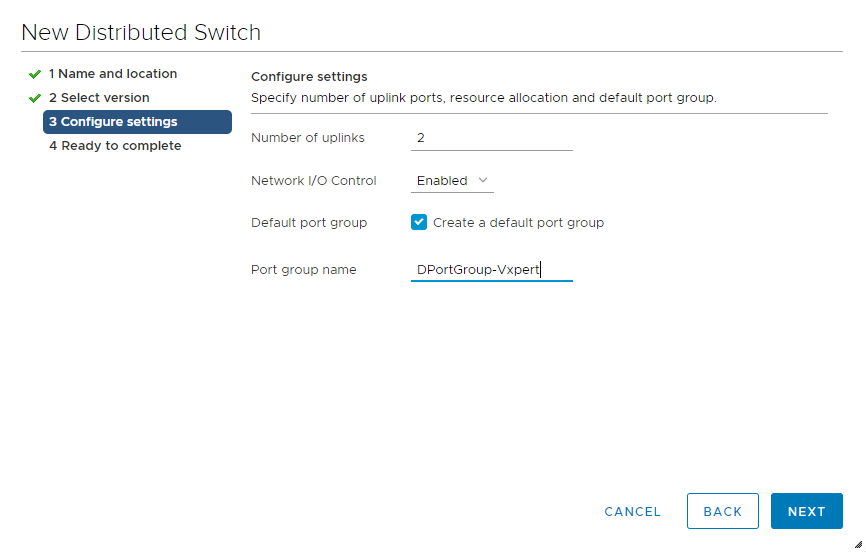
Provide number of Uplinks according to your hypervisor and create a default Port Group. Click Next
Review and click Finish to complete the Distributed Virtual Switch creation

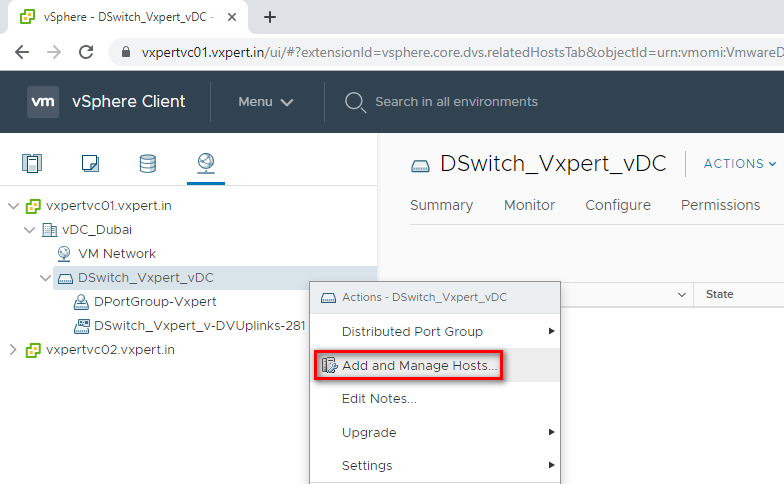
To add hosts to the created Distributed Virtual Switch
Right click the Distributed switch created – Add and Manage Hosts
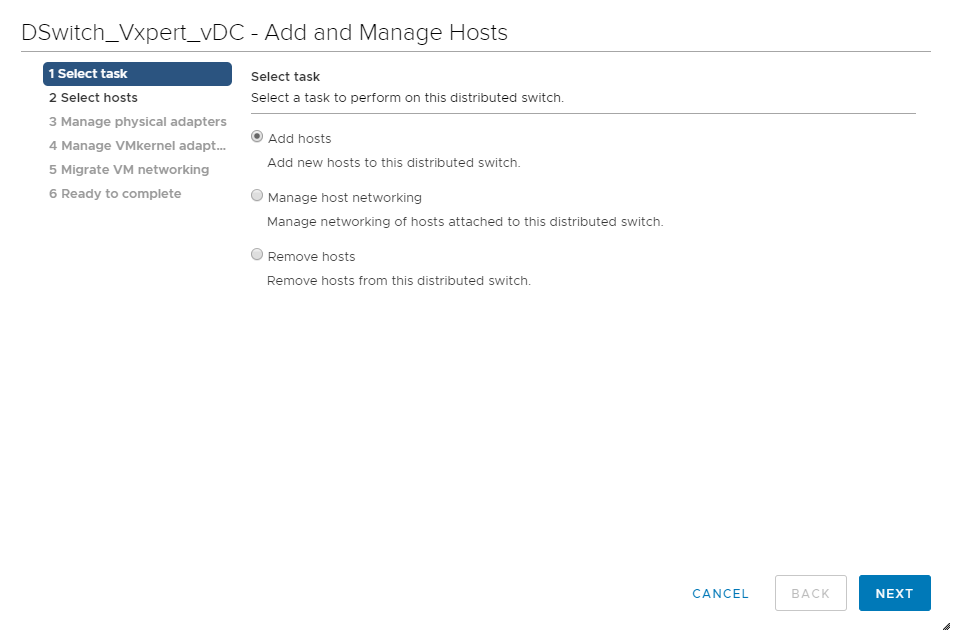
Select Add Hosts and click Next
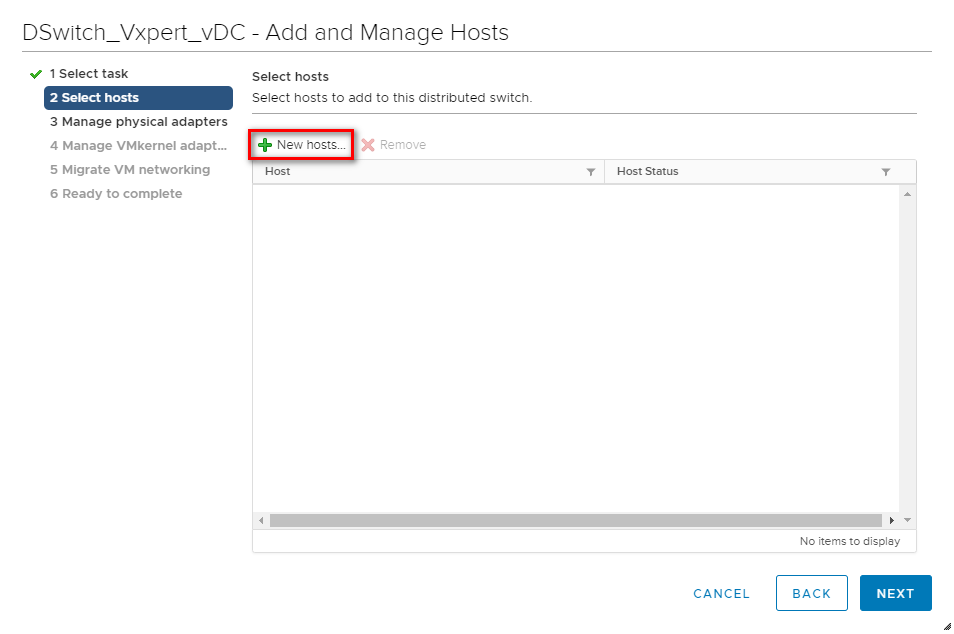
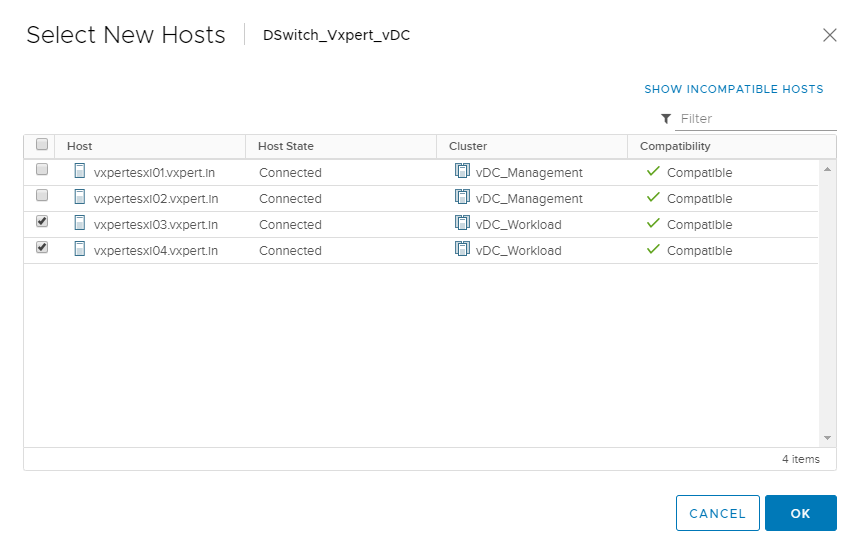
Click on New Hosts to add new
Select Hosts and click OK
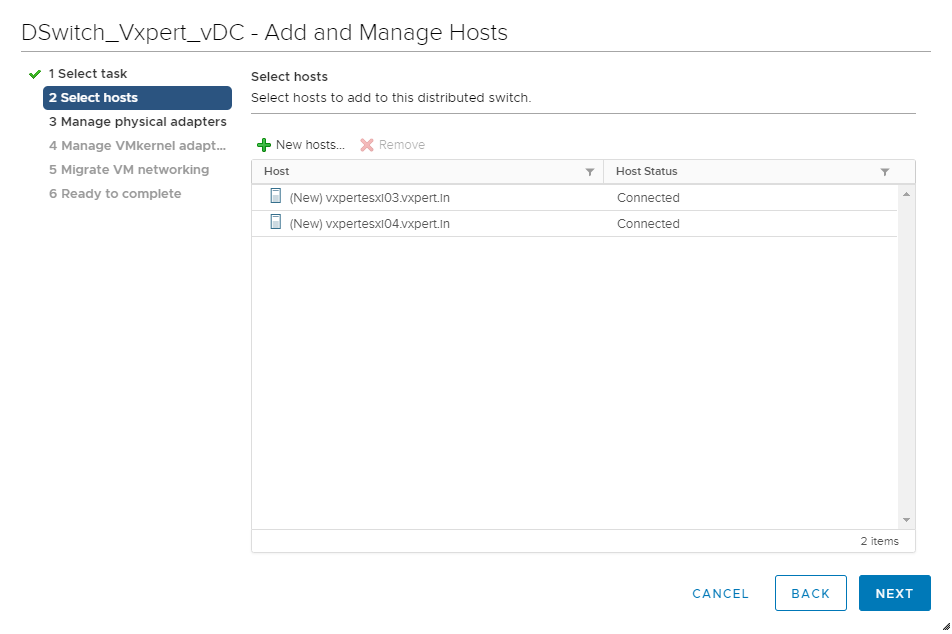
Click Next to continue the adding of hosts
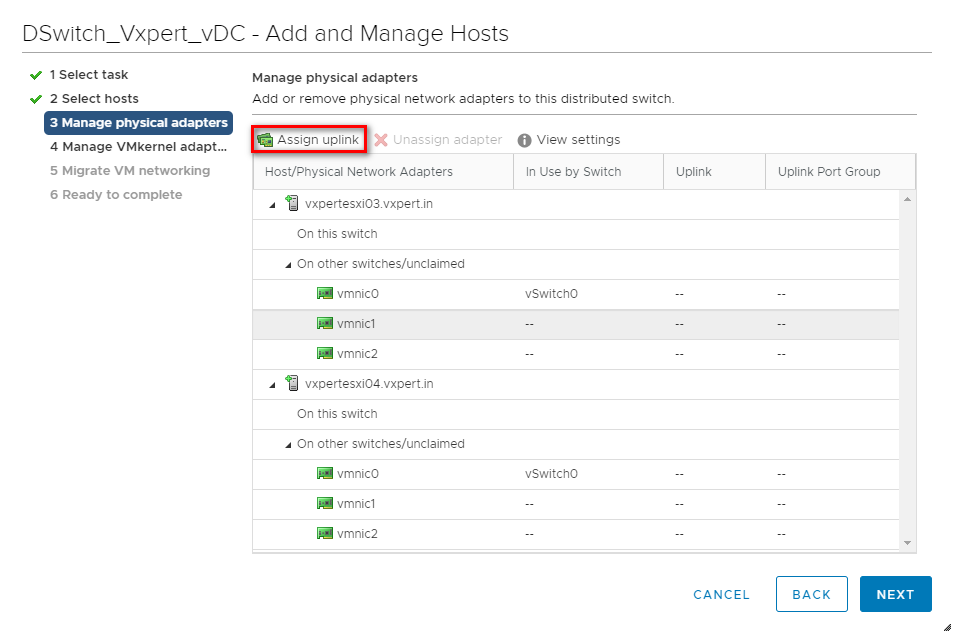
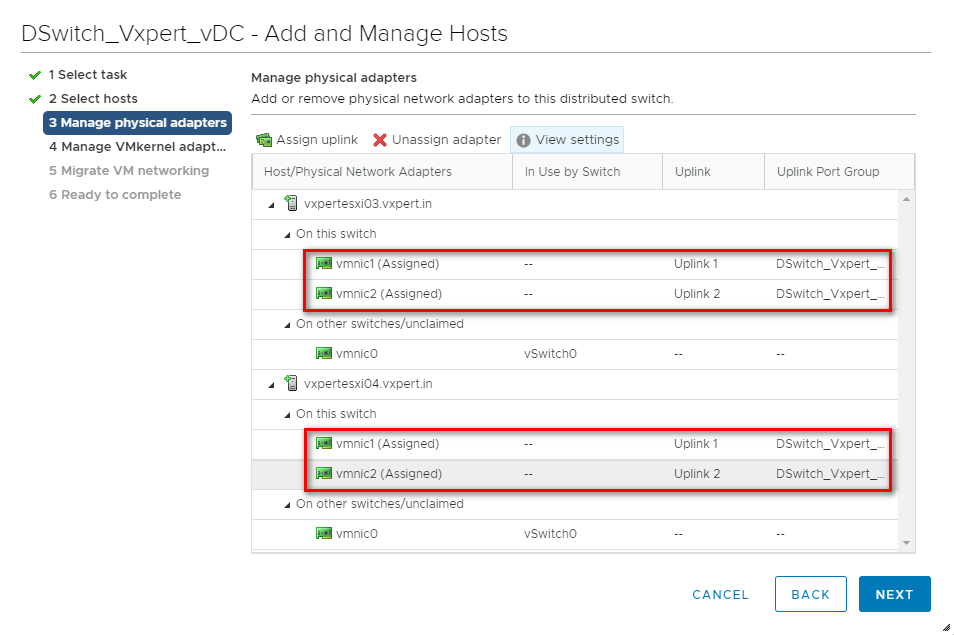
Click on Link – Assign Uplink
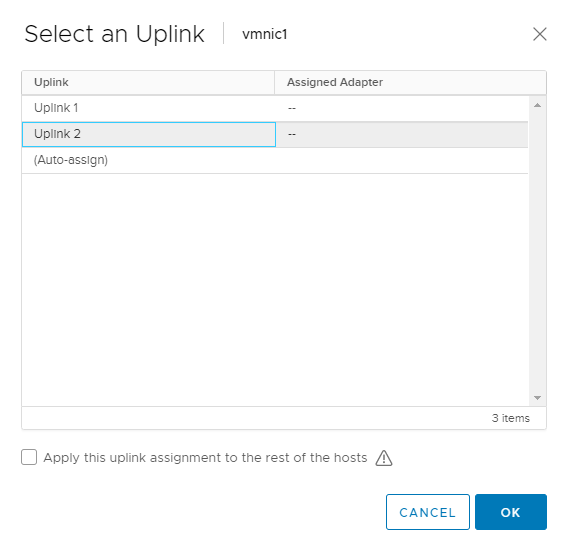
Do the same procedure for all the other hosts and click Next
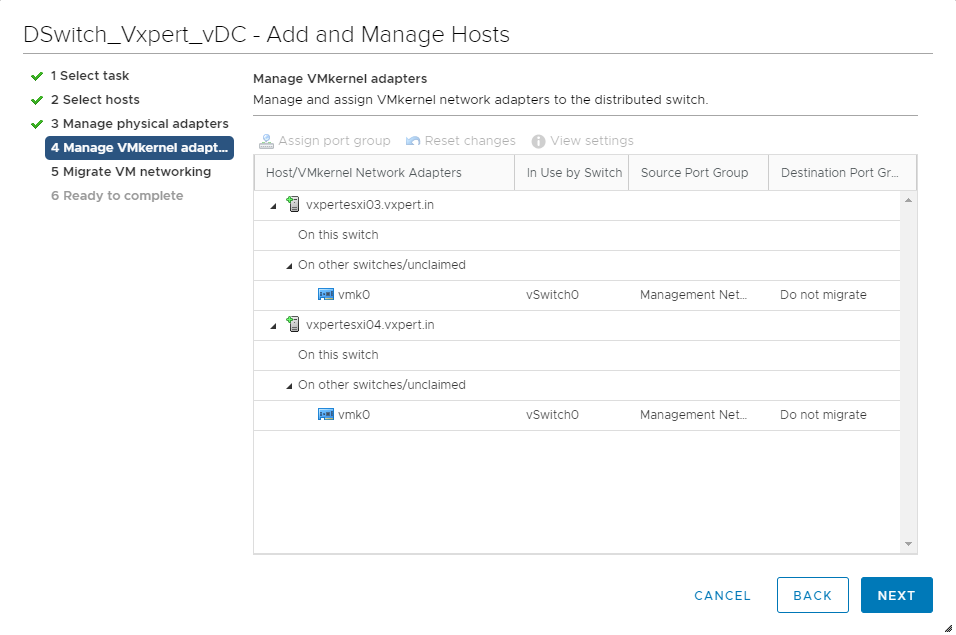
Click Next as we are not moving the management network to DvSwitch
Click Next as we are not moving the Virtual Machine network to DvSwitch

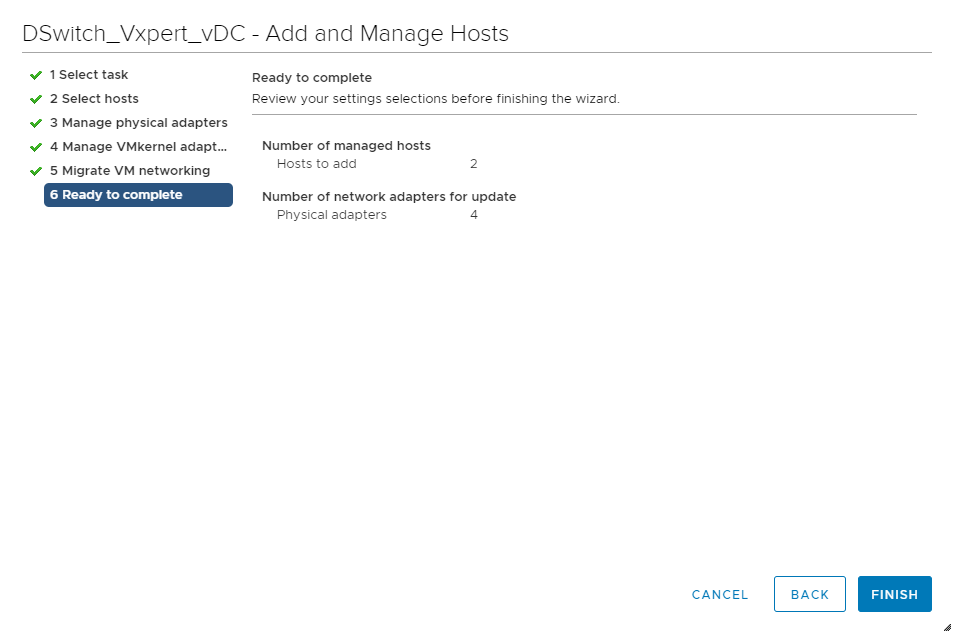
Review and click Finish to complete the host adding process
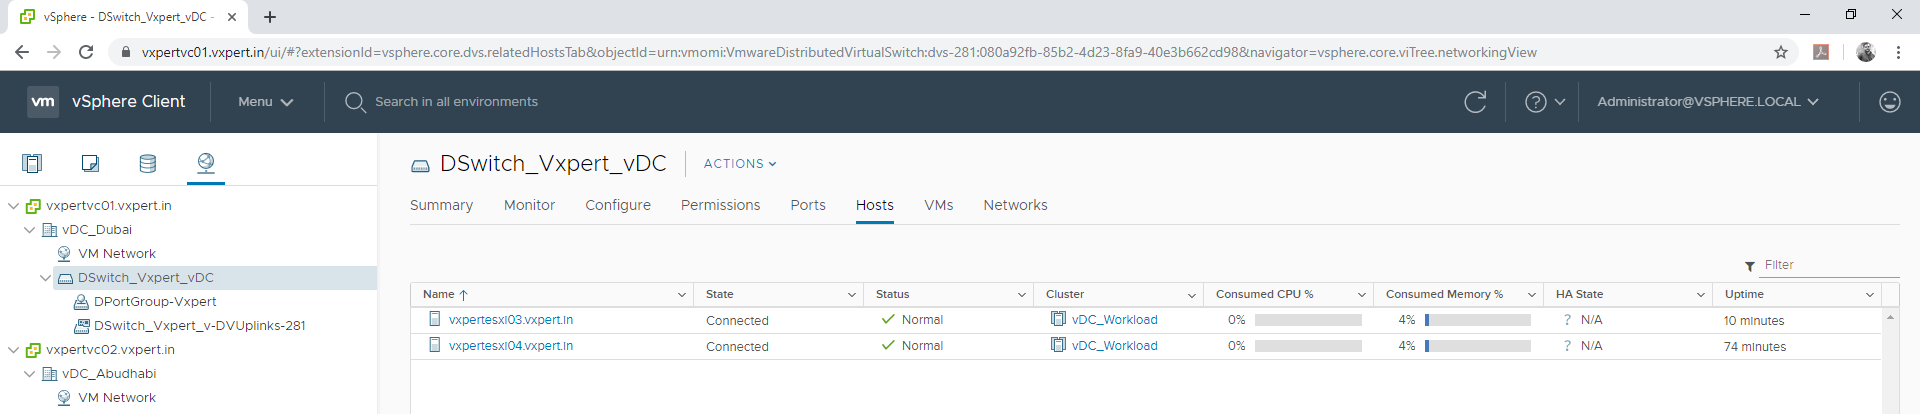
Once complete you can see the selected hosts under the DvSwitch
Host Preparation for NSX
Host preparation is the process in which the NSX Manager installs NSX kernel modules on ESXi hosts that are members of vCenter clusters and builds the NSX control-plane and management-plane fabric. When a new host is added to this cluster, the required software is automatically installed on the newly added host. This kernel module enables below capabilities
- VXLAN
- Distributed Logical Router
- Distributed Firewall
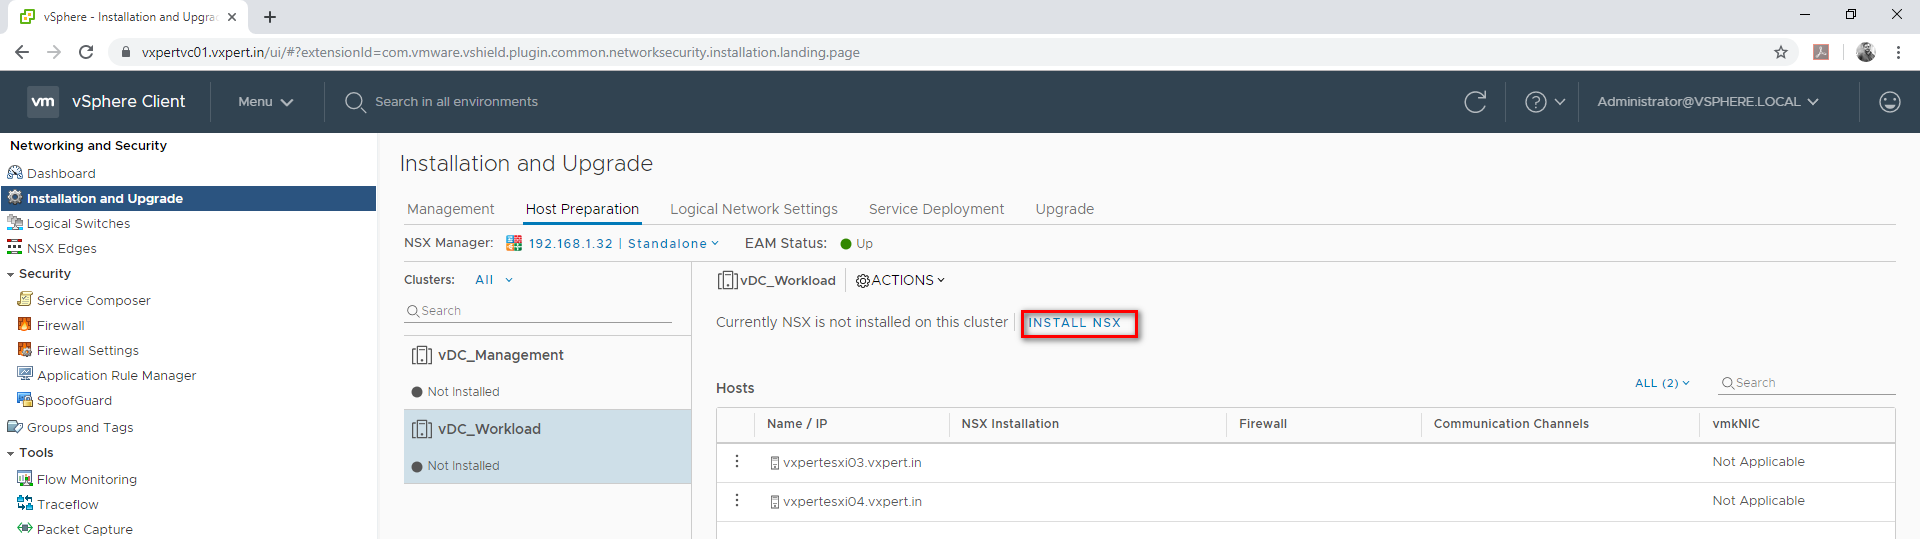
Login to VMware vCenter server Web Client – Menu – Networking and Security

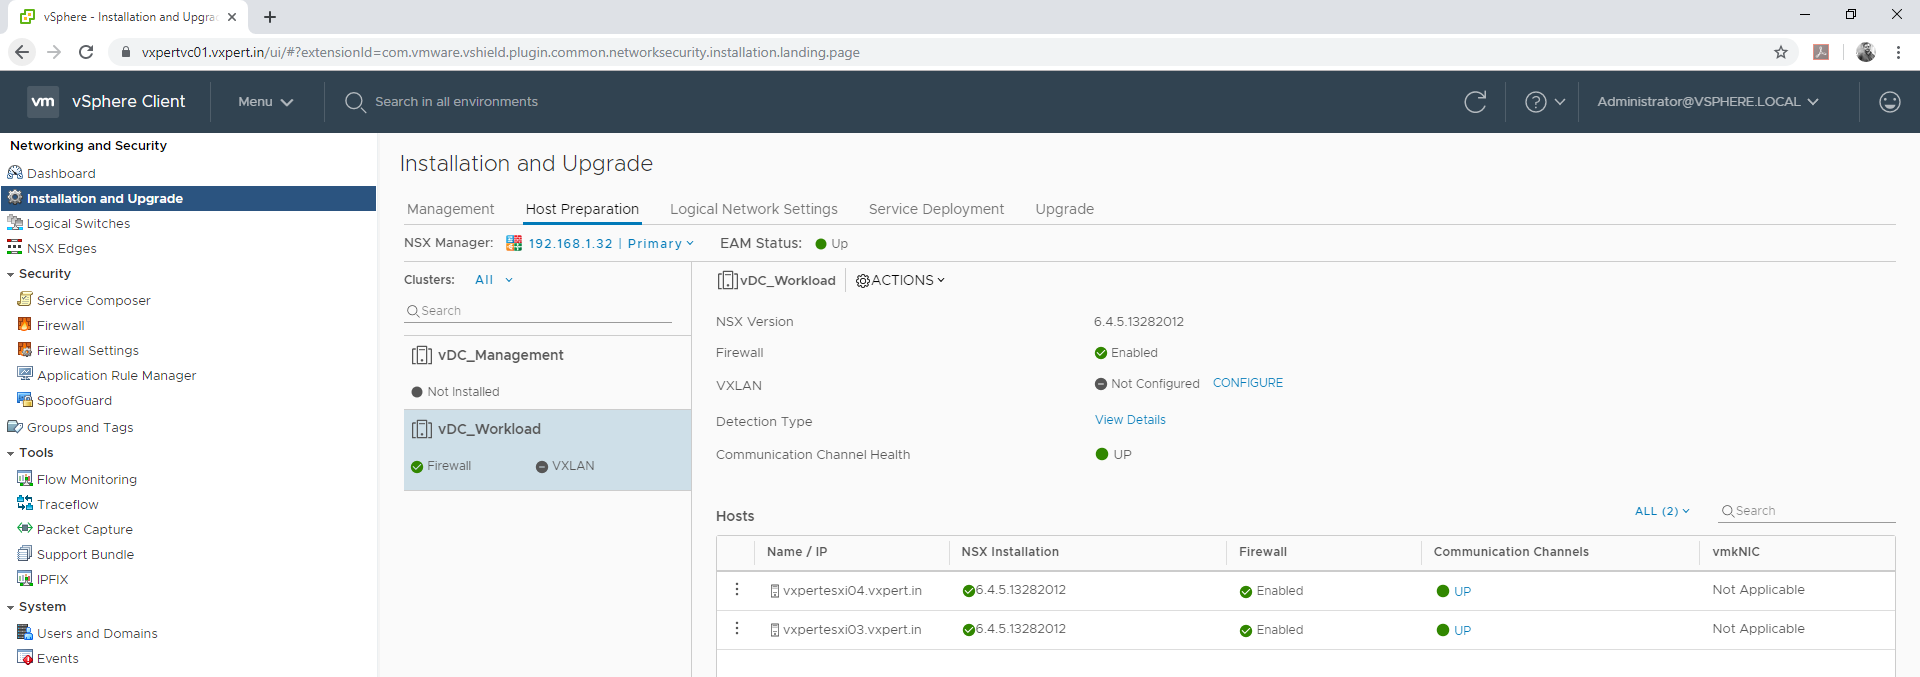
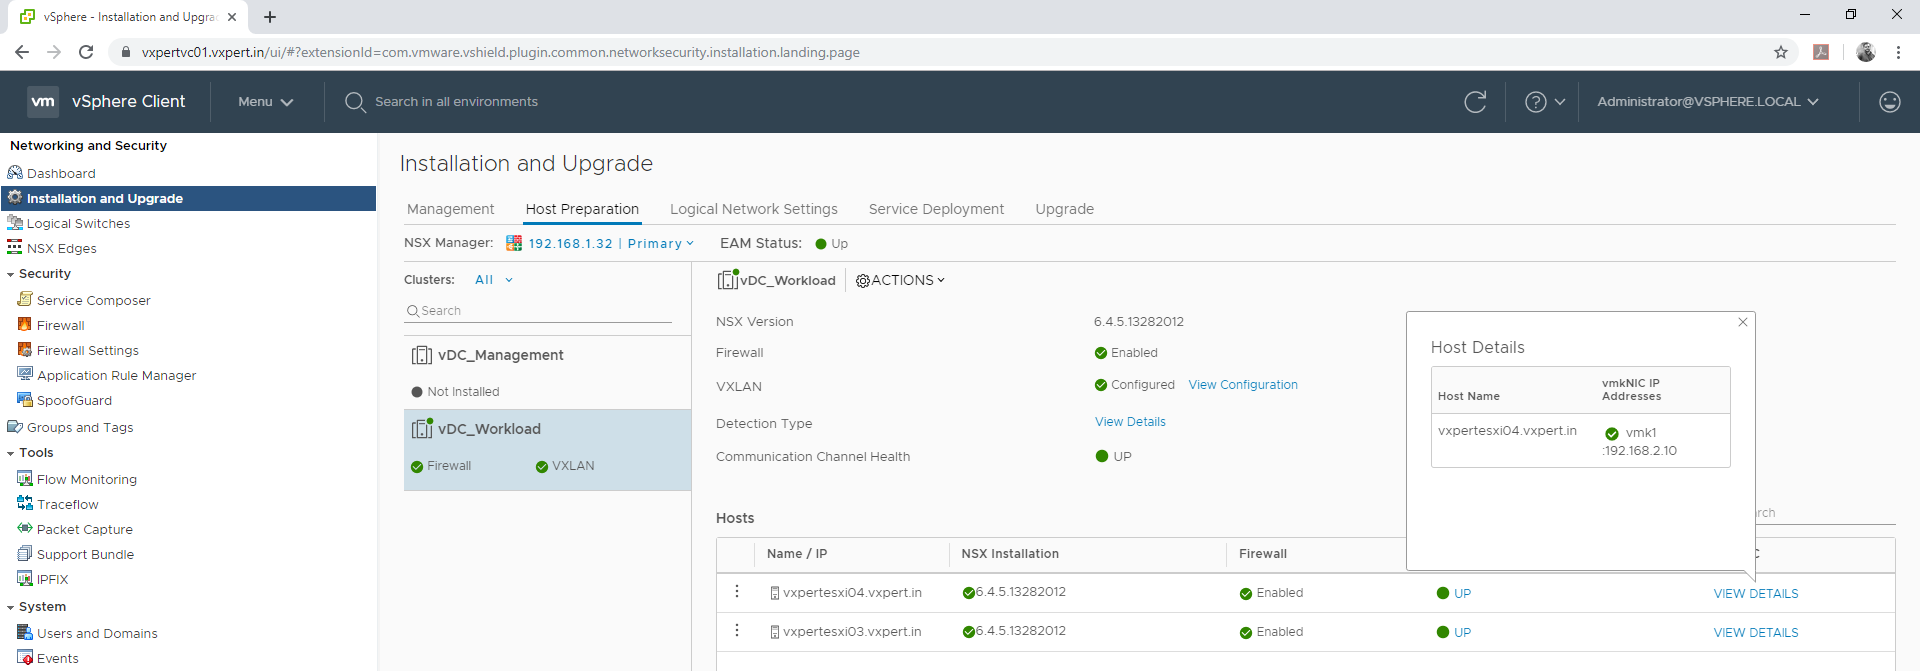
Select Installation and Upgrade – Host preparation – select cluster – Install NSX.
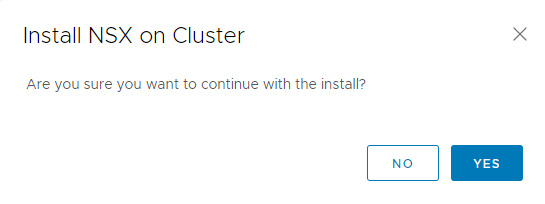
Click Yes to continue host preparation
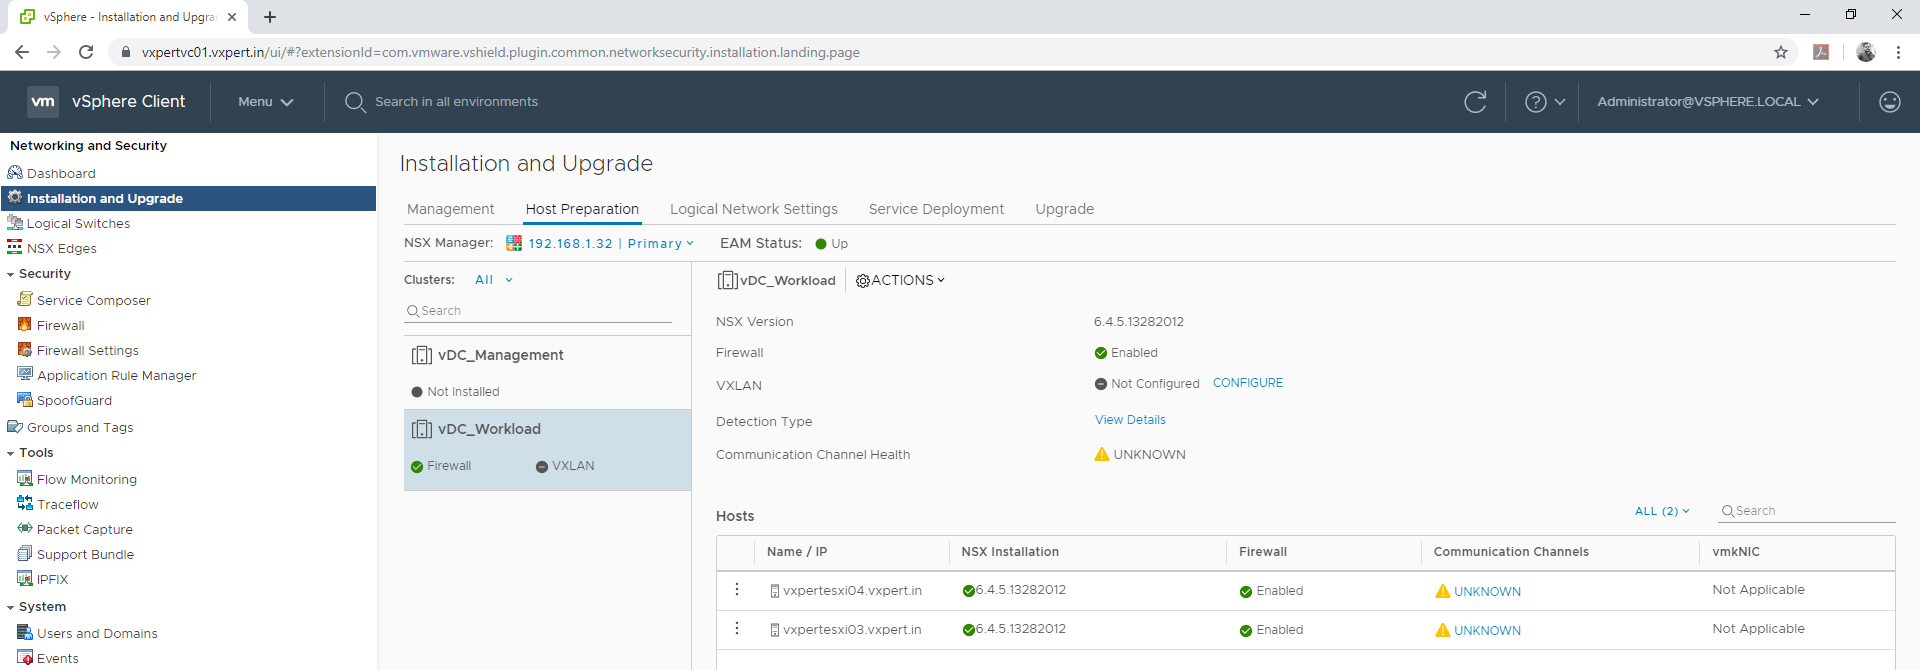
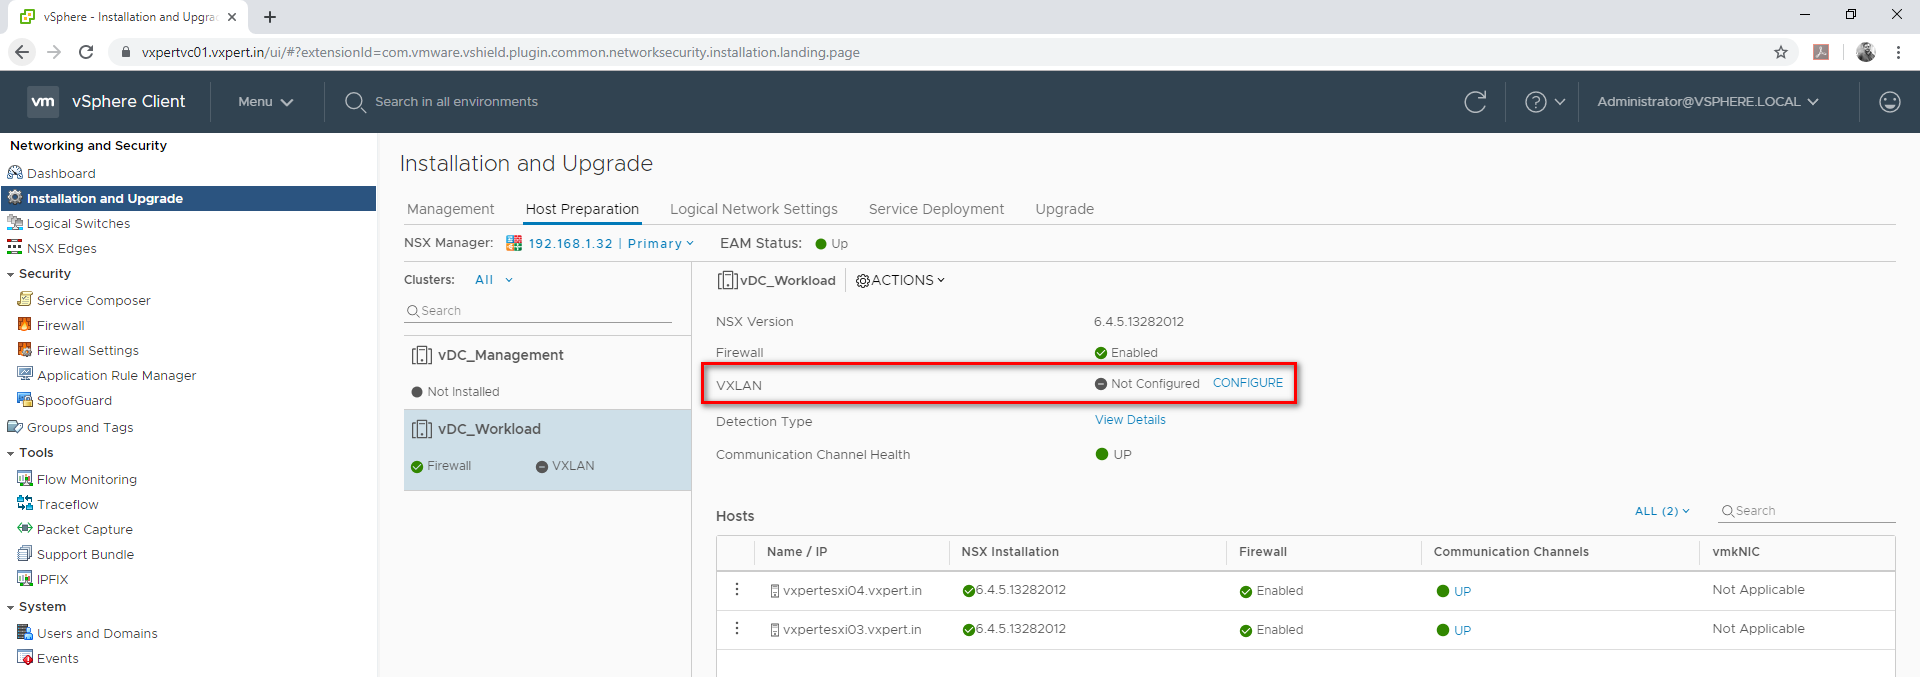
Note – During initial installation of NSX 6.4.x in a vCenter 6.7 environment, NSX may fail to fully install. The VIBs install successfully on the ESXi hosts, but the NSX Version shows “Not Ready”, VXLAN shows “Not Configured” with no option to install. ESXi hosts show green check marks under “NSX Installation,” “Firewall,” and “Communication Channels.”
Please refer this VMware KB to resolve this issue
Once the hosts are ready you can see console like below
Deploying NSX Controllers
NSX Controller is an advanced distributed state management system that provides control plane functions for NSX logical switching and routing functions. It serves as the central control point for all logical switches within a network and maintains information about all hosts, logical switches (VXLANs), and distributed logical routers. Controllers are required if you are planning to deploy distributed logical routers or VXLAN in unicast or hybrid mode.
No matter the size of the NSX Data Center for vSphere deployment, create three NSX Controller nodes in each NSX Controller cluster. Having a different number of controller nodes is not supported.
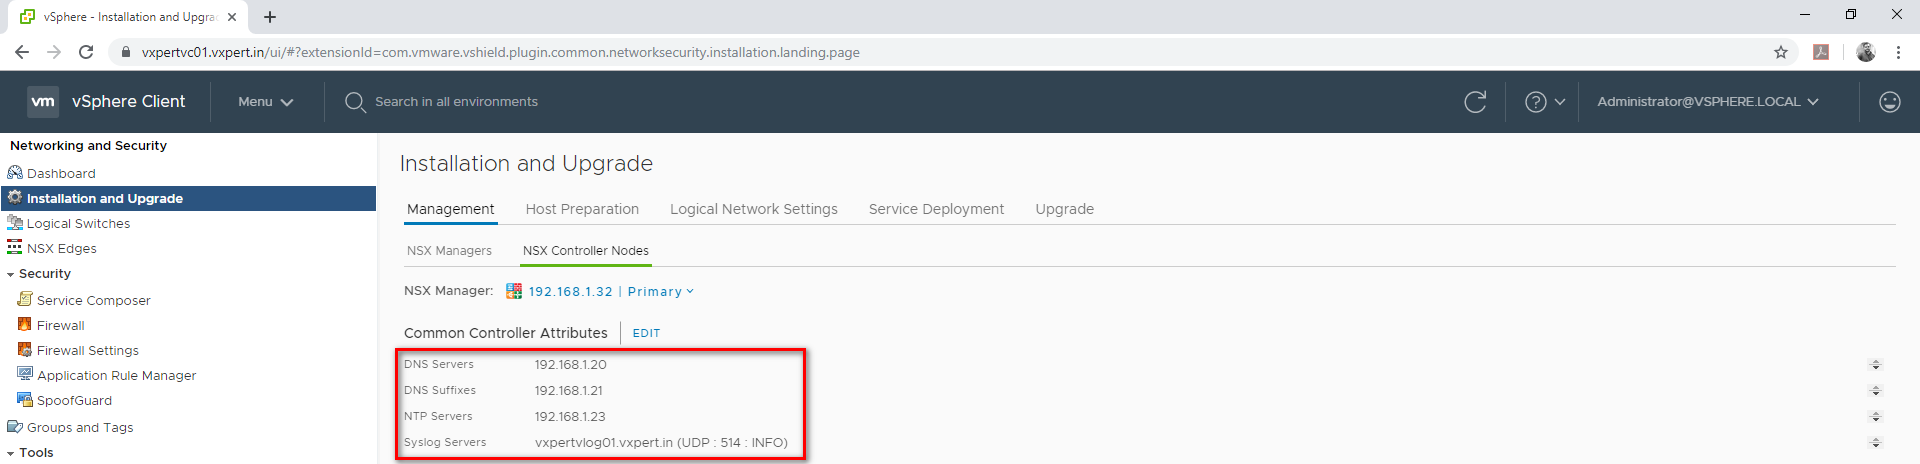
Configure Common Controller Attributes
You can configure the common controller attributes in NSX controller tab
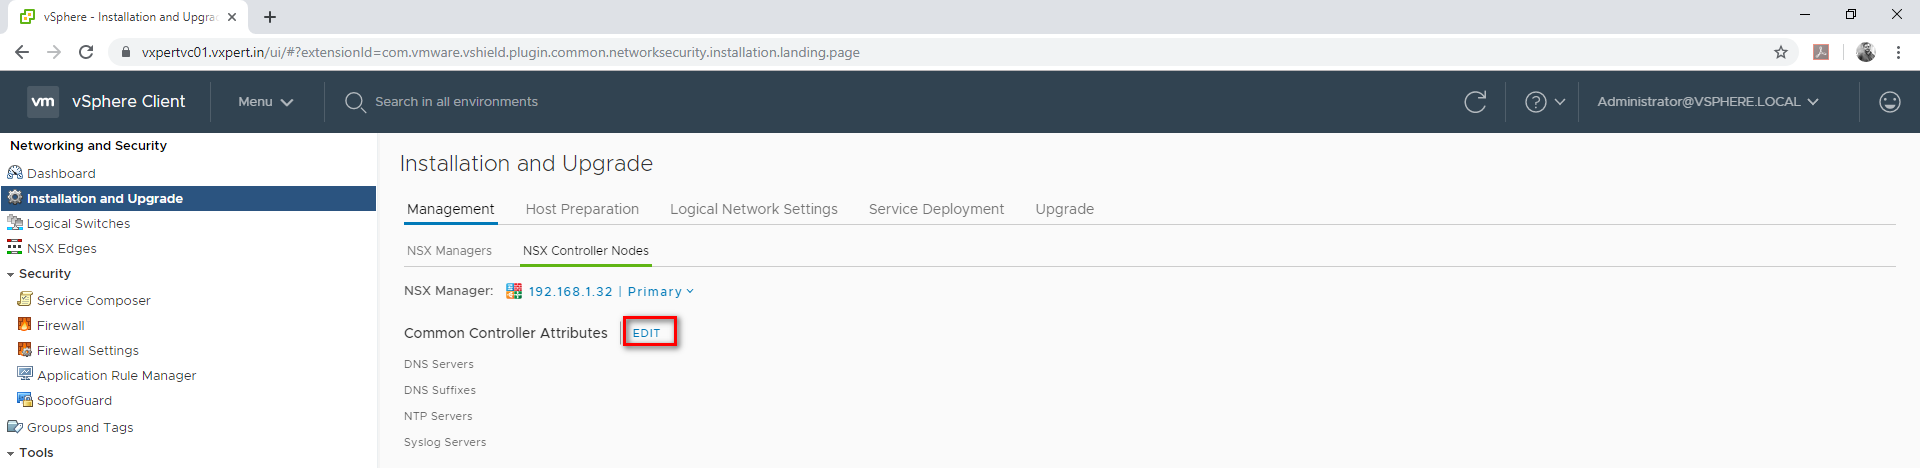
Login to VMware vCenter web client – Menu – Network and security – Installation and upgrade –Management – NSX Controller Nodes
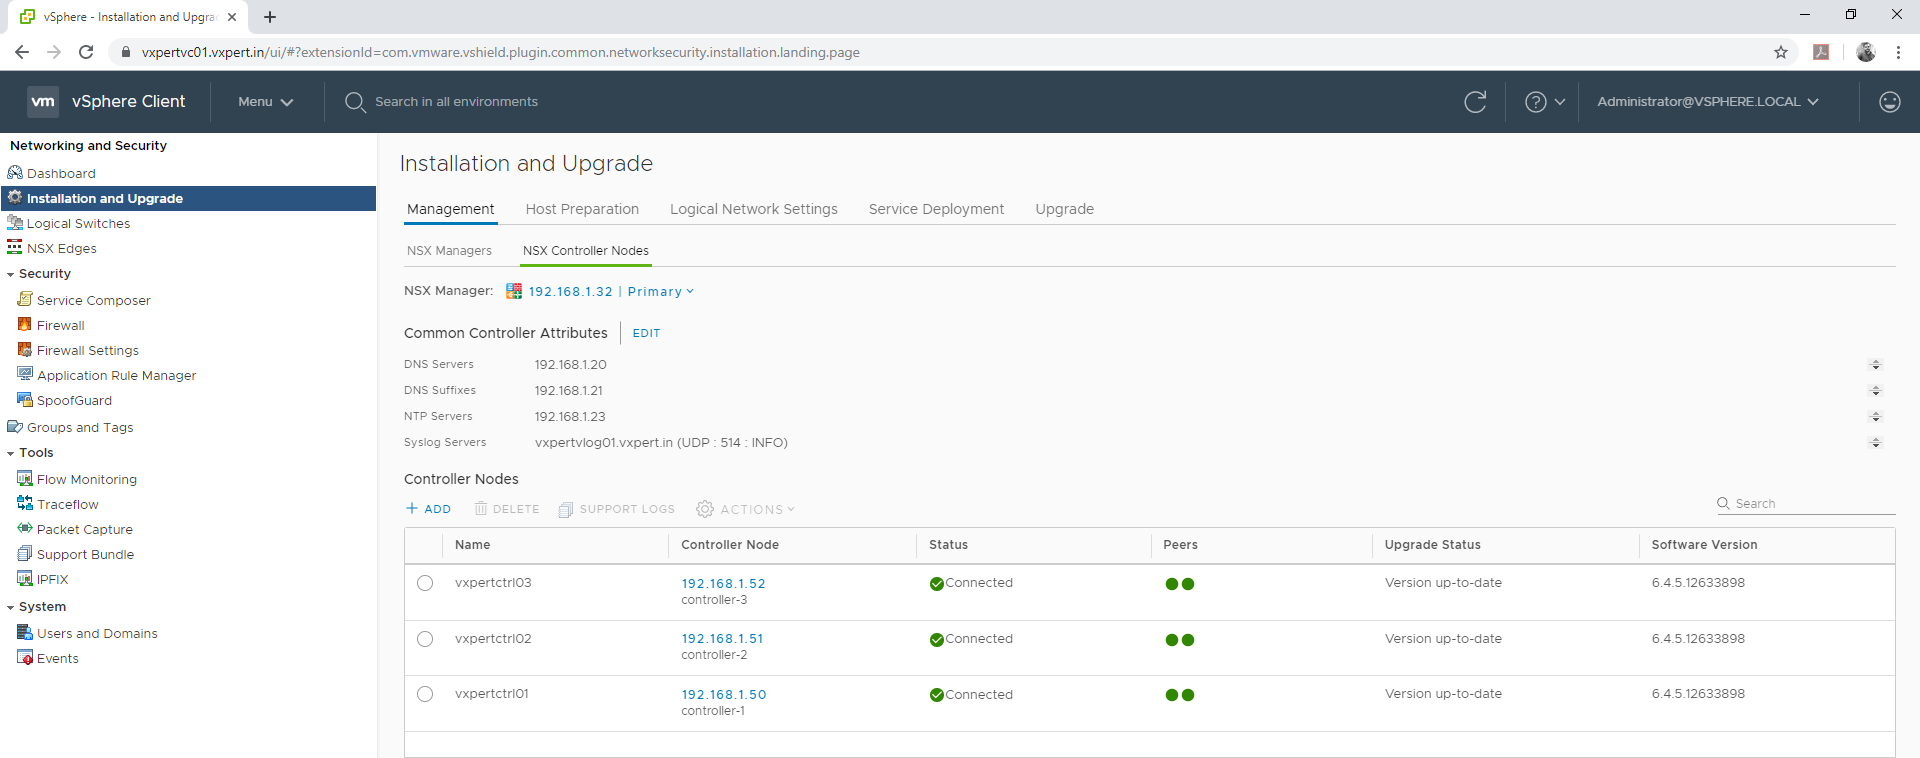
Click Edit to configure DNS, NTP and SYSLOG configuration for NSX controllers
Provide the configuration values

Click Save to save the values
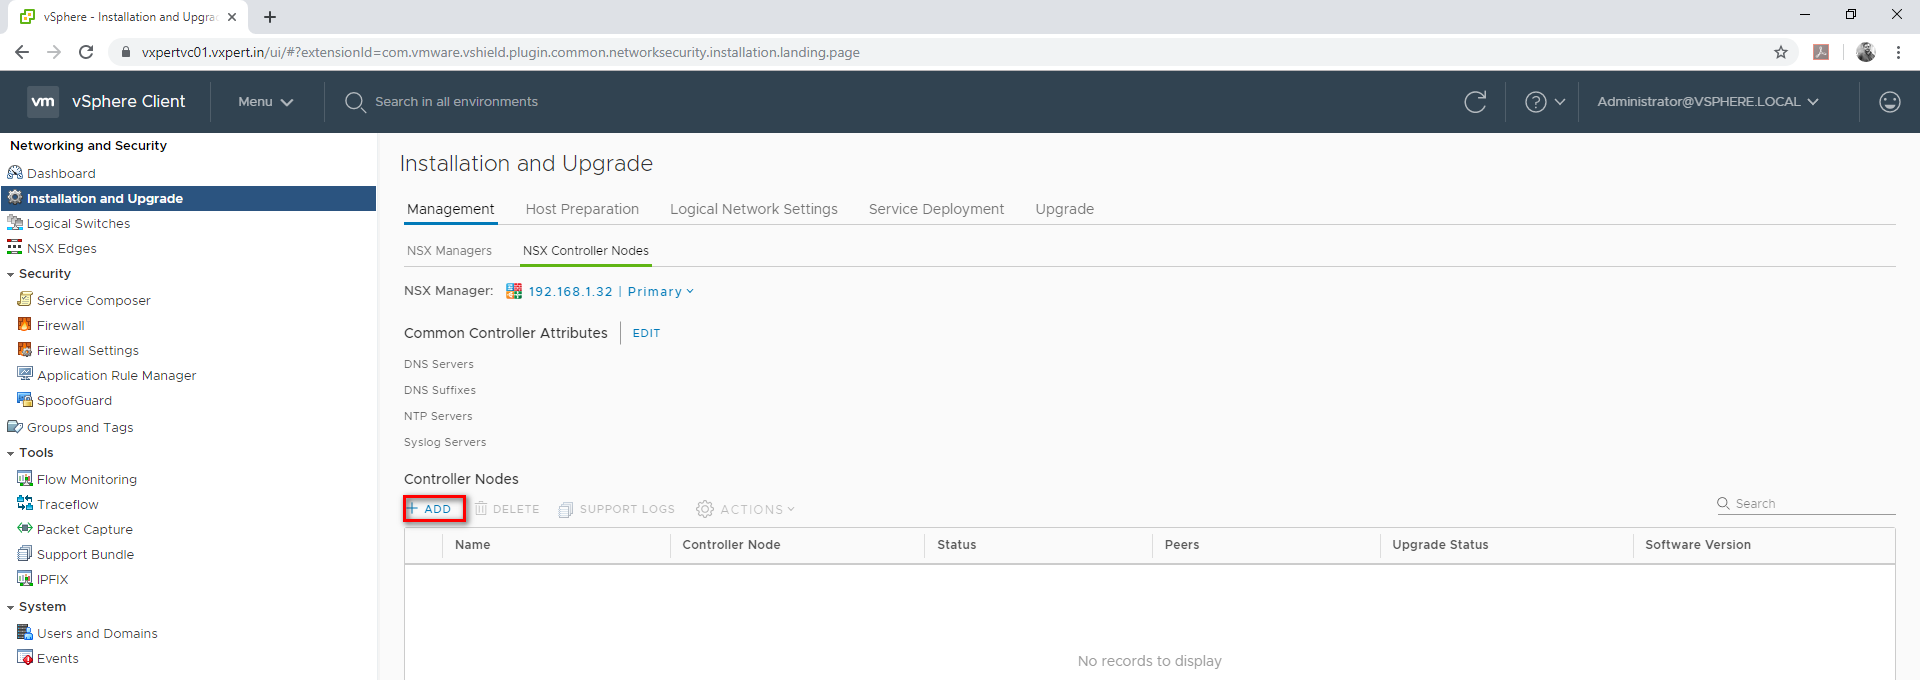
To deploy the NSX controller nodes follow the below steps
Login to VMware vCenter web client – Menu – Network and security – Installation and upgrade –Management – NSX Controller Nodes – Click on ADD to deploy Controller nodes.
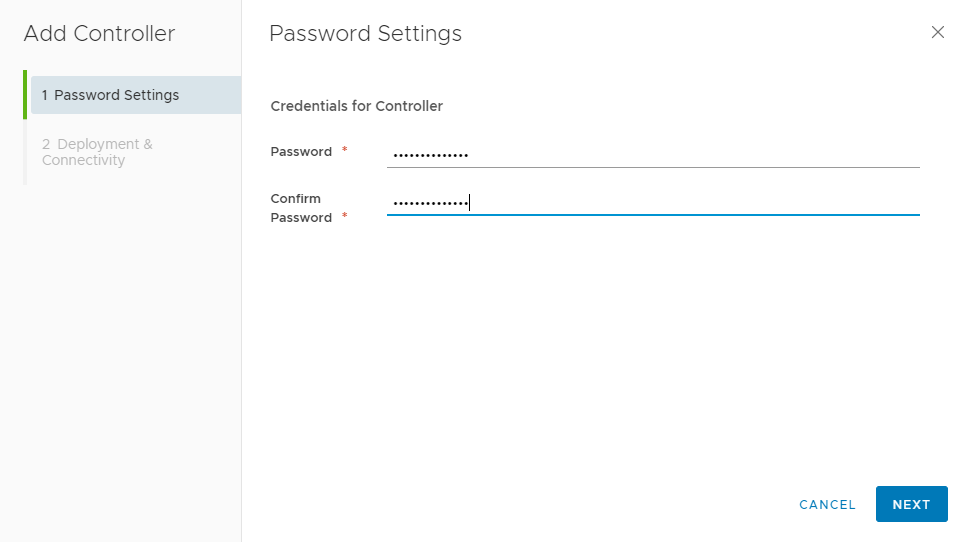
Provide Credentials for the controller and click Next
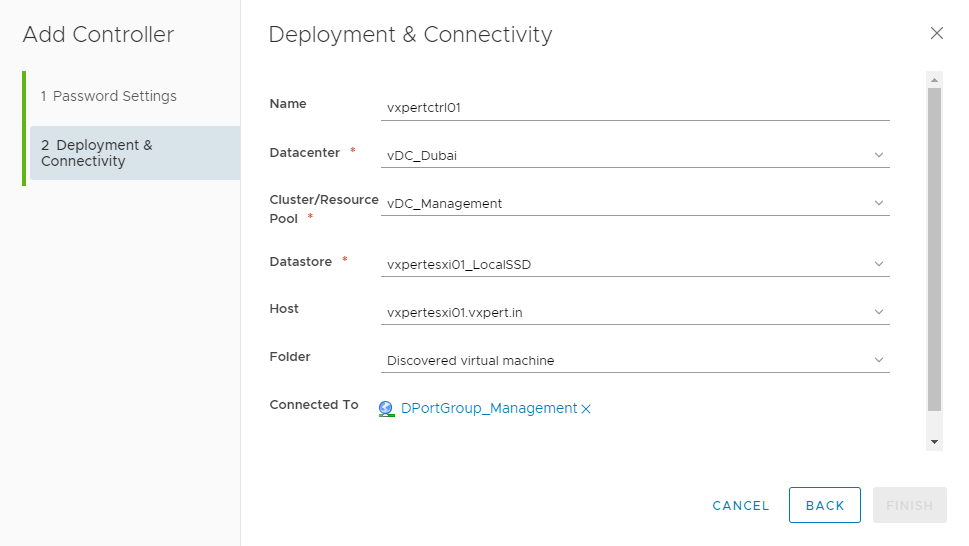
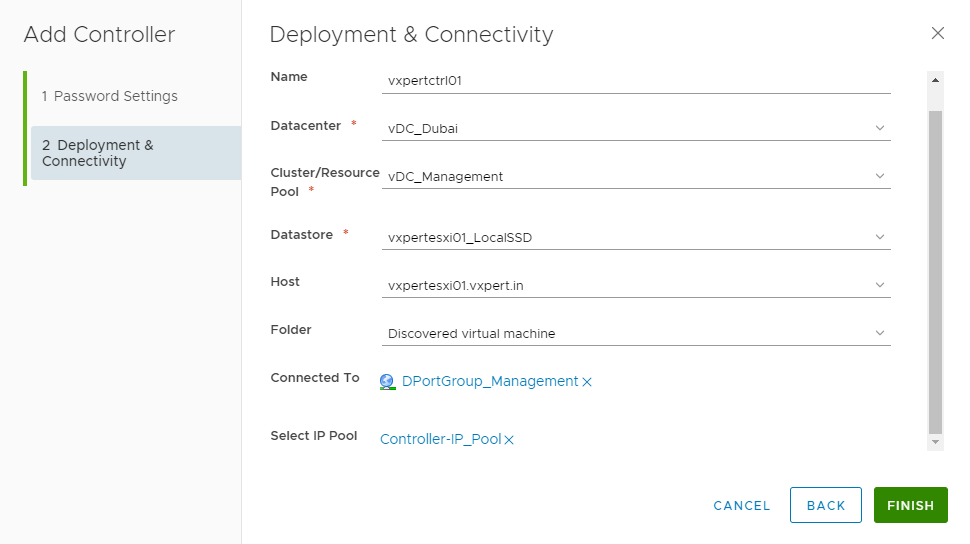
Provide the Name. Datacenter, Cluster, Network Port Group details to which Controllers will be running.
Please Note vCenter, NSX Manager and Controllers should be on same VLAN
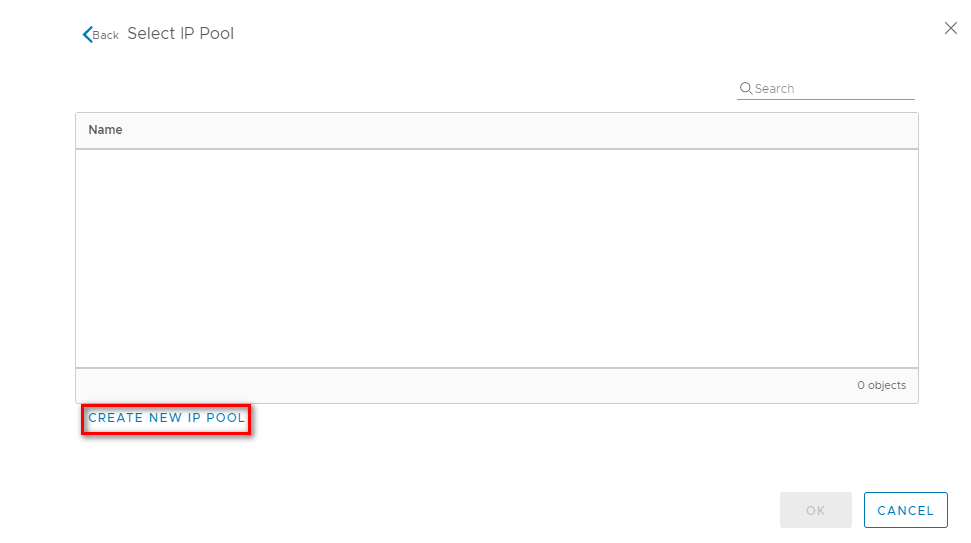
Click on Select IP Pool for the Controller nodes

Click Create New IP pool
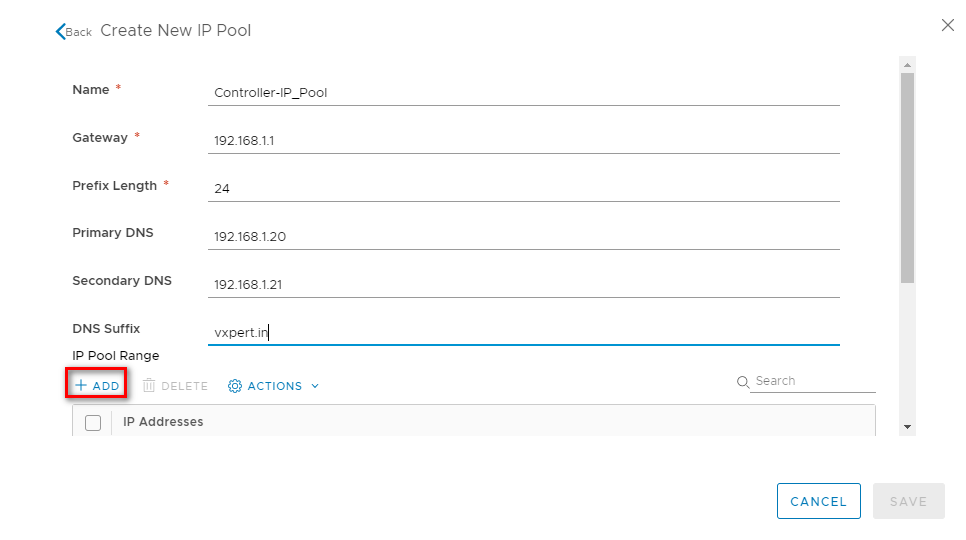
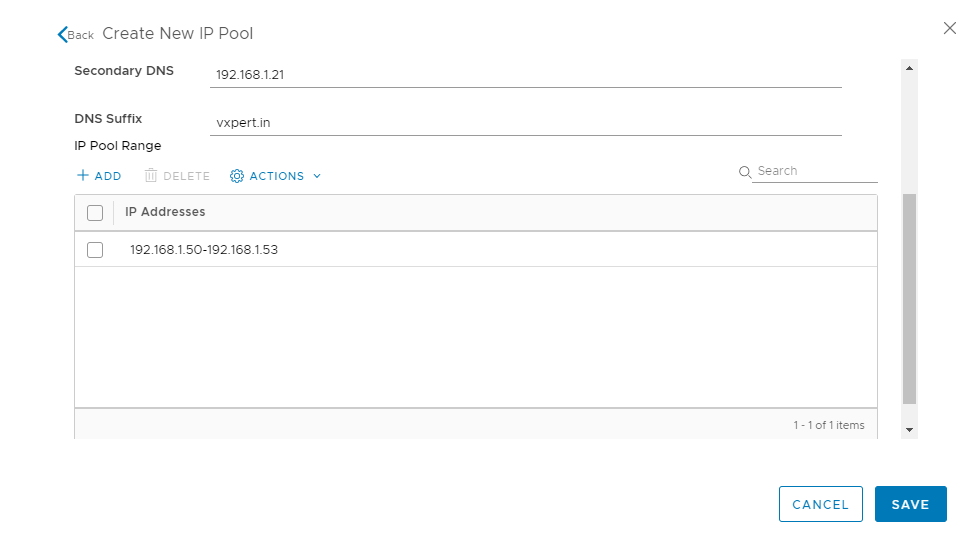
Provide the IP pool details of the Controllers as shown below and click on ADD to provide the IP range
Click on SAVE to create the controller IP Pool
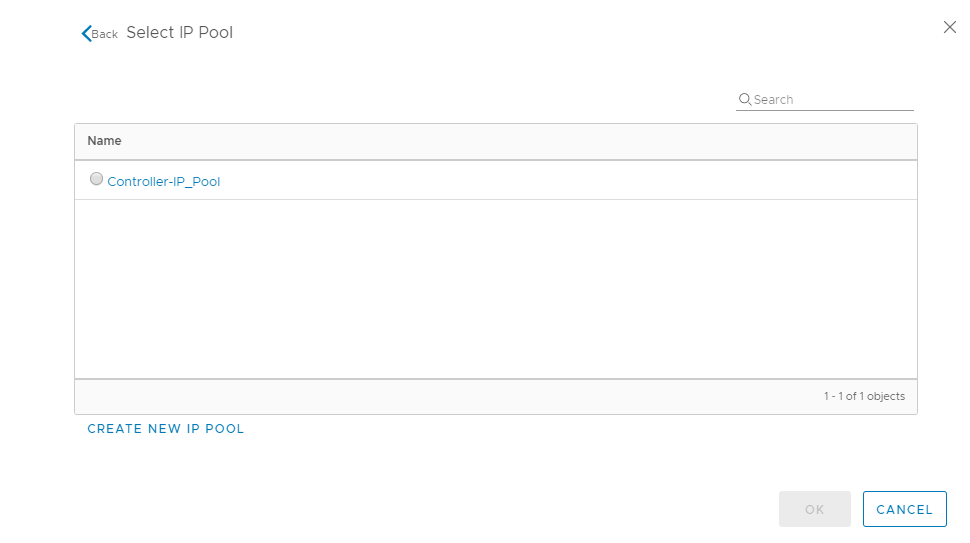
Once created select the IP Pool and click OK to proceed with controller deployment
Click Finish to start the controller deployment
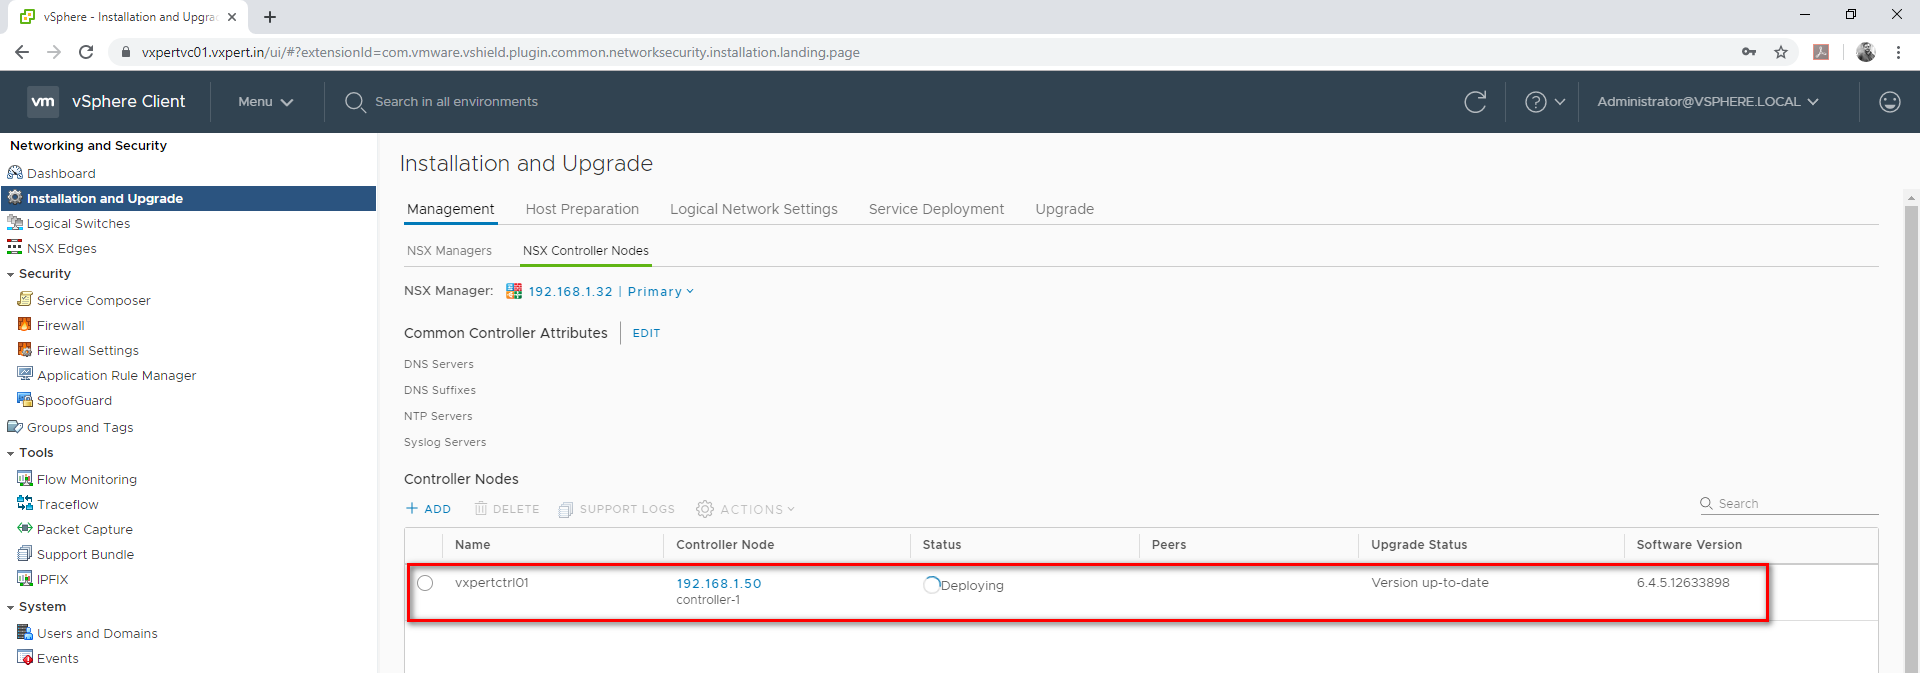
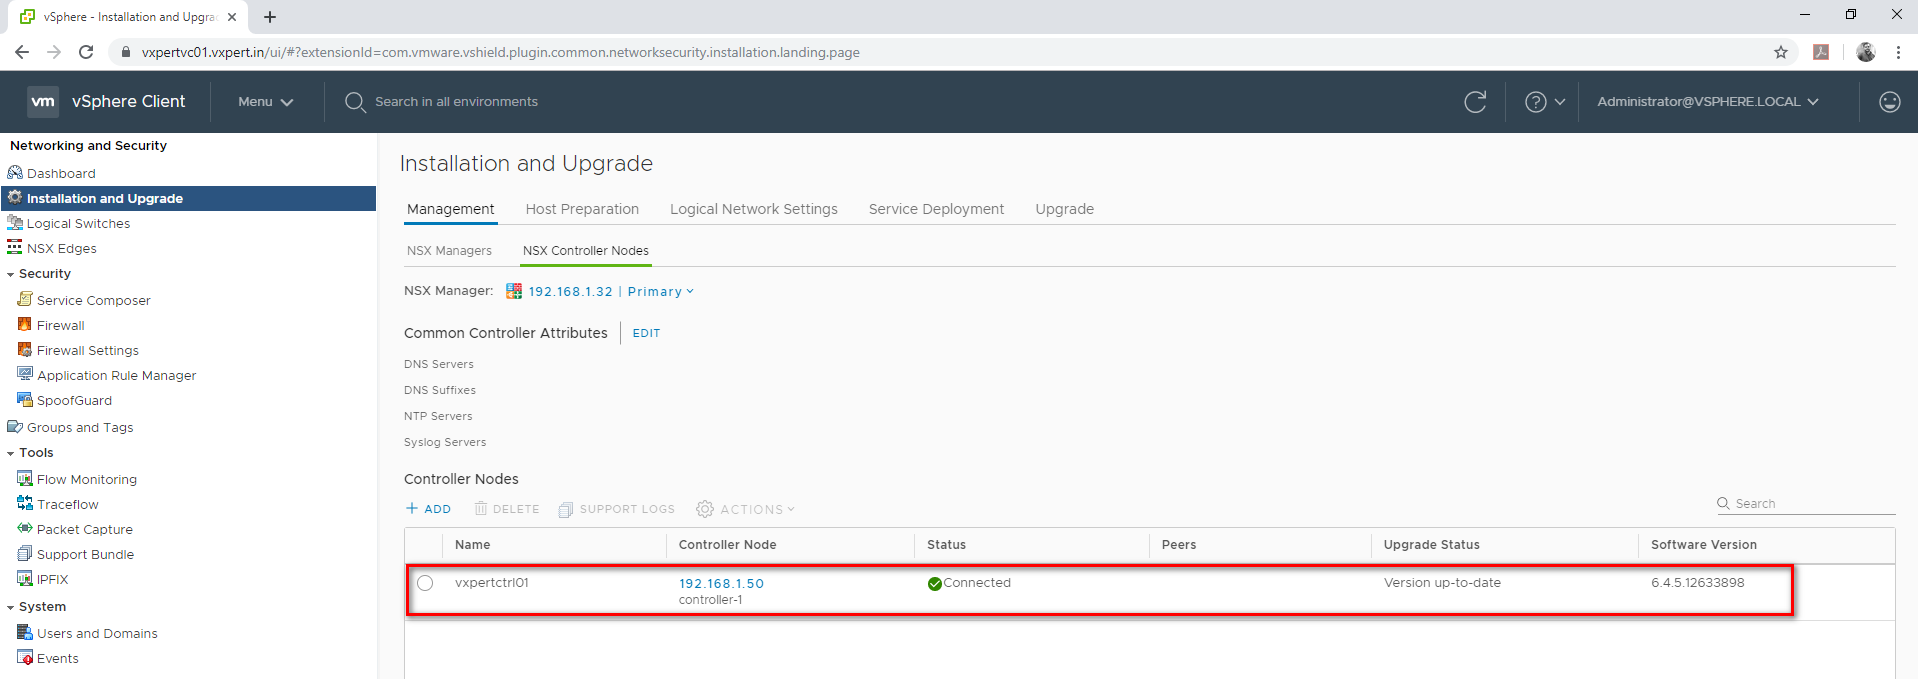
Once complete we can see the first controller window like below
Deploy the other two controllers one by one in same way. Its recommended to deploy minimum three controllers in production environment.
Assign Primary Role to NSX Manager
There is a 1:1 relationship between vCenter server and NSX Manager. The NSX manager that should be running the controller cluster is assigned the primary role. Additionally, NSX Managers participating in cross-vCenter NSX (up to 7) are assigned the secondary role.
For high availability, deploy NSX Manager in a cluster configured with HA and DRS. Optionally, you can install the NSX Manager in a different vCenter than the one that the NSX Manager will be interoperating with. A single NSX Manager serves a single vCenter Server environment. In cross-vCenter NSX installations, make sure that each NSX Manager has a unique UUID. NSX Manager instances deployed from OVA files have unique UUIDs. An NSX Manager deployed from a template (as in when you convert a virtual machine to a template) has the same UUID as the original NSX Manager used to create the template. In other words, for each NSX Manager, you should install a new appliance as outlined in this procedure.
To make the NSX Manger as primary follow the below steps
Login to VMware vCenter web client – Menu – Network and security – Installation and upgrade –Management – NSX Managers
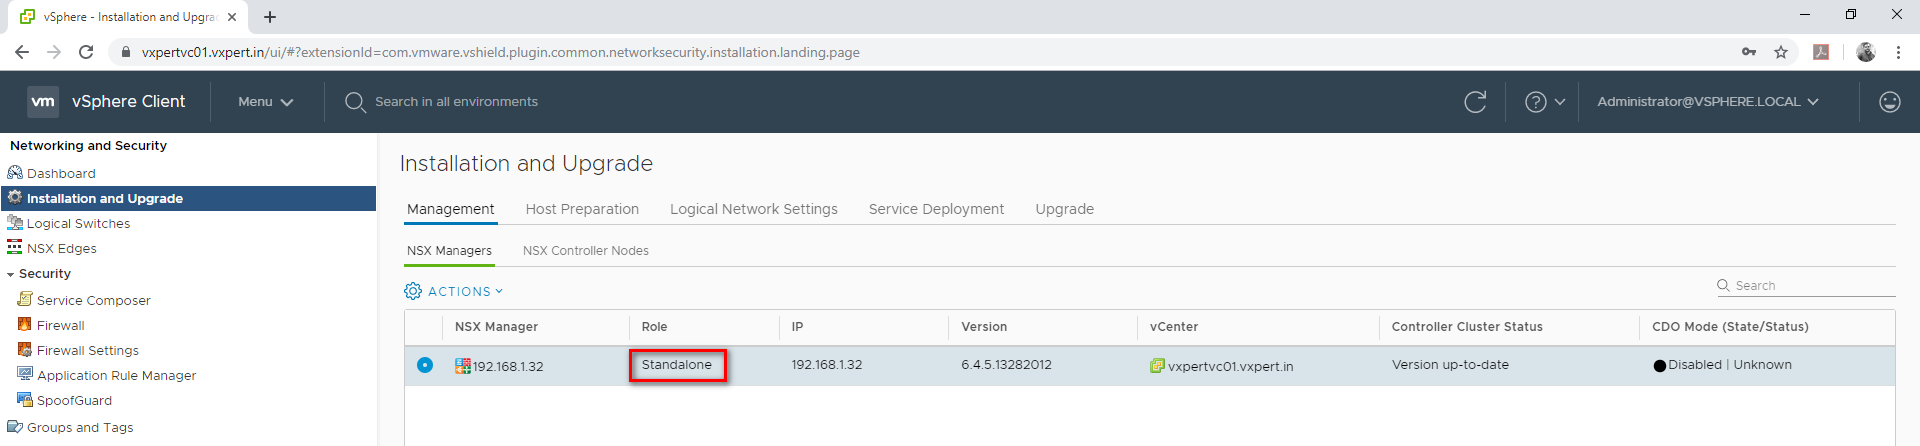
Click on Action – Assign Primary Role

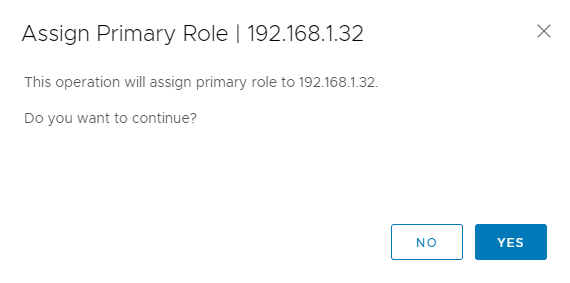
Click Yes to continue
Once complete the Role changes to Primary as below
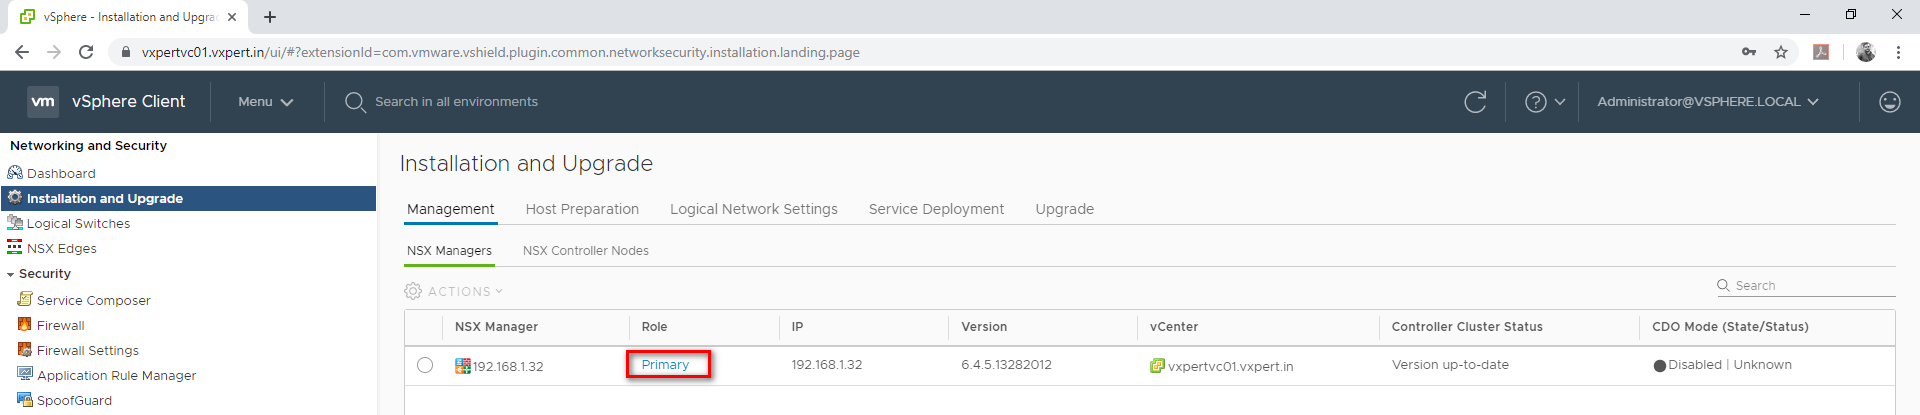
When we assign the primary role to an NSX Manager, its controller cluster automatically becomes the universal controller cluster. It is the one and only controller cluster in cross-vCenter NSX and provides control plane functionality (MAC, ARP, VTEP tables) for both the primary and secondary NSX Managers.
Configuring VTEP for VXLAN
Virtual Tunnel Endpoint (VTEP) are VMkernel ports on each host which is required for VXLAN. This encapsulates and decapsulates traffic with VXLAN headers. A VTEP has two logical interfaces, an uplink and a downlink. The uplink is responsible for receiving VXLAN frames and acts as a tunnel endpoint with an IP address used for routing VXLAN encapsulated frames.
VXLAN is a tunneling protocol that encapsulates Layer 2 Ethernet frames in Layer 3 UDP packets, enabling you to create virtualized Layer 2 subnets, or segments, that span physical Layer 3 networks. Each Layer 2 subnet is uniquely identified by a VXLAN network identifier (VNI) that segments traffic. The entity that performs the encapsulation and decapsulation of packets is called a VXLAN tunnel endpoint (VTEP) and resides in hypervisor hosts.
To configure VXLAN and VTEP use the below procedure
Login to VMware vCenter server Web Client – Menu – Networking and Security – Installation and Upgrade – Host preparation and select the prepared cluster.
Click on VXLAN CONFIGURE
Configure VXLAN Networking
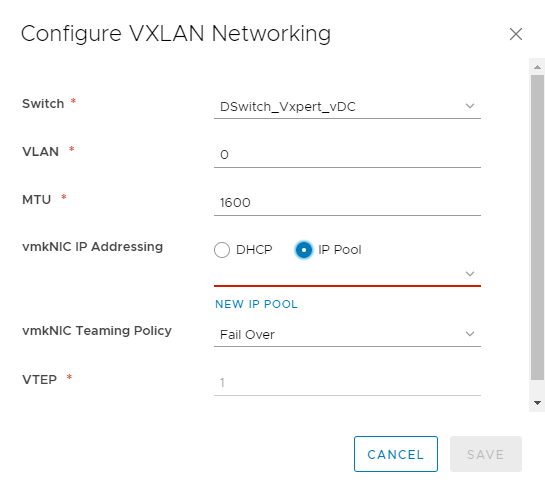
Click on New IP Pool
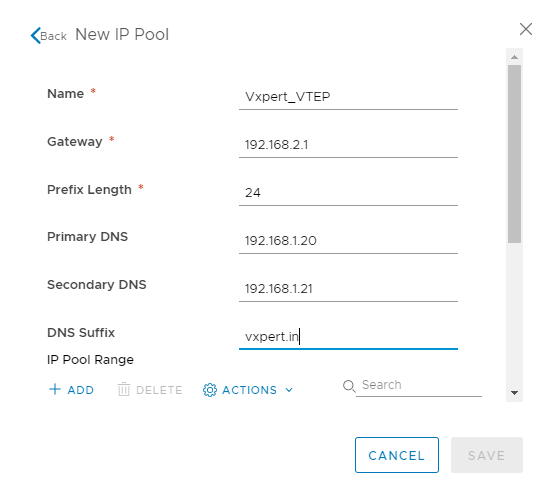
Click ADD to add IP Pool Range
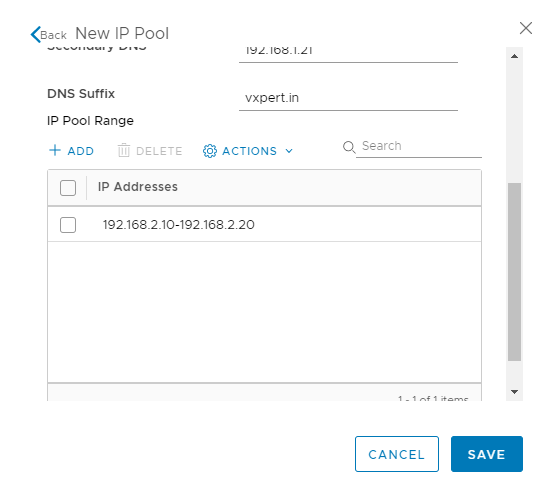
Click Save to create the IP Pool
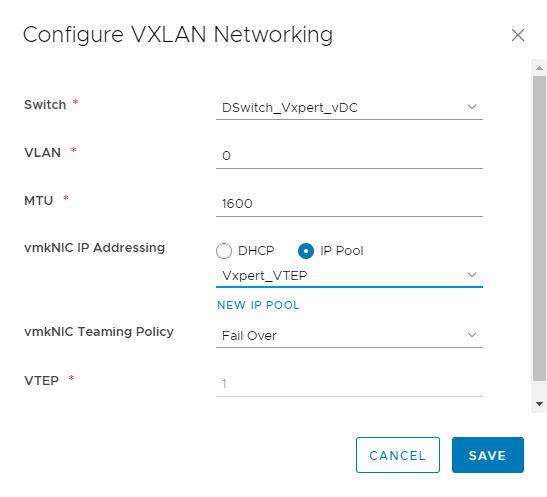
Again, click Save to create and configure VXLAN and respective VTEP.
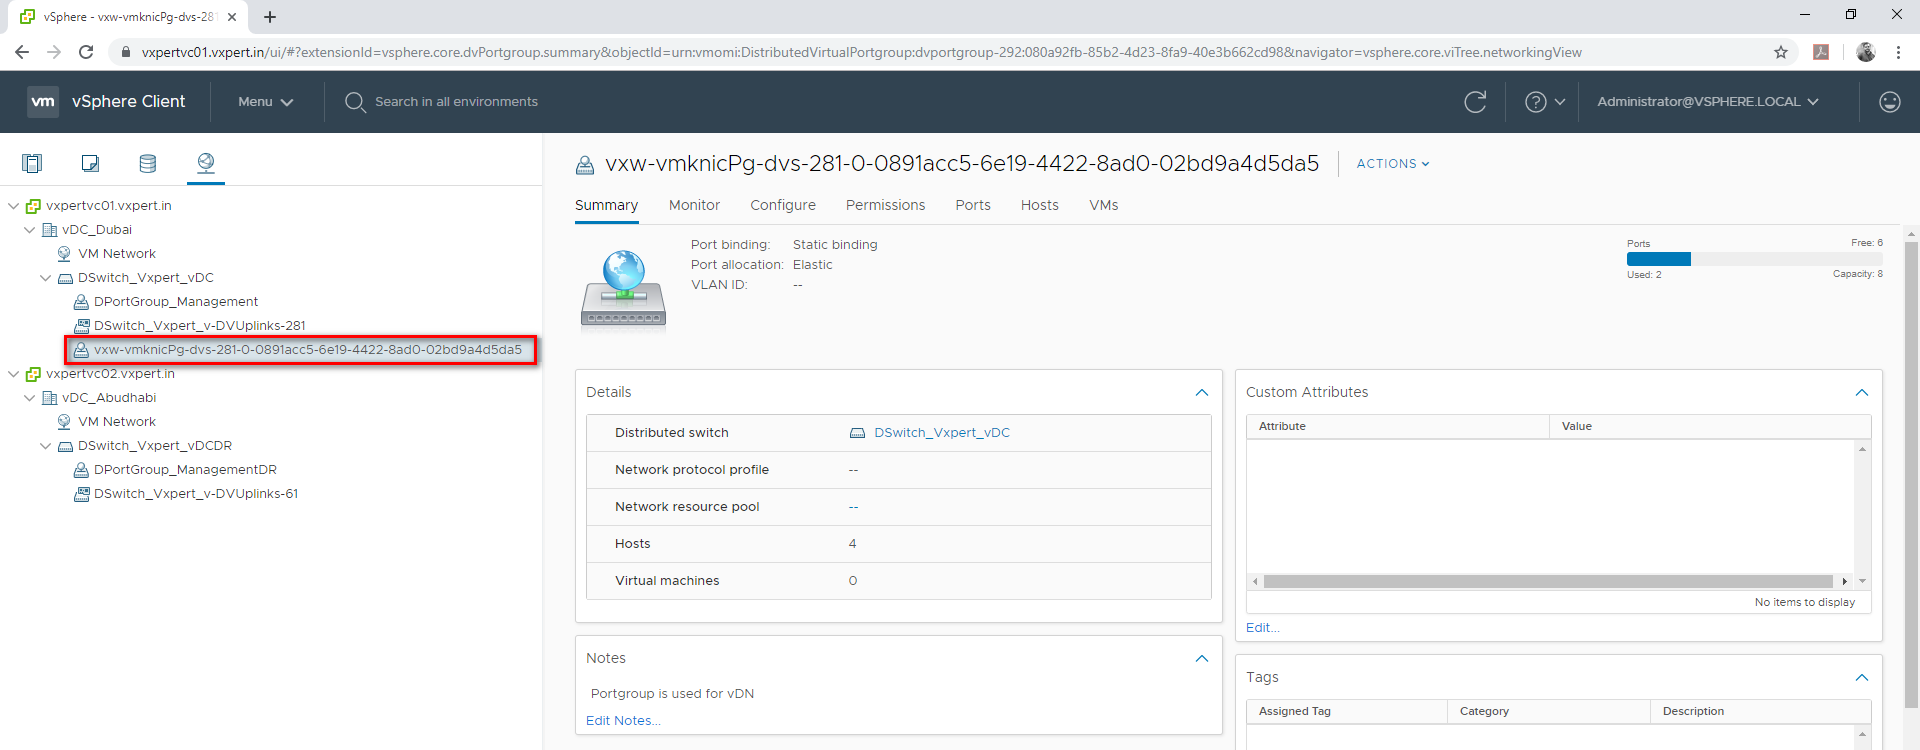
When we prepare VTEP for VXLAN a port group in VDS will be created with required settings and MTU automatically.
Creating Segment ID and transport Zone
To configure Segment ID please follow below steps
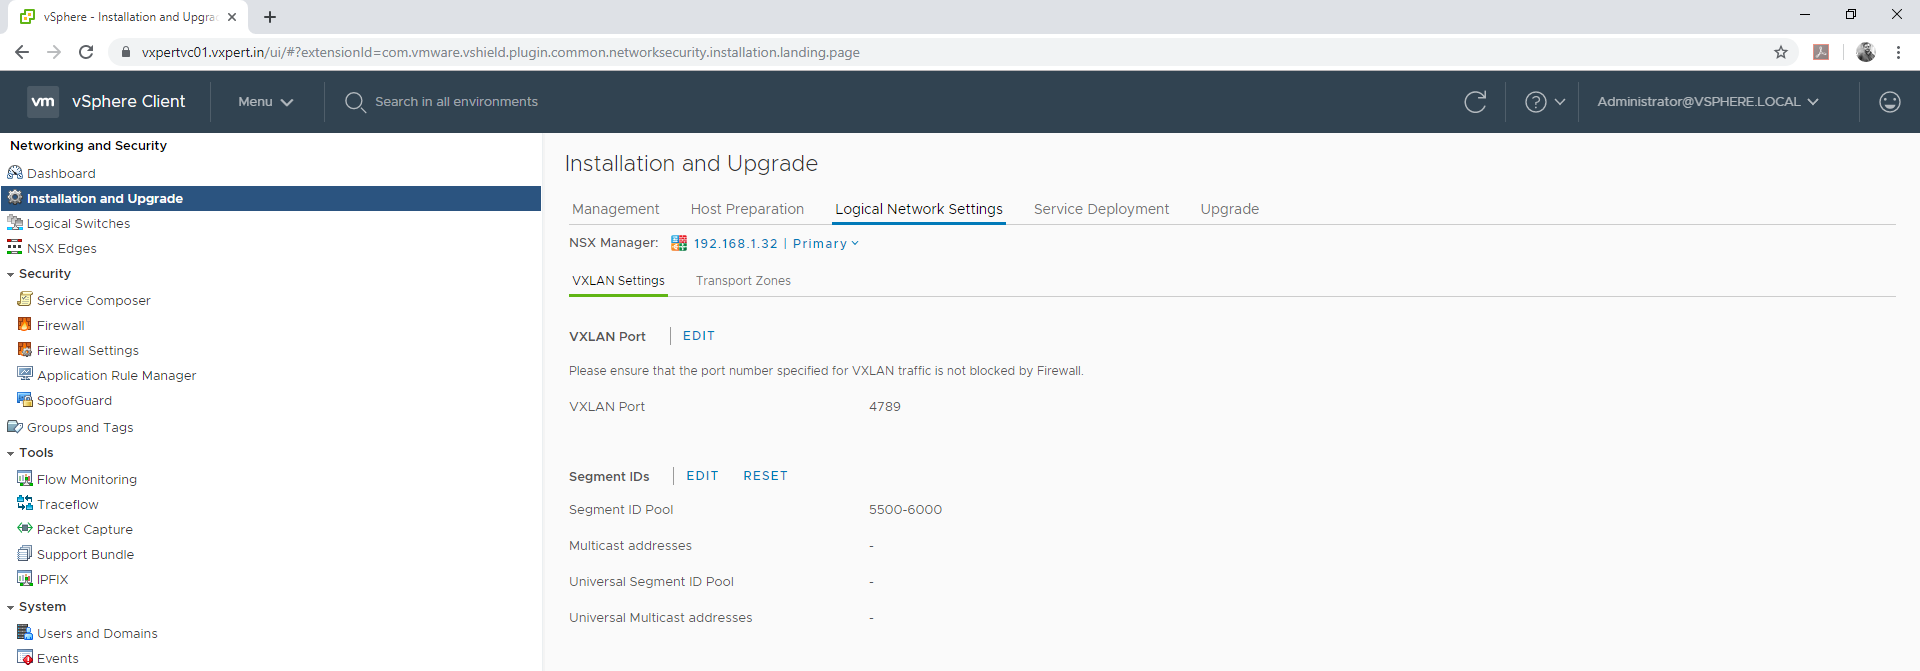
Login to VMware vCenter server Web Client – Menu – Networking and Security – Installation and Upgrade – Logical Network Settings – VXLAN Settings

Click on Segment ID Edit

Provide your segment ID range, which is typically like your VXLAN IDs. provide anything more than 5000 as till 4096 used for VLAN.
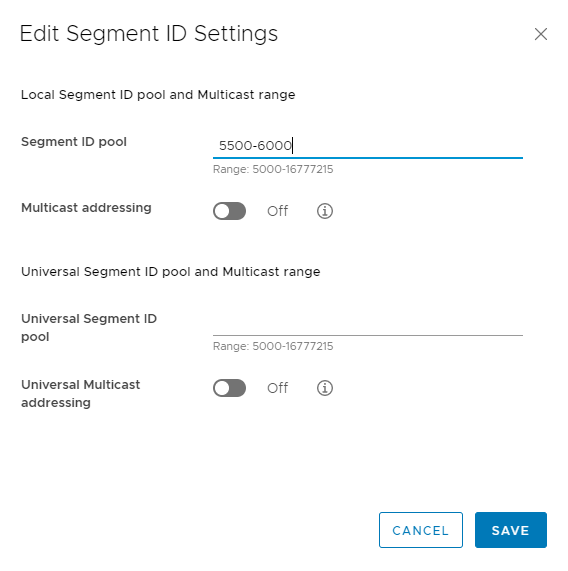
Click Save
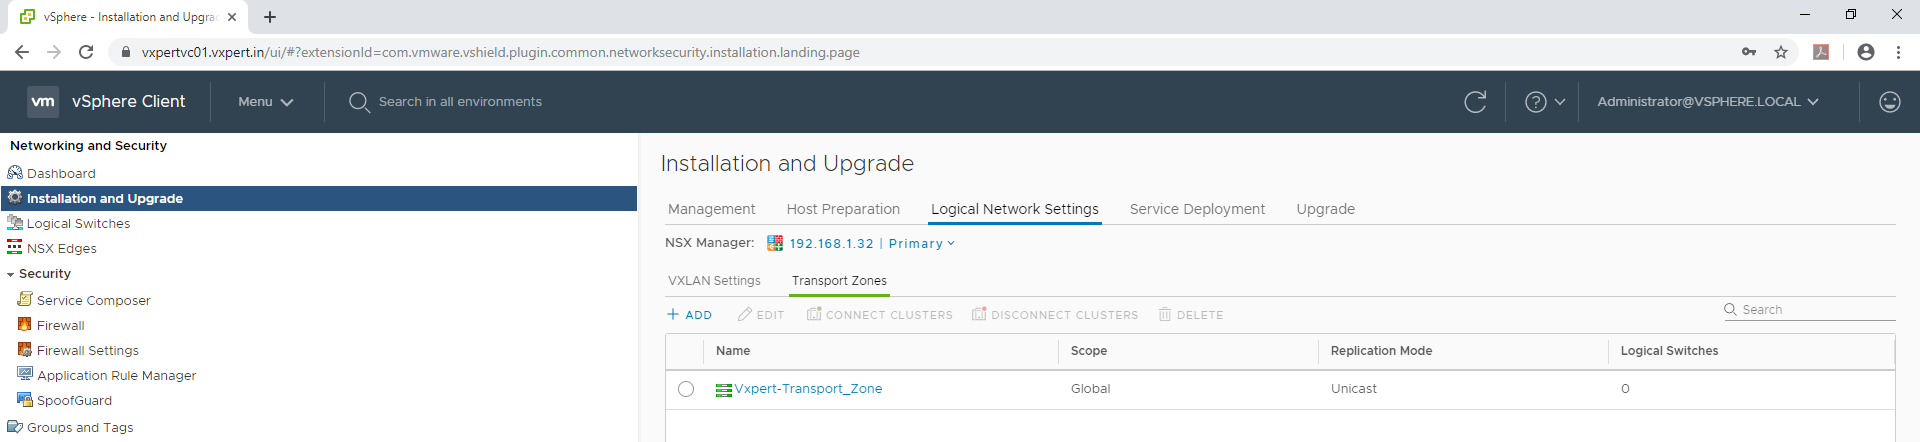
To create Transport Zones, follow the below procedure
Login to VMware vCenter server Web Client – Menu – Networking and Security – Installation and Upgrade – Logical Network Settings – Transport Zones
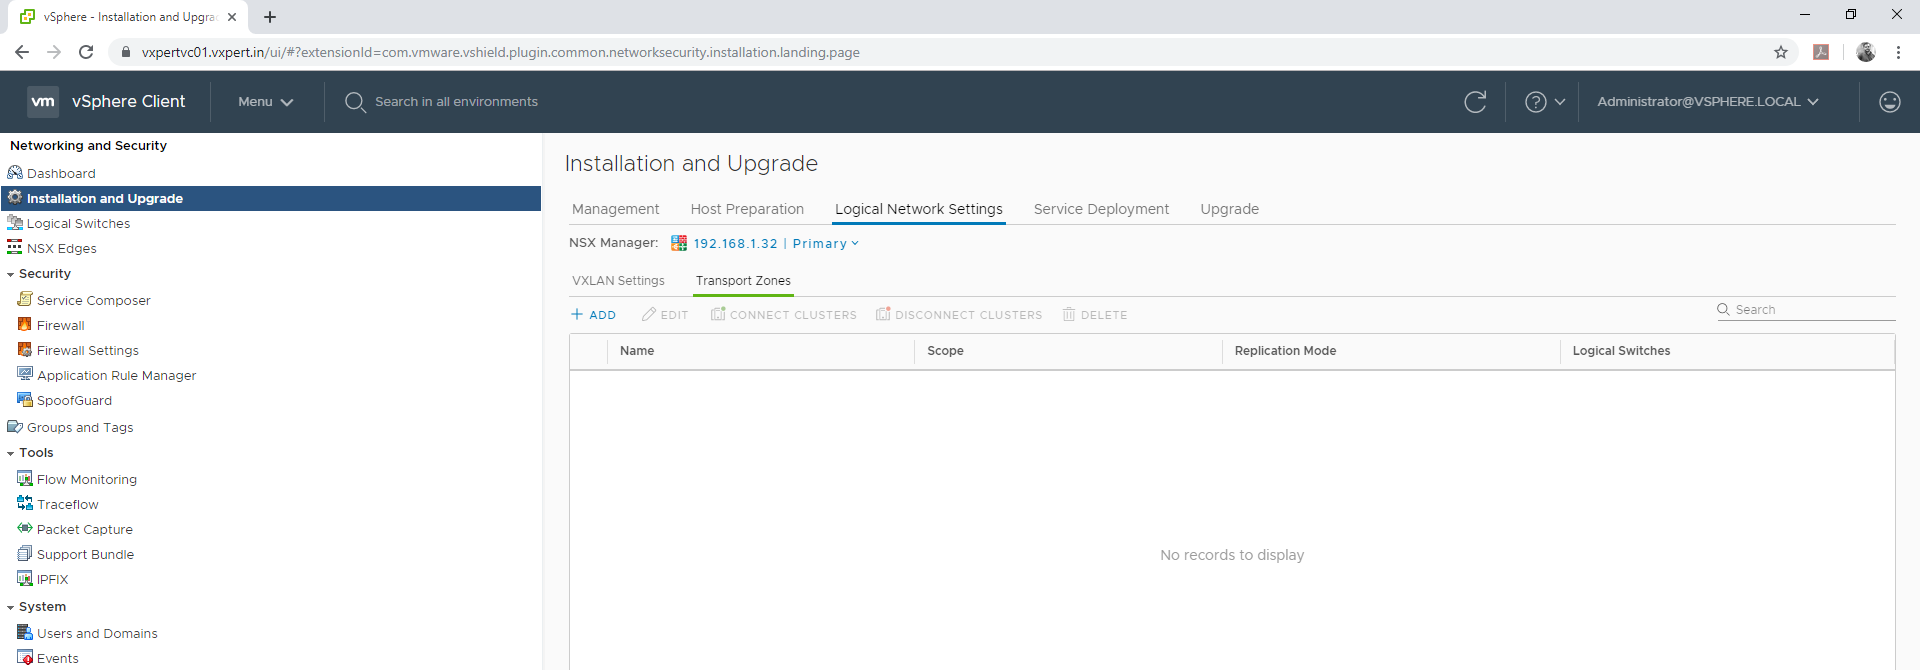
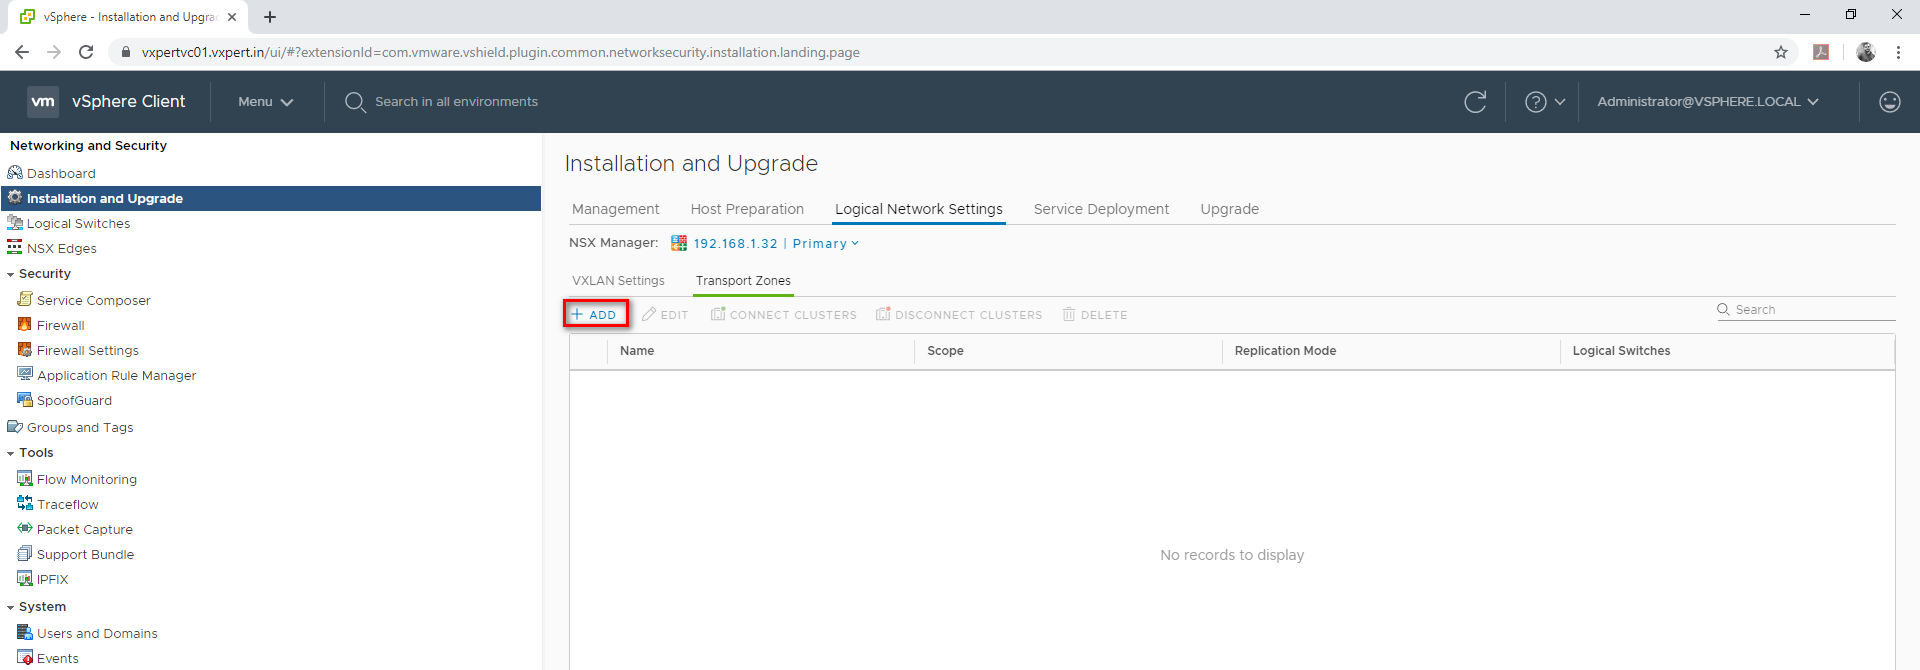
Click on Transport Zone – Add to create
Provide transport zone name and select Unicast, select cluster and click ADD.
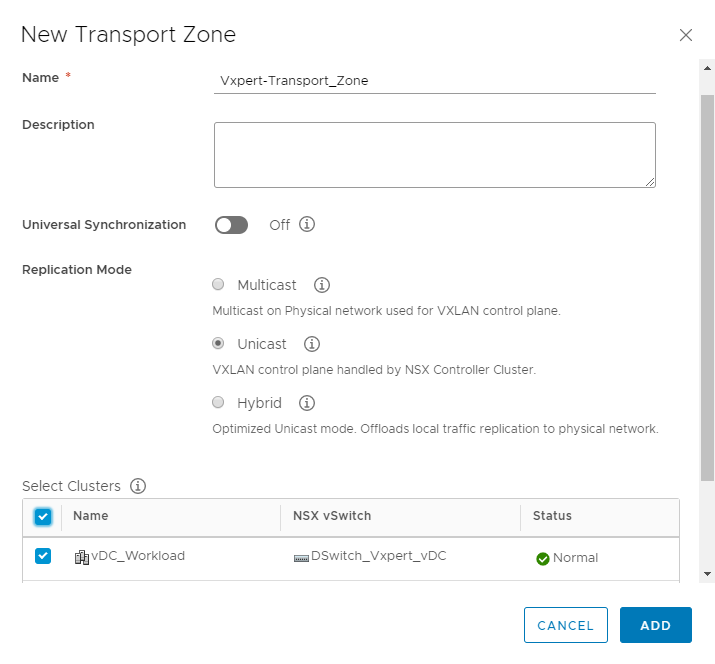
Note – Unicast doesn’t require any Physical layer configuration but Multicast/ Hybrid requires changes.
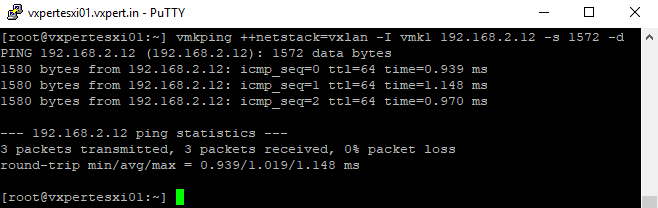
To test the VTEP VMKernel Port IP of other hosts, use below command
#vmkping ++netstack=vxlan -I vmk1 192.168.2.12 -s 1572 -d
To make this NSX series more understandable, I am splitting this into multiple blogs
Part 2 – NSX Manager 6.4.x Installation & Configuration
Part 3 – How to Install Microsoft CA Signed Certificate In NSX Manager
Part 4 – VMware NSX 6.4.x Configuration
Part 5 – VMware NSX Logical Switching and DLR Configuration
Part 6 – VMware NSX Edge Configuration
Part 7 – How to Upgrade NSX Manager
Thanks,
If you have any comments, please drop me a line.
I hope this article was informative, and don’t forget to buy me a coffee if you found this worth reading.


Leave a Reply